36
VP-725N - Configuring and Controlling the VP-725N
7.2
Operating via the LCD Display
You can control the
VP-725N
from the front panel high contrast LCD Display. You
can operate the
VP-725N
via the LCD Display, using the:
•
Front panel OSD buttons:
MENU
,
ENTER
,
-
,
+
,
UP
and
DOWN
•
Infrared remote control transmitter (see
Section 7.3
) keys: MENU, and the
navigation keys
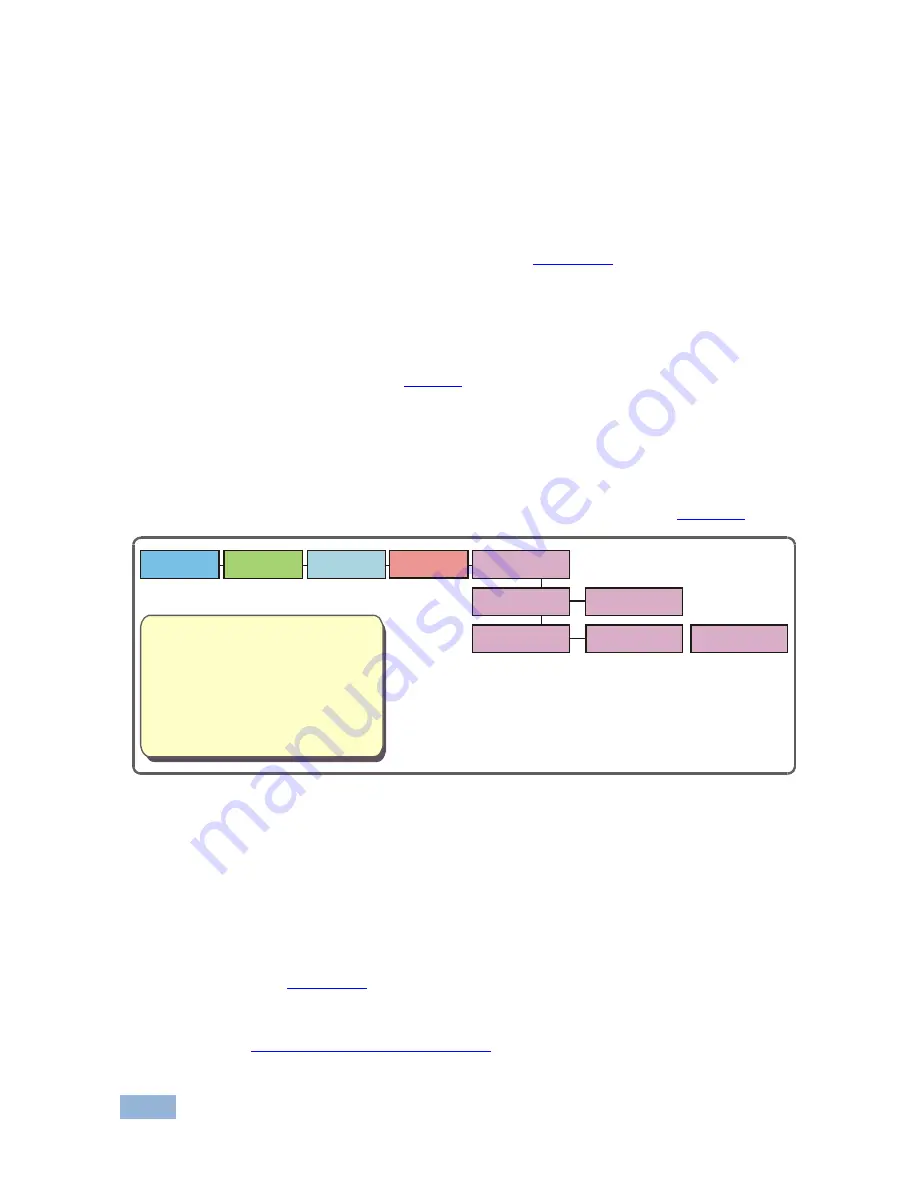
For example, to set the Keystone to 6 via the LCD Display, using the front panel
buttons, do the following:
To keep the picture rectangular.
Figure 21
illustrates how to adjust the Keystone via the OSD
Menu
1. Turn the
VP-725N
unit ON, and press the OSD ON button (if selected) to
deselect it.
2. Press the appropriate front panel OSD buttons (as defined in
Figure 21
).
Figure 21: Example of How to Use the LCD Display
7.3
Operating via ETHERNET/Serial Port
To control your
VP-725N
via the Ethernet/Serial Port:
•
Connect the ETHERNET port of the
VP-725N
to the Ethernet port of your
PC, or connect the serial port of your
VP-725N
to the serial port of your PC
(see
Section 5.3
)
•
Download the Ethernet Application from our Web site on
http://www.kramerelectronics.com
•
Install and configure the Ethernet Application
Main Menu
Output
Main Menu
Input
Main Menu
Picture
Adjusting the Horizontal Keystone
To set the horizontal keystone, press the following:
4. Select Application
2. RIGHT, five times
1. MENU
3. ENTER
5. ENTER
7. ENTER
6. Select Horizontal Keystone
8. Press + or - buttons to set to 6
Main Menu
PIP
Main Menu
Geometry
Geometry
Application
Application
Keystone
Geometry
Horizontal Keystone
Horizontal Keystone
0
Horizontal Keystone
6


