


Installation Instructions
3
4. Attach the wall bracket to the wall, using the two bracket
screws.
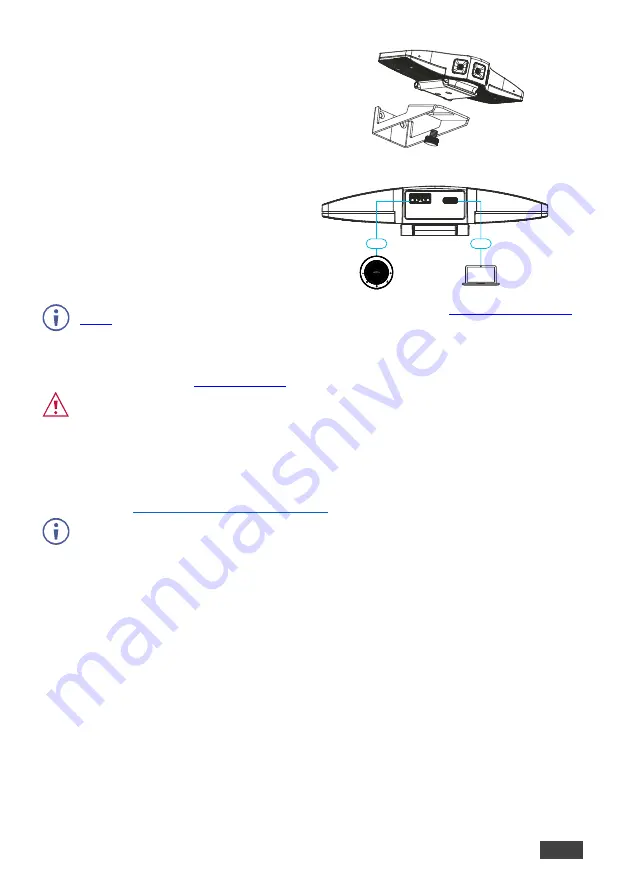
5. Slide the fixed bracket to the wall bracket and fasten
using the thumb screw.
USB Host Options
The USB 2.0 host connection allows connecting any
additional USB device, or a Bluetooth dongle (for
example, of a speakerphone or mouse) allowing a
single USB connection to the computer.
Always switch OFF the power on each device before
connecting it to your
K-180Mini
.
To achieve specified extension distances, use the recommended Kramer cables available at
. Using third-party cables may cause damage!
Connecting the Power
K-180Mini
is powered via USB-C.
Safety Instructions (See
for updated safety information)
Caution:
•
There are no operator serviceable parts inside the unit.
Warning:
•
Disconnect the power and unplug the unit from the wall before installing.
•
Do not open the unit. High voltages can cause electrical shock! Servicing by qualified personnel only.
•
To ensure continuous risk protection, replace fuses only according to the rating specified on the product label which
located on the bottom of the unit.
Operating K-180Mini for the First Time
You can operate
K-180Mini
manually via the top configuration button on the camera, or via your PC, using the
K-Studio
www.kramerav.com/downloads/K-180Mini
We recommend using
K-Studio
either for executive offices where a computer with
K-Studio
installed is
handy, or in specific cases where a computer is set in the meeting room and dedicated speaker tracking is
necessary or if a whiteboard in the room needs to be displayed separately.
To operate K-180Mini:
1. Connect the device via USB to the control system or computer.
The device can also be recognized as a storage drive. A link to downloading the
K-Studio
software is then
available.
2. Download the
K-Studio
and install it, or close the window and use
K-180Mini
manual configurations via the
Tap button only.
3. Open your video conferenceing solution (for example, Microsoft Teams).
4. Click Settings>Devices, and then select the camera type:
▪
K-180Mini
– enables manually controlling the camera when connected directly to USB.
▪
K-Studio
Camera (only if installed)
– enables advanced camera configurations.
K-180Mini
is ready for operation.


