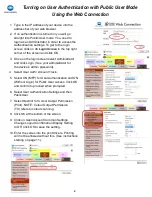
Turning on User Authentication with Public User Mode
Using the Web Connection
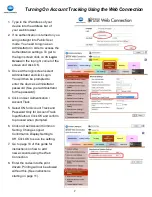
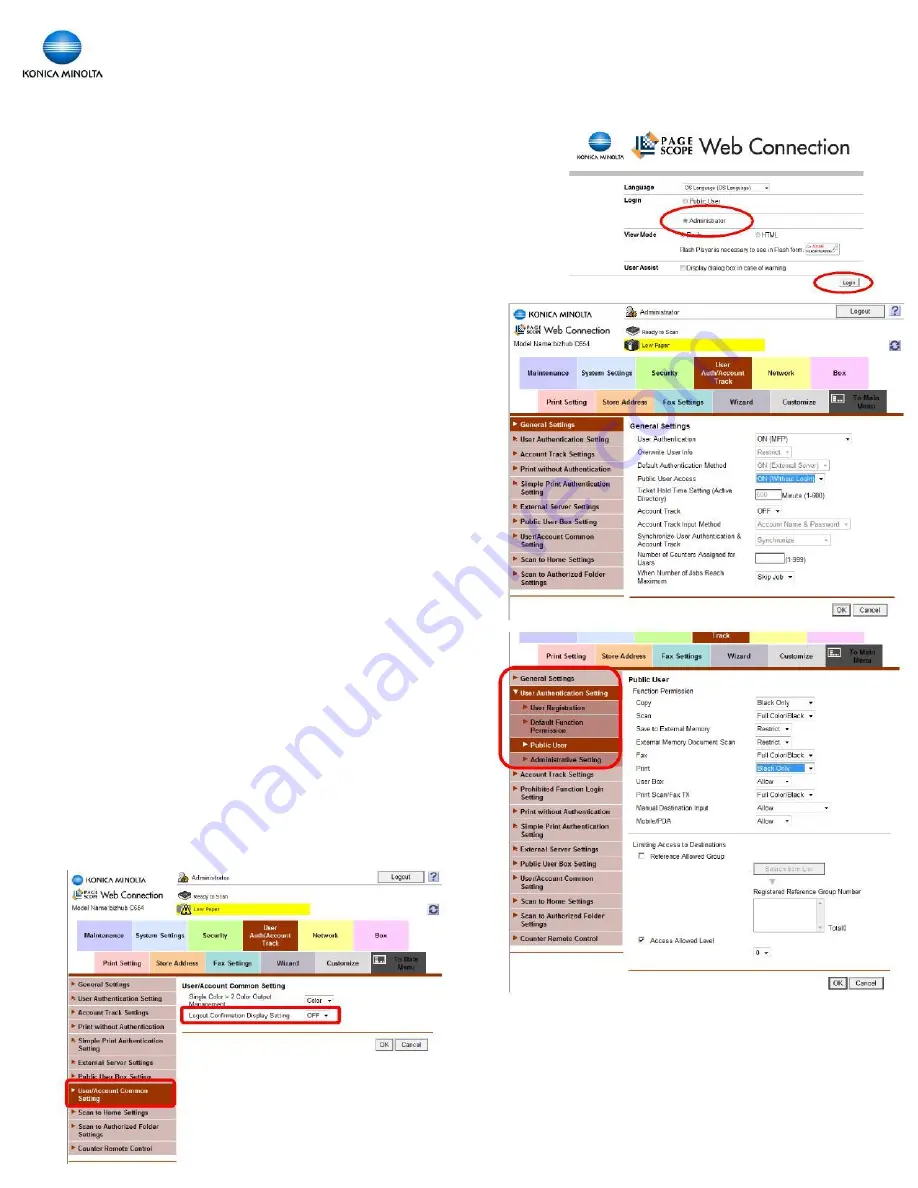
1. Type in the IP address of your device into the
address bar of your web browser.
2. If no authentication is turned on you will go
straight into Public User mode. You need to
login as an Administrator in order to access the
Authentication settings. To get to the login
screen click on
To Login Screen
in the top right
corner of the screen and click OK.
3. Once on the login screen select Administrator
and click Login. (See your administrator for
the device’s admin password).
4. Select User Auth / Account Track.
5. Select ON (MFP) for User Authentication and ON
(Without Login) for Public User Access. Click OK
and confirm to proceed when prompted.
6. Select User Authentication Settings and then
Public User.
7. Select Restrict for Colour Output Permission
(Print). NOTE: Colour Output Permission
(TX) refers to colour scanning.
8. Click OK at the bottom of the screen.
9. Click on User/Account Common Settings.
Change Logout Confirmation Display Setting
to Off. Click OK to save the setting.
10. Enter the codes into the print drivers. Printing
will not be allowed without this. (See instructions
starting on page 11).
8

