Automatic Inspection Operation Manual
3-4
3.1
Creating a New Reference Image for Automatic Inspection
3
9
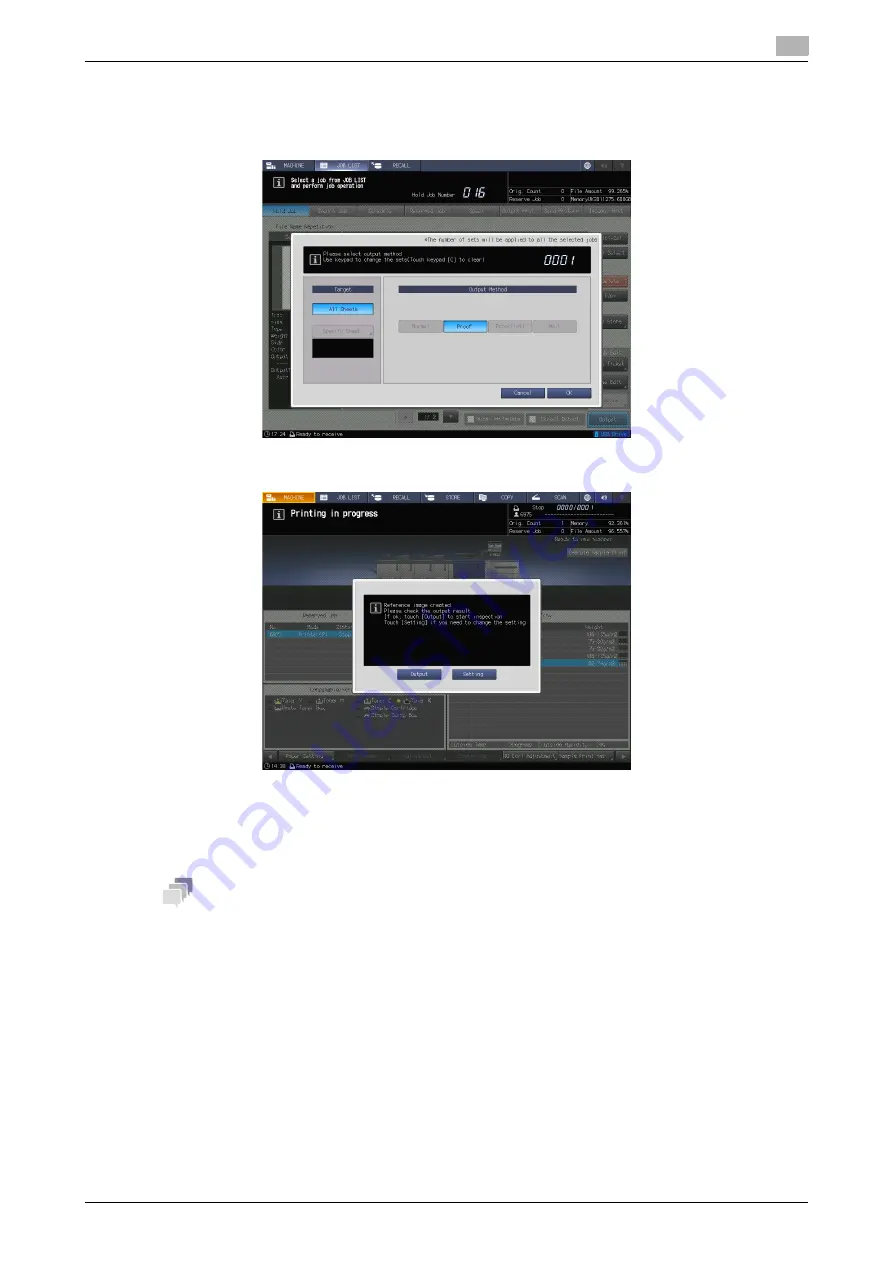
Press [Output], and press [OK].
One copy is output as [Proof], and the reference image for automatic inspection is created. Check
whether or not output paper is erroneous.
%
A job ticket can be changed in [Setting].
10
Check the contents, and press [Output].
The print job starts, and [Auto Inspection] is performed. If an error is detected by the automatic inspec-
tion, it is displayed in [IQ Detected Result]. The [Automatic Inspection Report] can be viewed on this
machine or in Web Utilities of the
Auto Inspection Unit UK-301
.
Tips
-
To set an [Automatic Inspection Area], we recommend that you create a reference image in [Sample
Output]. For details on the [Automatic Inspection Area], refer to "7. Automatic Inspection Area" in this
manual. Then, follow the procedure described in "3.2 Selecting the Created Reference Image for Auto-
matic Inspection" in this manual to perform automatic inspection.
-
Textured paper, blank insertion paper, punched paper, tab paper, and insertion paper are not targeted
for automatic inspection.
-
When using numbered paper, paper with page numbers printed, or the date/time stamp function, set
Inspection Excluding Area by reference; you can perform automatic inspection. For details, refer to "7.
Automatic Inspection Area" in this manual.
Summary of Contents for accuriopress c6085
Page 1: ......
Page 5: ...1 Overview of Function ...
Page 8: ...2 Automatic Inspection Setting ...
Page 20: ...3 Performing Automatic Inspection ...
Page 32: ...4 Automatic Inspection Report ...
Page 46: ...5 Real time Inspection Display ...
Page 48: ...6 Reference Image ...
Page 51: ...7 Automatic Inspection Area ...
Page 57: ...8 Output Setting ...
Page 78: ...9 Troubleshooting ...
Page 81: ... 2018 A92W IQ E 22 2020 9 ...


