REMARK
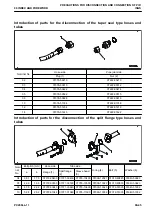
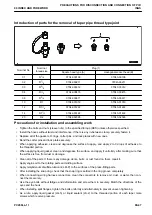
If the threaded portion is difficult to degrease, you may use a seal tape.
When winding a seal tape onto a right-handed taper male screw, start winding the screw clockwise from the
third thread in the advancing direction of the threads seeing from the screw end.
NOTICE
If the seal tape is wound counterclockwise, it may become loose when screwed in, and it may come
off. If the sealed tip is pushed outside, it may cause oil leakage.
NOTICE
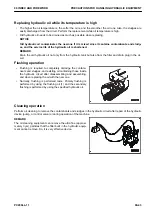
When assembling the hydraulic equipment such as cylinders, pumps and pipings which are removed,
be sure to bleed air from the hydraulic circuit before operating it for the first time according to the fol-
lowing procedure.
1. Start the engine, and run it at low idle.
2. Perform the operation to extend and retract each cylinder of the work equipment and stop it at approximate-
ly 100 mm before the stroke end for 4 or 5 times.
3. Perform the operation to extend and retract each cylinder of the work equipment and stop it at the stroke
end for 3 or 4times.
NOTICE
After repair is finished, when operating the machine which has been stored for a long period, bleed air
from the hydraulic circuit according to the same procedure.
Precautions at the time of completion of work
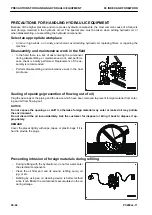
Refilling of coolant or water or oil, greasing, and adding of DEF
• For machines with urea SCR system, fill DEF to the specified level before starting the engine.
• Supply the specified amount of grease to the work equipment parts.
• When the coolant is drained, be sure that the drain valve is securely tightened, then refill the coolant reser-
voir with the coolant Komatsu recommends to the specified level. Start the engine to circulate the coolant in
the piping, and add the coolant to the specified level again.
• When the hydraulic components are removed and installed, refill the tank with the oil Komatsu recommends
to the specified level. Start the engine to circulate the oil in the piping, and add the oil to the specified level
again.
• If the hydraulic piping or hydraulic equipment is removed, be sure to bleed air from the system after rebuild-
ing the parts, by referring to “30 TESTING AND ADJUSTING (30-1).”
Testing installed condition of cylinder heads and manifolds
• Check the cylinder head and intake and exhaust manifold mountings for looseness.
• If there is any looseness, retighten the part.
REMARK
For the tightening torques, see “50 DISASSEMBLY AND ASSEMBLY (50-1).”
Test engine piping for damage and looseness
Intake and exhaust system
Check that there is no damage on the pipings, or no looseness on mounting bolts, nuts and clamps, or no leak
of air or exhaust gas from connecting portion.
If there is any looseness, damage, or gas leak, retighten or repair the part.
Cooling system
Check that there is no damage on the pipings, no looseness on mounting bolts, nuts and clamps, and no water
leak from connecting portion.
If there is any looseness, damage, or water leak, retighten or repair the part.
PRECAUTIONS FOR DISCONNECTION AND CONNECTION OF PIP-
INGS
00 INDEX AND FOREWORD
00-48
PC290LL-11

