AUTO PICLE-S
18
4.2
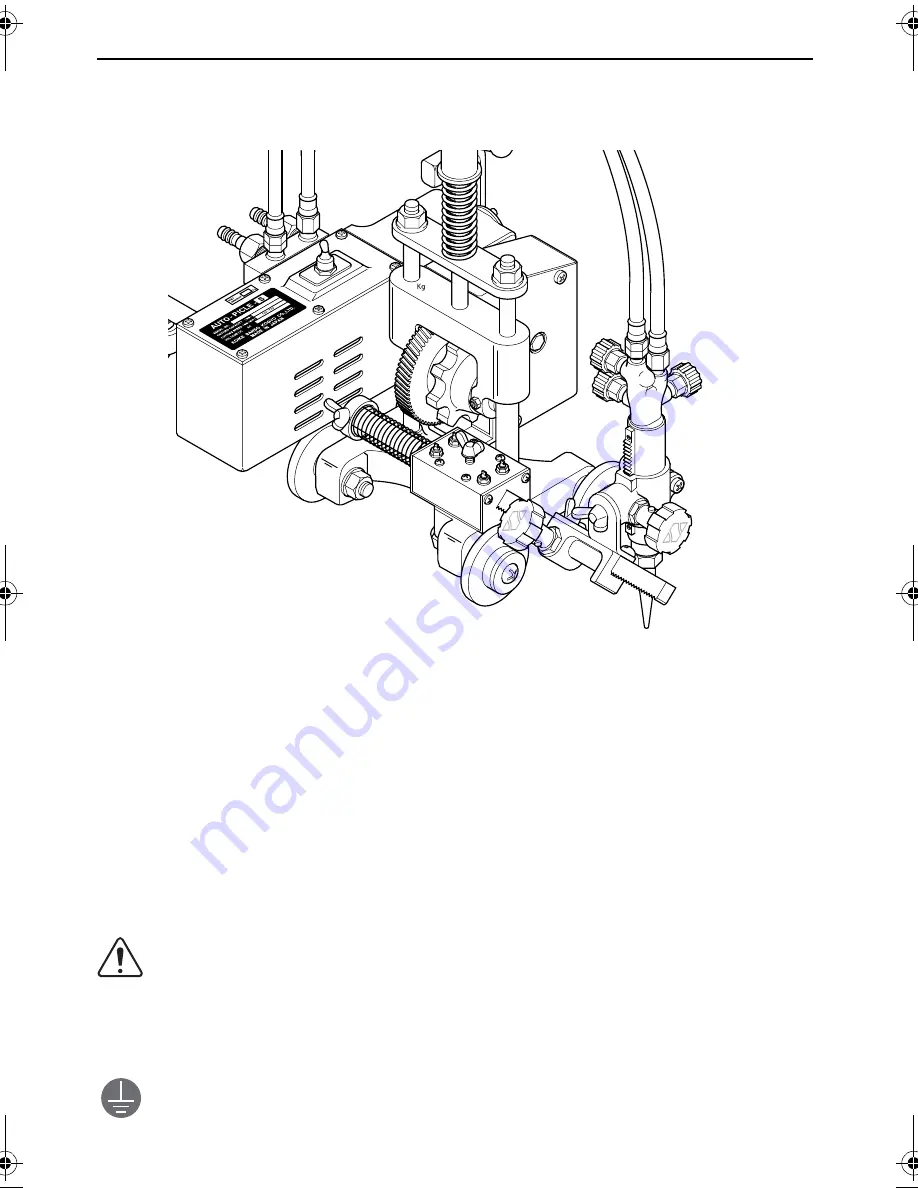
Machine assembly
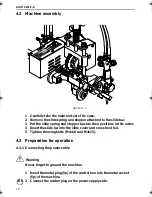
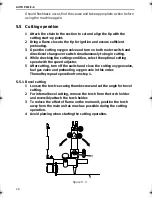
figure 4 - 1
1 Carefully take the main unit out of its case.
2 Remove the slide spring and stopper attached to the slide bar.
3 Put the slide spring and stopper back to their positions in this order.
4 Insert the slide bar into the slide cover and cross feed bar.
5 Tighten the wing bolts (M4x10 and M4x15).
4.3
Preparation for operation
4.3.1 Connecting the power cable
Warning
Never forget to ground the machine
1 Insert the metal plug (5p) of the control box into the metal socket
(5p) of the machine.
2 Connect the rubber plug on the power supply side.
Auto Picle-S.book Page 18 Thursday, April 11, 2002 11:15 AM
Summary of Contents for AUTO PICLE-S
Page 1: ...AUTO PICLE S REMOTE CONTROL GAS MOTORIZED PIPE CUTTING MACHINE KOIKE SANSO KOGYO CO LTD...
Page 11: ...AUTO PICLE S 10...
Page 13: ...AUTO PICLE S 12...
Page 25: ...AUTO PICLE S 24...
Page 31: ...AUTO PICLE S 30...
Page 37: ...AUTO PICLE S 36...
Page 39: ...AUTO PICLE S 38 8 2 Assembly drawing figure 8 2...
Page 40: ...AUTO PICLE S 39 9 Parts list 9 1 Body unit...
Page 43: ...AUTO PICLE S 42 9 2 Driving unit...
Page 46: ...AUTO PICLE S 45 9 3 Electrical and gas unit...
Page 49: ...AUTO PICLE S 48 9 4 Guide rail...
Page 51: ...AUTO PICLE S 50...

