8
INSTALLATION
INSTALLATION
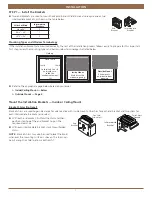
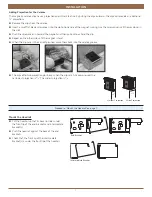
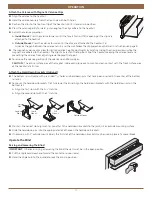
Adjust the Headrail Tightness
■
■
If the headrail is loose in the end brackets, bend the tabs on the end bracket outward.
NOTE:
The tabs may also be bent inward if the headrail is difficult to install into the end brackets.
■
■
If your headrail end brackets do not have adjustable tabs, bend the tabs on the headrail end locks to
adjust headrail tightness.
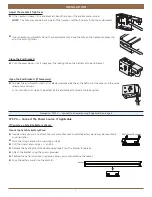
Close the End Brackets
■
■
Push the cover down until it snaps over the locking tab on the bottom of the end bracket.
Open the End Brackets (If Necessary)
■
■
To open the end brackets, insert a flat blade screwdriver between the bottom of the cover and the quick
release tab, and twist.
■
➤
You can also push up on the bottom of the end bracket to release the locking tab.
Proceed to “STEP 4 — Connect the Power Source, If Applicable” on page 8.
STEP 4 — Connect the Power Source, If Applicable
If You Have a Satellite Battery Wand...
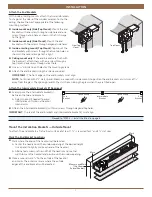
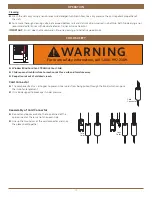
Mount the Satellite Battery Wand
■
■
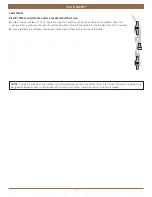
Decide where you want to attach the wall mount bracket. A satellite battery wand may be mounted in
any orientation.
■
■
Mark the screw holes on the mounting surface.
■
■
Drill the screw holes using a
3
⁄
32
" drill bit.
■
■
Remove the backing from the double-sided tape. Press the bracket into place.
■
■
Attach the bracket using the screws provided.
■
■
Position the battery wand so the power cable is easily connected to the socket.
■
■
Snap the battery wand into the bracket.
1
3
∕
8
"
Slat Size
1
3
∕
8
"
Slat Size
Wall Mount Bracket
Socket


