7
INSTALLATION
INSTALLATION
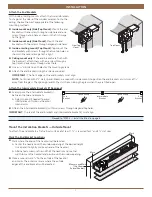
Adding Projection for the Valance
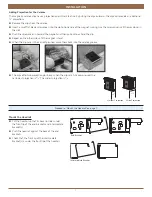
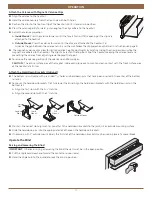
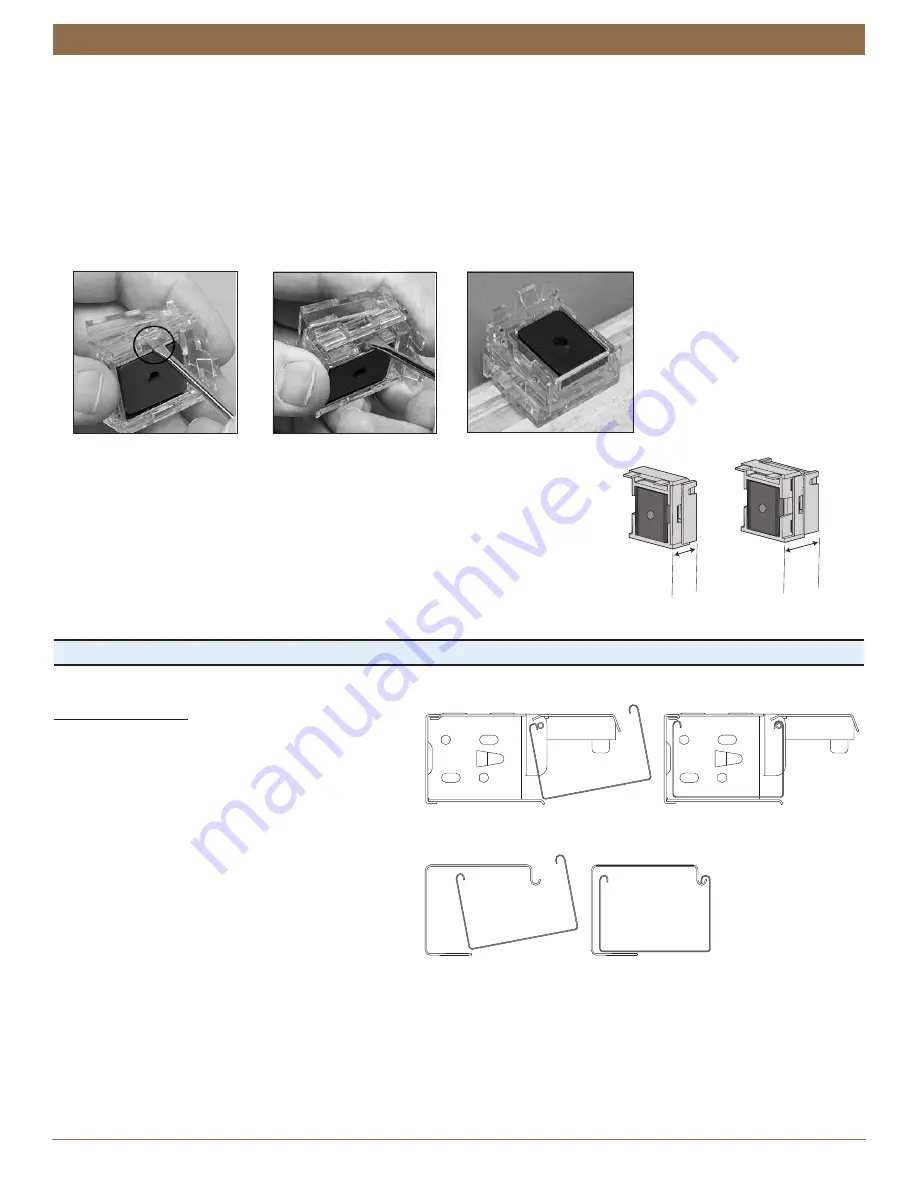
The magnetic valance clips have a projection adjustment feature. By pulling the clips outward, the clips can provide an additional
1
⁄
4
" projections.
■
■
Remove the clips from the valance.
■
■
Insert a small flat blade screwdriver into the slot on one side of the magnet making sure the screwdriver is all the way down in
the slot.
■
■
Push the screwdriver in toward the magnet and then pull out to extend the clip.
■
■
Repeat on the other side until the magnet is level.
■
■
When the clips are in the correct position, place them back into the valance groove.
■
■
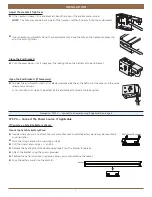
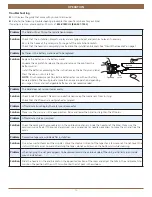
The clips offer two projection positions. When the clips are fully compressed, the
narrowest projection is
5
⁄
8
". The widest projection is
7
⁄
8
".
Proceed to “Mount the Headrail” on page 7.
Mount the Headrail
■
■
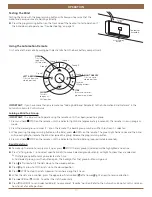
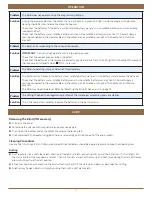
Tilt the headrail so that its back lip slides under
the front lip of the end brackets and intermediate
bracket(s).
■
■
Push the headrail against the back of the end
brackets.
■
■
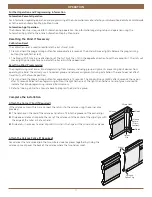
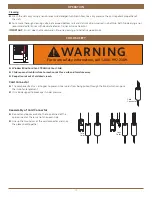
Check that the front lip of the intermediate
bracket(s) is under the front lip of the headrail.
5
∕
8
"
Narrow Projection
7
∕
8
"
Wide Projection
End Bracket
Intermediate Bracket


