18
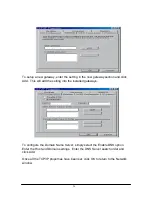
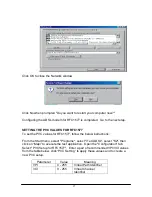
For first time setups, windows creates a PVC key registry, click "OK" to create a
PVC key in the registry, click "OK" at the successful window. The PVC setting
will be updated when the system is restarted.
Close the ITeX ADSL K2 Test Application window and restart the computer.
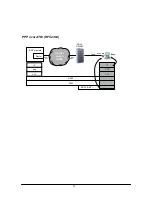
7. CONFIGURING THE ADSL NETWORK MODEM FOR PPP OVER ATM
Note: Windows 98 2
nd
Edition is required to support PPP over ATM
7.1 SETTING UP PPP OVER ATM
From the Start menu, select Setting, then open the Control Panel. Open the
Network icon. The Network window will appear. In the configuration window,
scroll through the installed network components and verify that the "Dial up
adapter" is installed. Click Add to add a network component. Double click on
Adapter. Click Add, Choose Microsoft in the “Manufacture” section and the
Microsoft PPP over ATM Adapter in the “Network Adapters” section. Click OK to
return to the Configuration window.
In the configuration window, the following two bindings will now exist:
NDISWAN -> Microsoft PPP over ATM Adapter
WAN support for ATM -> ITeX K2 ADSL NIC
Click OK, Windows may ask to insert the Windows 98 CD. Make sure that the
Windows 98 CD is in the CD-ROM, click OK. Restart the computer
7.2 ESTABLISHING A PPP OVER ATM CONNECTION
From the Start menu, select Programs, select Accessories, select
Communications, and then double click on Dial-Up Networking. Double click on
the "Make New Connection" icon. Type in a name for the computer you are
dialing. Select the PPP ATM Adapter option in the “Select a device:" section.
Click Configure
The Quality of Service window will appear. For Type, select "Unspecifified Bit
Rate". For Rate, select 25Mbps. For Circuit type, select Permanent Virtual
Circuit and enter VPI and VCI values. For Framing, select "Null Encapsulation".
Click OK, click Next, enter "0" or any telephone number. Select the country and
click Next. Click Finish. Windows will generate a dial up network icon which will
be used for activating the PPP over ATM connection. Insert the Windows 98 CD
into the CD-ROM when prompted. Click OK to exit the Communications window.
Restart the computer


