1.6 Installing the frontcover
Pull the cover around the far end of the
tubes at the top of the roller cages.
Pull the cover around the front of the
plastic fl oor. Pull the elastic cord around
the studs on the plastic fl oor.
Pull the back of the cover tight in the
same manner. In this case, use the stud
on the back of the fl oor.
1,7 Pushbar
The pushbar connects to the protruding
tube parts of the roller cages. The
pushbar has two settings: curving up
for tall users and curving down for short
users. Push the two ends of the pushbar
in the released tube ends. The pushbar
is secured with the grey tube locking pins
2.2 The parking brake
Stand behind the KID CAR and use a toe
cap to push the brake lever down into the
parking position or move it up to go for a
ride.
2.3 Storing the drawbar when going for
a walk
Look for a hook on the fl ag holder at
the back of the KID CAR. Lower the
drawbar in the opening of the pushbar
(the coupling facing up), and attach the
end of the tube to the hook. The top of
the drawbar rests against the right side
of the pushbar. Secure the drawbar by
winding the safety ribbon around the
tube of the pushbar.
1,8 Rear light
The KID CAR Comfort and Cocoon
come standard with a battery rear light.
The rear light has not been fi tted by the
manufacturer to prevent any damage
during transport. Remove the lock
nuts and tighten the bolts using a no. 8
spanner. Make sure that the rear is fi rmly
secured but do not overstress the bolts.
2.4 Rolling up the frontcover
The KID CAR Cocoon and Comfort
are having a 2-in-1 front- and mosquito
cover. Zip fasteners are used to open
and close the front cover. Use the
ribbon at the centre to roll the front- and
mosquito cover up and hold it in place. To
leave the rear window open, unzip and
fold the window inwards. Close the zips
up to the folding line. In that way you will
be able to control the amount of fresh air
coming in.
Unzip to the obstruction and roll the
front window from the bottom up. The
ribbon that holds the window in place
will appear. Push the ribbon over the
rolled-up window and through the ring at
the back of the ribbon. Use the Velcro to
secure. To do so, the rear window must
also be rolled up or folded inwards.
4
2 Daily use of the KID CAR
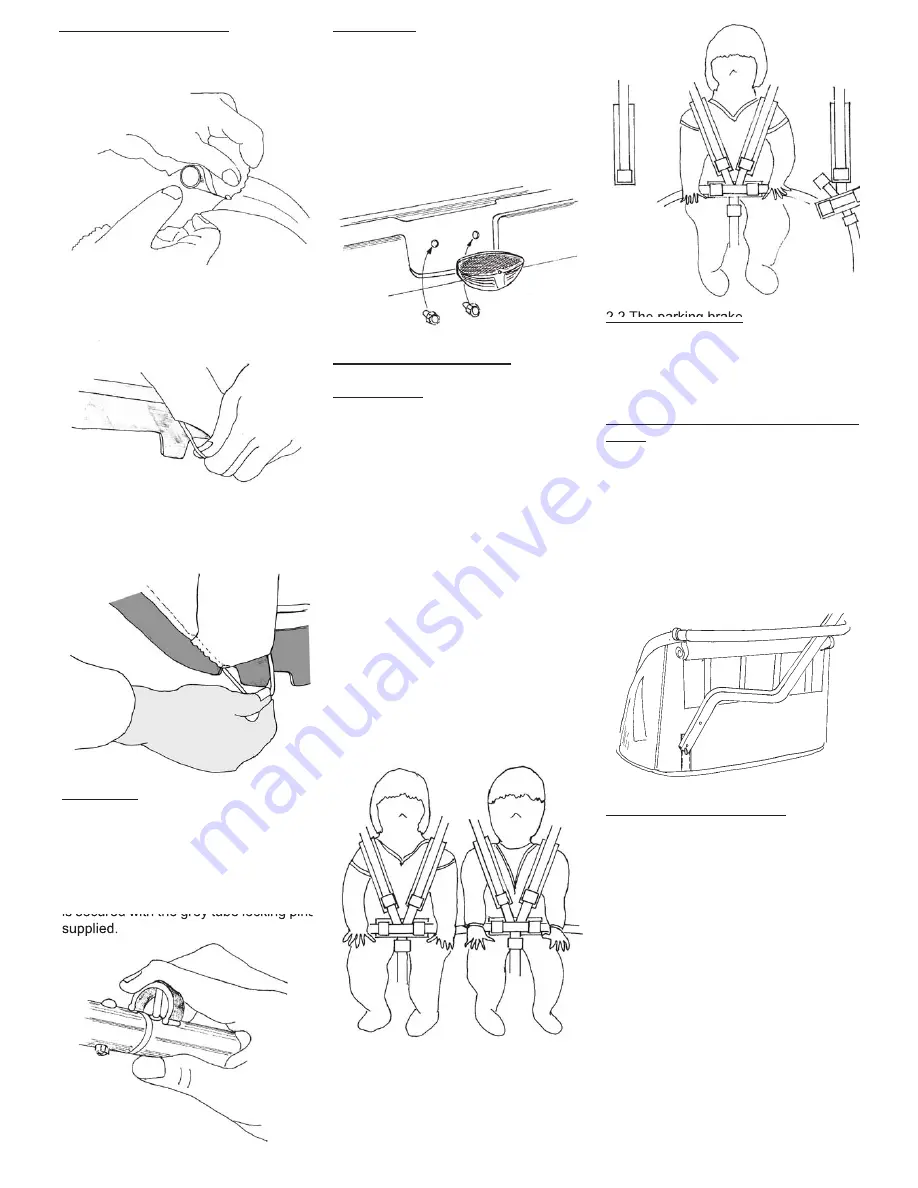
2.1 Seat belts:
The KID CAR Cocoon and Comfort have
been fi tted with a special safety harness.
Start adjusting the fi ve-point seat belt on
the child’s tummy. The shoulder belts are
adjusted up and down. For optimal safety
the belts should be level with the top of
the child’s shoulders. The shoulder
cross belt is always used in combination
with the lap belt.
With one child sitting in the middle, the
two centre seat belts are to be used.
In that case the two outside belts are
not being used. The central part of the
seat belt set is moved to the centre.
Remember to tightly secure the belts
around the child’s shoulders and lap.
The belts prevent the children from
spontaneously stepping out of the cart or
moving forward during a sudden stop.


