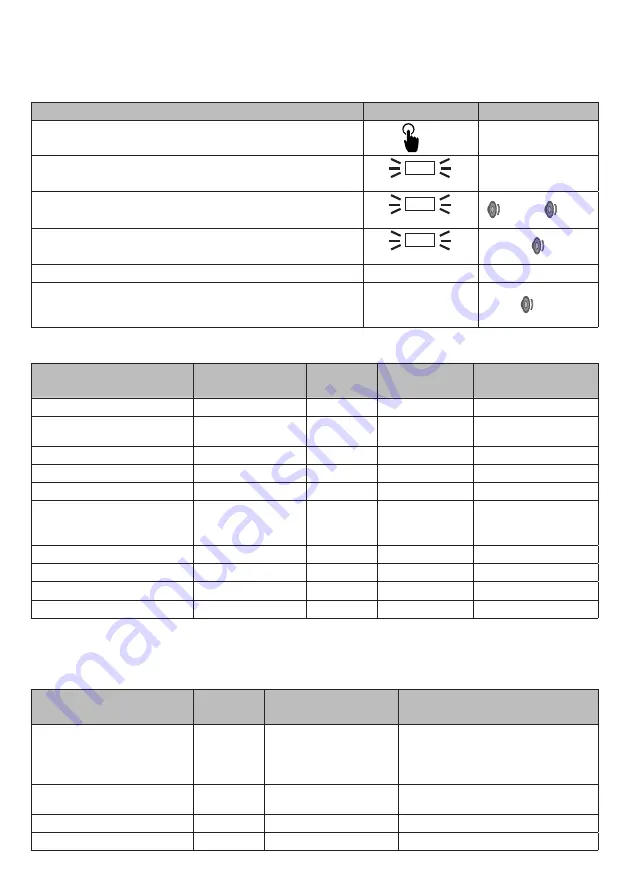
DESCRIPTION
EXAMPLE
BEEP
Press and hold the receiver's P1 button for 3 seconds
until you hear a fast double beep.
P1 >
3 s
<0.5s
Release button P1.
The yellow LED of the receiver will start flashing slowly.
YELLOW
Press and hold selector button P2
P2 >
3 s
The yellow led of the selector will light up and the green
led of the receiver will flash briefly.
YELLOW / GREEN
Release button P2.
A short double beep will signal the match.
The green led of the receiver will remain steady.
GREEN
<0.5s
NOTES: To exit the matching procedure, simply quickly press button P1 on the receiver.
If the yellow led of the receiver continues to flash, it will be a sign that the combination was not successful.
A. Check that the radio channel is identical, both for the receiver and the selector.
B. Change channel; it may be that the chosen channel is occupied by other radio devices.
C. Check that the selector is not already matched; reset its memory and try again.
D. Check that the maximum number of matching selectors (4) has not been reached.
E. The selector number is automatically assigned according to the memorising order in the receiver.
NOTES: To exit the matching procedure, simply press button P1 4 times on the receiver until the red LED turns off.
If it is necessary to reconnect the selector, it will be possible to reset its memory by performing the
following operations:
4.7 RESETTING THE SELECTOR MEMORY
DESCRIPTION
EXAMPLE
BEEP
Press and hold selector button P2 for more than 10
seconds.
P2 >
10 s
Wait for the yellow led and the red led of the selector to
turn on.
YELLOW and RED
Release button P2.
The selector will be restarted; a slow flash of the green
led will indicate that the selector is ready for matching.
GREEN
4.8 DELETING A SELECTOR FROM THE RECEIVER
DESCRIPTION
EXAMPLE
BEEP
Identify the number of the selector to be deleted
according to the memorising order. Press the P1 key and
count the flashes of the GREEN led
P1
Press the receiver button P1 until you hear a double
beep. The yellow led will start flashing
P1
>1s + >1s
Press the receiver button P1 again and check that the
number of flashes of the red led and beeps corresponds
to that detected in point 1.
P1
Press and hold the receiver's P1 button for at least 3
seconds until you hear a long confirmation beep
P1 >
3 s
>2s
To enter in the matching mode you will need to do the following:
4.6 SELECTOR MATCHING
NOTES: The Green led will flash only if the DIP3 is set to ON. The Red led will flash during radio
communication operations with the remote keyboards, only if the DIP3 is set to ON.
4.10 SIGNALLING OF SELECTOR STATUS AND ERRORS
4.11 SIGNALLING OF RECEIVER STATUS AND ERRORS
STATUS AND/OR
ERRORS
GREEN LED
YELLOW
LED
RED LED
BATTERY
RED LED
ATTENTION
Unmatched device
Slow Flash
Start matching via button
P2
On
Successful matching
Fast Flash
Device matched
Fast Flash
Receiver not reached
Double Flash
Communication error
between receiver and
central board
Flashing
Central error
Flashing
Selector battery low
Flashing
Selector battery too low
Flashing
Flashing
Central battery low
Flashing
STATUS AND/OR
ERRORS
YELLOW
LED
GREEN / RED
LED
BEEP
Unmatched device
Slow flashing green
DIP3=off ► a double long beep
when switching on
DIP3=on ► one beep every ½
second
Start matching via button
P1
Flashing
Slow
a double
fast beep
Successful matching
Fast flashing green
a fast double beep
Device matched
Fast flashing green
no beep
If it is necessary to reconnect the receiver with the selectors, the memory can be reset by performing
the following operations:
4.9 RESETTING THE MEMORY OF THE RECEIVER
DESCRIPTION
EXAMPLE
BEEP
Press and hold receiver button P1 for more than 20
seconds.
P1 >
20 s
The yellow led flashes. Do not release the P1 key.
YELLOW
The red led flashes very fast. You hear very fast beeps.
Do not release the key.
RED
<0.5s + <0.5s
Wait for the steady red led of the receiver to turn on.
You hear a steady beep.
RED
Release button P1.
The receiver will be restarted and after 4 seconds a
beep will be heard every second, a signal that the radio
receiver is ready to match the selectors.
>1s
Summary of Contents for SEL3
Page 23: ......


