citrus press
Use the citrus press to squeeze the juice from citrus fruits (eg
oranges, lemons, limes and grapefruits).
햲
cone
햳
sieve
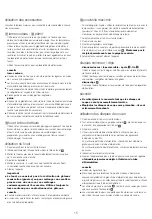
to use the citrus press
1 Fit the drive shaft and bowl onto the power unit.
2 Add the sieve and turn clockwise until the interlock fin on the
sieve aligns with the line on the power unit
.
3 Place the cone over the drive shaft turning until it drops all the
way down
.
4 Cut the fruit in half. Then switch on and press the fruit onto the
cone.
●
The citrus press will not operate if the sieve is not
locked correctly.
mill
Use the mill for milling herbs, nuts and coffee beans.
햲
blade unit
햳
sealing ring
햴
jar
햵
sprinkler lid
safety
●
Never fit the blade unit to your machine without the jar fitted.
●
Never unscrew the jar while the multi-mill is fitted to your
machine.
●
Don’t touch the sharp blades. Keep the blade unit away from
children.
●
Never remove the multi-mill until the blades have completely
stopped.
important
●
To ensure long life of your mill, never run for longer than 30
seconds. Switch off as soon as you’ve got the right consistency.
●
Don’t process spices - they may damage the plastic.
●
The machine won’t work if the mill is fitted incorrectly.
●
Use for dry ingredients only.
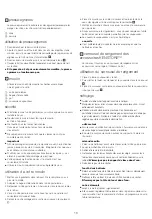
to use your mill
1 Put your ingredients into the jar. Fill it no more than half full.
2 Fit the sealing ring into the blade unit.
3 Turn the blade unit upside down. Lower it into the jar, blades
down.
4 Screw the blade unit onto the jar until it is finger tight.
5 Lift off the liquidiser outlet cover
햽
.
6 Place the mill on the liquidiser outlet and turn to lock in a
clockwise direction
.
7 Switch on to maximum speed or use the pulse control.
8 After milling, you can replace the blade unit with the sprinkler lid
and shake out your food.
●
The sprinkler lid is not airtight.
hints
●
Herbs are best milled when clean and dry.
KENSTORE™ attachments carousel
Your food processor is supplied with an attachment storage
carousel that fits inside the bowl.
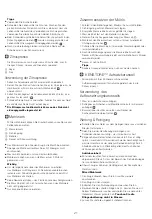
to use the storage carousel
1 Fit the knife blade to the bowl.
2 Then fit the whisk, discs and canopy into the carousel
.
3 Fit the carousel over the knife blade and place the processor lid
on top
care & cleaning
●
Always switch off and unplug before cleaning.
●
Handle the blades and cutting discs with care - they are
extremely sharp.
●
Some foods may discolour the plastic. This is perfectly normal
and won’t harm the plastic or affect the flavour of your food. Rub
with a cloth dipped in vegetable oil to remove the discolouration.
power unit
●
Wipe with a damp cloth, then dry. Ensure that the interlock area
is clear of food debris.
●
Wrap excess cord around the bracket at the back of the
appliance.
liquidiser/mill
1 Empty the jug/jar before unscrewing it from the blade unit.
2 Wash the jug/jar by hand.
3 Remove and wash the sealing ring.
4 Don’t touch the sharp blades - brush them clean using hot
soapy water, then rinse thoroughly under the tap.
Don’t
immerse the blade unit in water.
5 Leave to dry upside down.
twin beater geared whisk
●
Detach the beaters from the drive head by gently pulling them
free. Wash in warm soapy water.
●
Wipe the drive head with a damp cloth, then dry.
Do not
immerse the drive head in water.
all other parts
●
Wash by hand, then dry.
●
Alternatively they can be washed on the top rack of your
dishwasher. A short low temperature programme is
recommended.
service & customer care
●
If the cord is damaged it must, for safety reasons, be replaced
by Kenwood or an authorised Kenwood repairer.
●
If you experience any problems with the operation of
the processor, before calling for assistance refer to
the troubleshooting guide.
If you need help with:
●
Using your machine
●
Servicing or repairs
Contact the shop where you brought the food processor.
●
Designed and engineered by Kenwood in the UK.
●
Made in China.
6


