

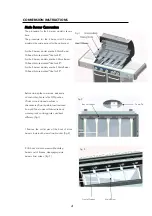
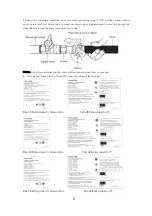


Fig. 11
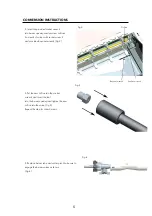
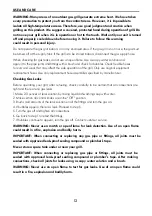
Fig. 12
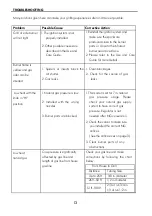
Fig. 13
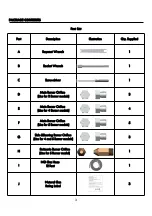
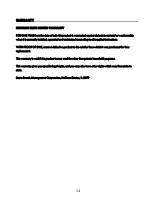
Cooking Grid
Fig. 10
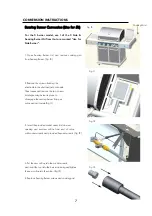
CONVERSION INSTRUCTIONS
1. Open Searing Burner Lid,
and
remove cooking grid
from Searing Burner. (Fig. 10)
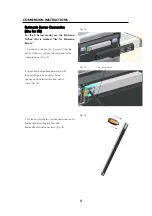
2. Remove the screw attaching the
electrode to the shelf and set both aside.
Then loosen and remove the two screws
holding searing burner in place to
disengage the searing burner from gas
valve and set it aside.(Fig. 11)
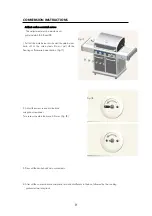
4. Put the new orifice into the socket wrench,
and insert the tool into the burner opening and tighten
the new orifice into the valve. (Fig. 13)
5. Replace Searing Burner, screws and cooking grid.
7
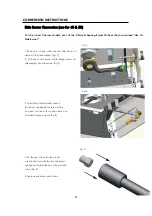
Searing Burner Conversion (Use for 5B)
For the 5 burner model, use 1 of the 3 Side &
Searing Burner Orifices that are marked "Use for
Side Burner".
3. Insert the provided socket wrench into burner
opening and unscrew orifice from end of valve
with socket wrench and
provided
bayonet wrench (Fig. 12)


