40
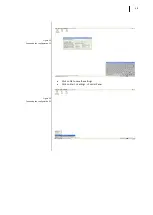
Figure 36
Connecting the configuration PC
Figure 37
Connecting the configuration PC
Attention: please transfer
the project into the MMC Memory
or into the SD card. This allows you
not to loose its content when
C6 HMI / C6 HMI LC will be switched
off.
To transfer the project into the
MMC Memory, you must specify
MMCMemory (like in the example
of the picture above).
3.9.1
Procedure
After the connection between C6 HMI / C6 HMI LC and the configuration PC, to trans-
fer the project into C6 HMI / C6 HMI LC you must:
Start COMBIVIS studio HMI Developing tool.
Load the project to transfer.
Click on the transfer icon (see picture below).
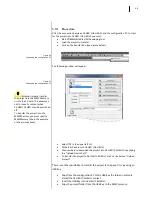
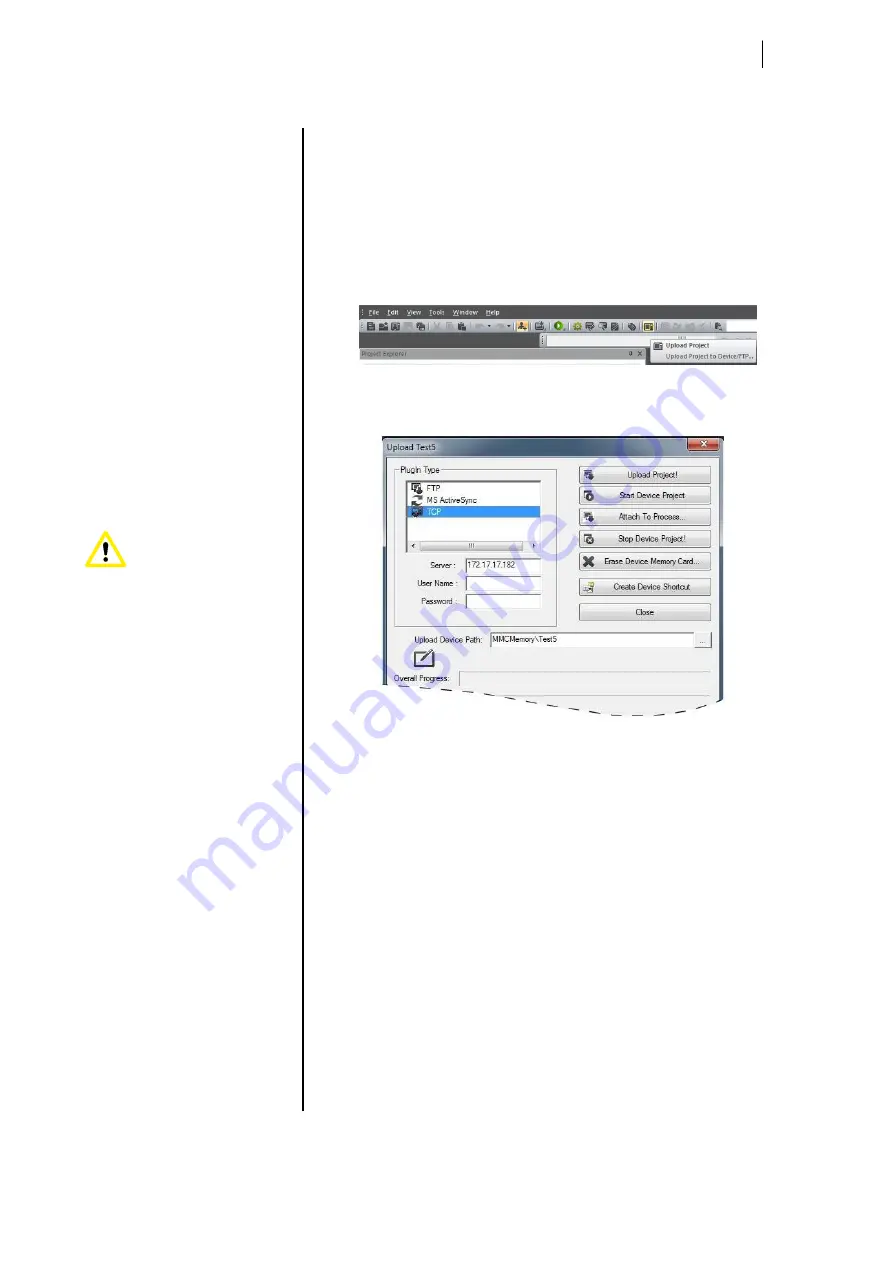
The following window will appear:
Select TCP in the upper left list.
Write the IP address of C6 HMI / C6 HMI LC
Choose where to download the project into C6 HMI / C6 HMI LC specifying
the “Upload Device Path”.
To transfer the project to C6 HMI / C6 HMI LC click on the button “Upload
Project!”.
There is another possibility to transfer the project to the panel. It is by using an
USB key.
Copy from the configuration PC to the USB Key the folder in which is
stored the C6 HMI / C6 HMI LC project.
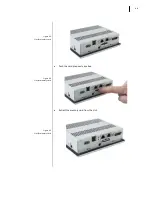
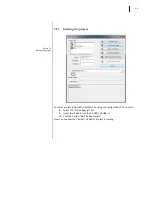
Insert the USB Key into C6 HMI / C6 HMI LC.
Copy the project folder from the USB Key to the MMC memory.
Summary of Contents for C6 HMI LC
Page 1: ...Document Part Version 20125246 GBR 00 C6 HMI C6 HMI LC Instruction Manual COMBICONTROL...
Page 2: ...2...
Page 5: ...5 SECTION 1 1 Introductory Information...
Page 10: ...10 SECTION 2 2 Description...
Page 16: ...16 Figure 7 C6 HMI C6 HMI LC 8 4 rear view Aeration holes Mounting seal 1 2 1 2...
Page 25: ...25 SECTION 3 3 Installation and connection...
Page 42: ...42...
Page 43: ...43 SECTION 4 4 Commissioning the device...
Page 47: ...47...
Page 48: ...48 SECTION 5 5 Commissioning a project...
Page 67: ...67 SECTION 6 6 Maintenance...


