


Q.5.42 November 2016
Page 15
KE2 Local Area
Dashboard & Alarms
Overview, Installation, and Setup Instructions
© Copyright 2016 KE2 Therm Solutions, Inc., Washington, Missouri 63090
Appendix A
ModBus Configuration - First Installation of
ModBus Devices on KE2 LDA
STEP 1
Daisy chain connections on controllers (See Appendix A).
A B
Sh
A B
Sh
A B
Sh
A B
Sh
A B
Sh
A B
Sh
A B
Sh
A B
Sh
A B
Sh-
not connect-
ed or connected to
earth ground
A B
Sh-
not connect-
ed or connected to
earth ground
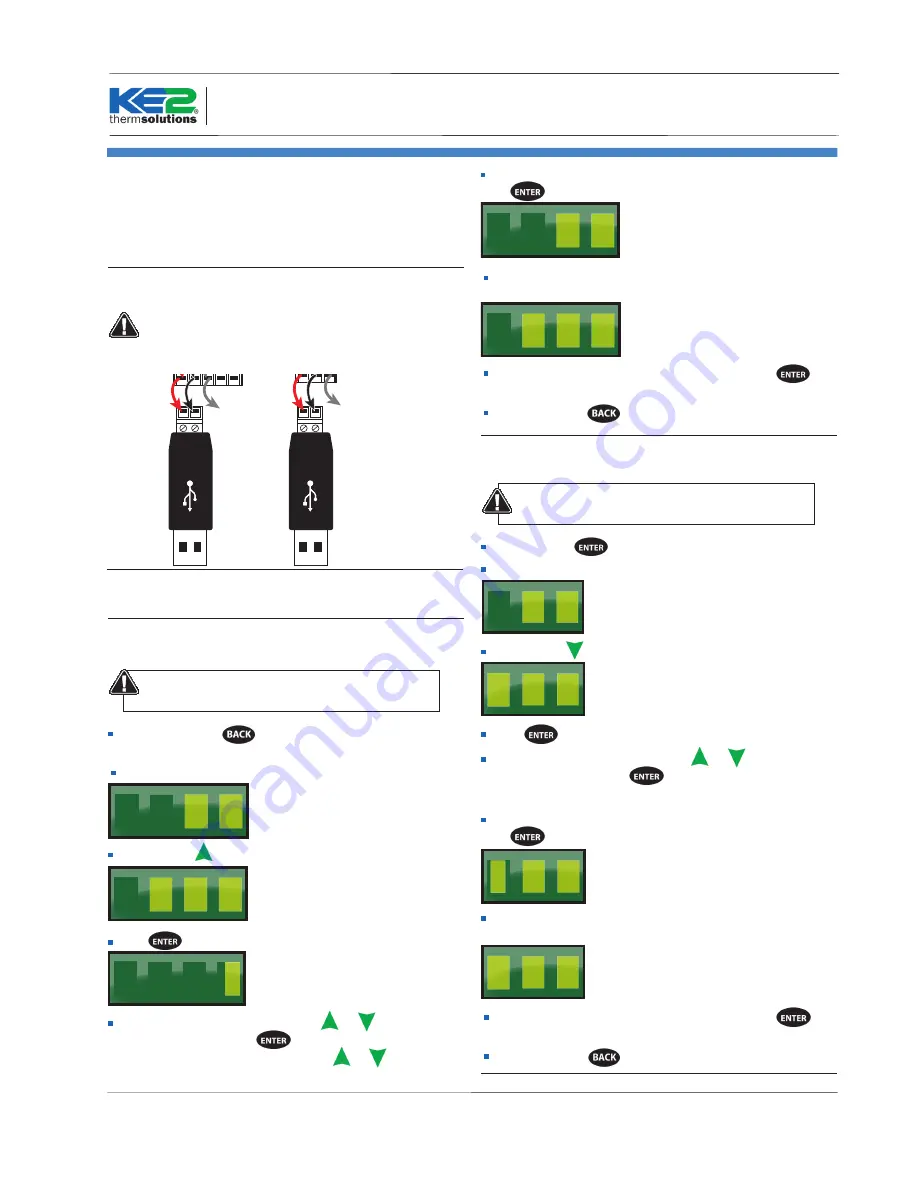
STEP 2
Finish wiring connection at USB adapter.
Do not plug into KE2 LDA or power on KE2 LDA
STEP 3
Power on controllers.
STEP 4 -
KE2 Adaptive Control & KE2 Low Temp
Change ModBus address on each controller
Each controller’s ModBus address must be unique.
Available addresses are 2-247.
Press and hold the
button to access the Advanced
menu.
t5 is displayed
5
t
Then, use the
arrow until you see Adr (Address)
r
A d
Press
and current address is displayed (default =1)
1
Change the address
by pressing the
or
arrow to
change the value. Use the
button to move to the next
digit. Again change the value using the
or
arrow. Avail-
able addresses are 2-247.
When address is set to the preferred value (Ex. 24), press and
hold
for 3 seconds to save the address.
4
2
Example
The controller will returnto the Adr screen when the setting
is saved.
r
A d
The setting change can be verified by pressing the
button.
To exit, press the
button several times.
STEP 4 -
KE2 Temp
Change ModBus address on each controller
Each controller’s ModBus address must be unique.
Available addresses are 2-247.
Press and hold
to access the Setpoints menu.
t5 is displayed
5
t
Then, use the
arrow until you see Adr (Address)
A
r
d
Press
and the current address is displayed (default =1)
Change the address
by pressing the
or
arrow to
change the value. Use the
button to move to the next
digit. Available addresses are 2-247.
When address is set to the preferred value (ex. 123), press and
hold
for 3 seconds to save the address.
3
2
1
Example
The controller will return to the Adr screen when the setting
is saved.
A
r
d
The setting change can be verified by pressing the
button.
To exit, press the
button several times.


