9
M
M
M
M
M
M
M
M
A
A
A
A
A
A
A
A
C
C
C
C
C
C
C
C
1
1
1
1
1
1
1
1
0
0
0
0
0
0
0
0
0
0
0
0
0
0
0
0
【
6
】
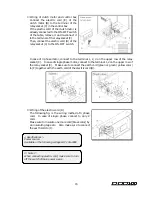
ADJUSTING OF NEEDLE GUARD
Align the line (a) on the needle guard
(A) with the center of the needle hole
when the needle is at the bottom of
the stroke. Then, set up the
clearance at 0mm between needle and
needle guard. Adjust the height of
the needle guard with screw (D).
Adjust the front to back of the needle
guard with bush (C) by hand-turning
after loosing of screw (B). The
needle guard is forward to the front
when hand-turning to the clockwise
direction. And it is backward to the
back when hand-turning to the counter-clockwise direction. Fasten the screw (B) after
adjusting. But, do not fasten the screw (B) up so tightly. When the top of the looper has
reached the center of the needle from the right side position, Adjust the clearance at
0~0.05mm between the needle and the top of the looper. At the same time, check and
adjust the position of the line (a) on the needle guard (A), which should be positioned at
the top of the needle.
【
7
】
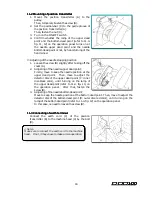
ADJUSTING THE PRESSER FOOT
7777----1 Presser foot pressure
1 Presser foot pressure
1 Presser foot pressure
1 Presser foot pressure
The presser foot pressure should be as light as possible,
yet be sufficient to feed the fabric and produce uniform
stitches. To increase the presser foot pressure, turn the
adjusting knob clockwise (see the illustration on the
right).
7777----2 Position of the presser foot and foot lift
2 Position of the presser foot and foot lift
2 Position of the presser foot and foot lift
2 Position of the presser foot and foot lift
The presser foot should not touch the needle.
Adjustment is made by loosening screw A and then
moving the presser foot to the right or left.
■
Foot lift
Fit the collar onto the bushing with the presser foot
8.5mm above the top surface of the needle plate.
Then tighten screw B.


