6
【
5
】
TIMING OF THE LOOPER TO THE NEEDLES
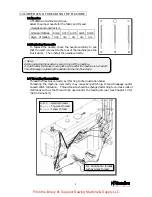
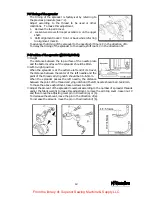
5-1 Angle and height for installing the looper
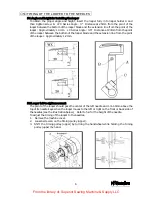
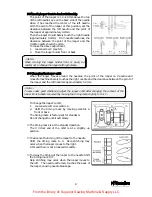
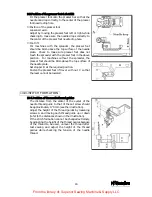
To obtain the proper angle and height, insert the looper fully into looper holder A and
then tighten screw B. WX Series Angle : 3° Distance at 25mm from the point of the
looper between the bottom of the looper blade and the extension line from the point of the
looper : Approximately 1.3mm. LX Series Angle : 3.5° Distance at 20mm from the point
of the looper between the bottom of the looper blade and the extension line from the point
of the looper : Approximately 1.2mm.
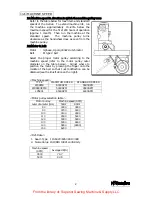
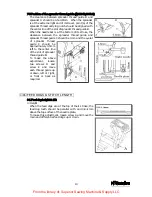
5-2 Looper left-to-right movement
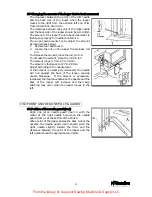
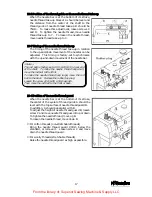
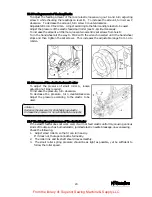
The point of the looper should pass the center of the left needle and 1.3~1.6mm above the
top of its needle's eye when the looper moves to the left or right on the front or back side of
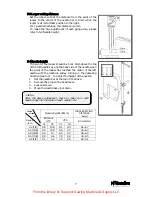
the needles (see the illustration below). Refer to 5-4 for the height of the needle.
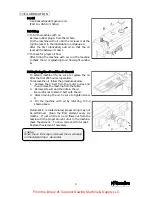
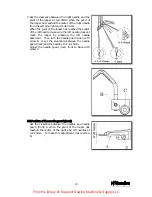
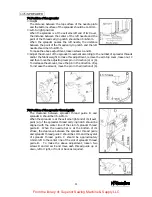
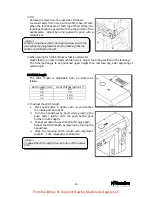
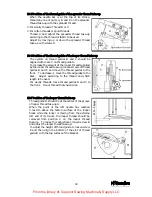
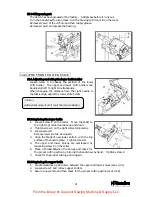
To adjust the timing of the looper to the needles,
1.
Remove the machine cover.
2.
Loosen screws A on the timing pulley (upper).
3.
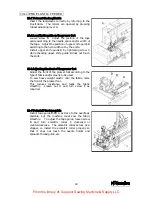
Shift the timing pulley (upper) by turning the handwheel while holding the timing
pulley (upper) by hand.
From the library of: Superior Sewing Machine & Supply LLC

