Nesis
— User’s Manual
5.3
Waypoint
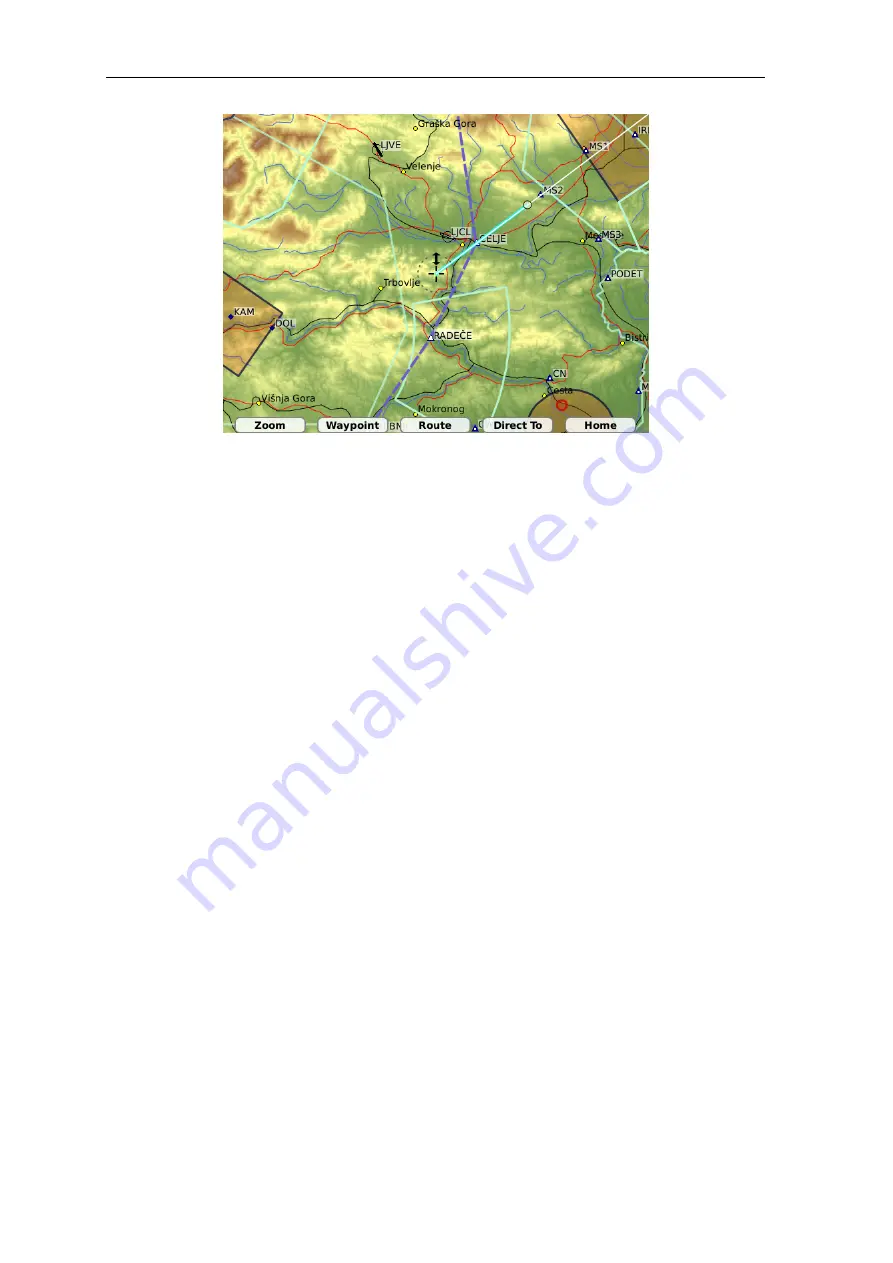
Figure 24:
Browsing the map. Radial directs to north-east and cursor is close to the MS2
GPS waypoint. At the bottom, browse specific menu is shown.
5.3
Waypoint
The map can be moved to some known waypoint directly using the
Waypoint
button. This
opens the waypoint dialog. Select a waypoint from the list and press the
OK
button. The
map will be centered at selected waypoint automatically.
5.4
Route
The
Route
buttons is mostly used to create a new route from a series of cursor positions
or waypoint selections. The buttons opens a list of commands, which are briefly described
below:
Route|New
starts a new route and clears any exiting route points which were entered
so far.
Route|Add
. This command adds the cursor position as a new route waypoint. If there
is a known navigation point close to the cursor position, this point is used. Otherwise,
a temporary waypoint with cursor coordinates is used.
Route|Save
saves the route into Nesis flash drive.
It does not activate the route,
however.
Route|Activate
activates the route. It exits the browse mode and switches back to
the flight mode with the newly created route being active. Note however, that the
route was not saved automatically. Once the Nesis is turned off, restarted or a new
route is activated, the route is lost. Thus, you should consider saving the route before
activating it.
Route|Edit
activates classic route manipulation window. This window is described in
section 6.1 on page 33.
Version 2.0
30
©
Kanardia
2011


