25
L-4 Clearing the Current Combination and Setting a New Combination
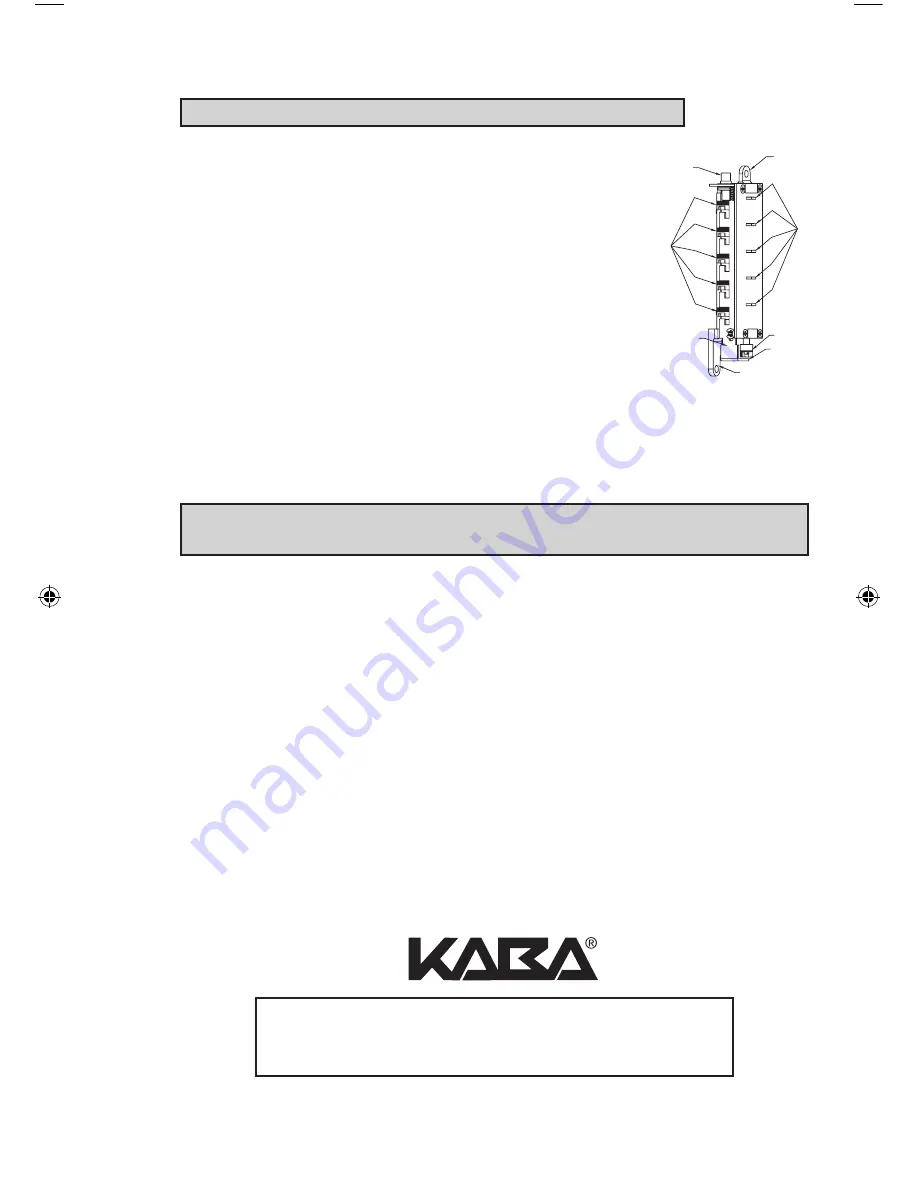
Note: Align the code gear pockets with the “L” shaped legs.
Depress the combination change button (i) located on top
of the combination chamber and release.
Rotate the reset cam back toward you with your finger
(toward the key stems) as far as it will go and release.
Enter your new combination by depressing the key
stem corresponding to the first number (1 through 5)
of your combination. For example, if the new combina-
tion is 3-2-5, then you would depress 3 first, then 2 and
finally 5. Record this new combination for future refer-
ence.
Push the shoulder (j) at the bottom of the Unlocking
slide up toward the combination change button and release. If each of the 5
“L” shaped legs of the unlocking slide engages snugly inside its correspond-
ing code gear pocket, then it confirms that the new combination has been
successfully changed. Rotate the reset cam (g) back toward you and release.
Note: If all 5 “L” shaped legs do not align fully with their corresponding
code gear pockets, repeat the procedures L-3 and L-4.
L-5 Reinstalling chamber assembly into lock and retesting
Reinstall the 3-sided dust cover over the combination chamber with the
2 small Phillips screws removed. (May be 1 screw in newer models)
Reinstall the combination chamber assembly to the base plate with the 2
Phillips screws removed.
Reinstall the base plate on to the outside lock assembly with the 2
Phillips screws removed. Make sure all parts have been reinstalled
correctly.
L-6 Reinstall lock on door
by following the procedures in Sections D and E
of this manual.
L-7 Retest new combination with lock on the open door
by entering the
new numbers followed by the “ENTER” button and rotating the outside
lever/knob. The lock should open and the latch should retract.
i
a
c
f
j
g
h
e
For technical assistance please call
1.800.849.TECH (8324) or 336.725.1331
LIT1051_Simplex_506x _Mortise_1012.indd 25
1/7/13 3:13 PM
Summary of Contents for Simplex 506 Series
Page 1: ...Simplex 506x Mortise Installation Instructions ...
Page 15: ...15 Notes ...


