Clock Setting (Remote Control
Only)
1
Press the [
A
] button to turn on the power.
2
Press the [CLOCK/TIMER] button.
3
Within 5 seconds, press the [ENTER] button.
4
To adjust the day, press the [
S
/
T
] button
and then press the [ENTER] button.
5
Press the [
S
/
T
] button to select 24-hour
or 12-hour display and then press the
[ENTER] button.
.
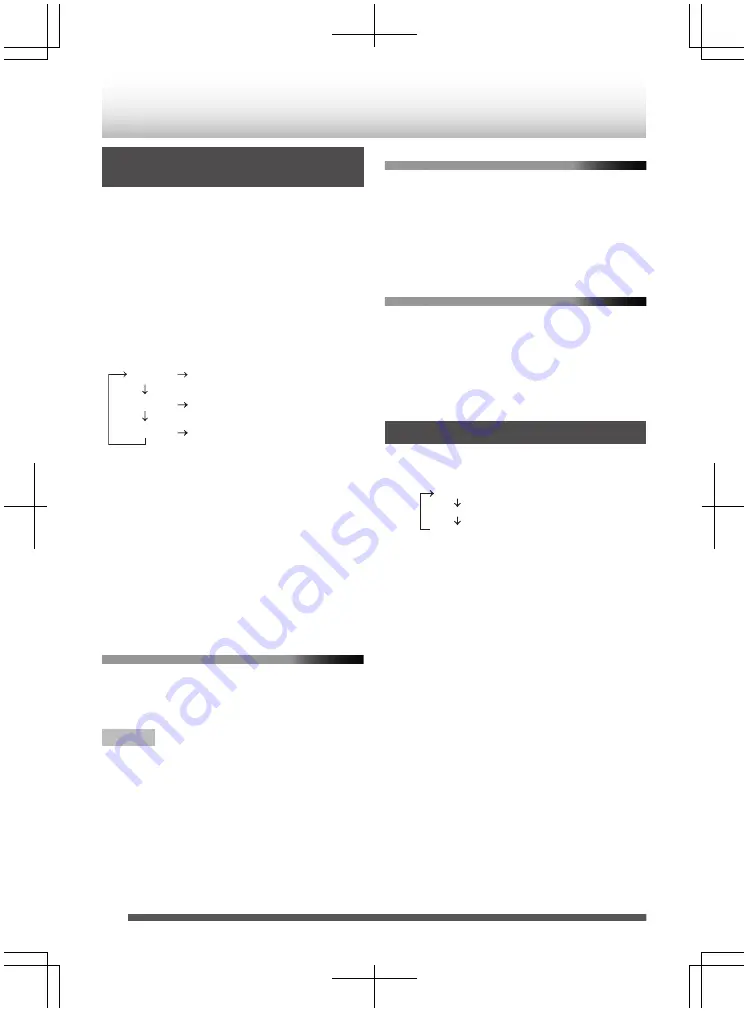
“AM 00:00”
“AM 12:00”
“0:00”
(AM 0:00 - PM 11:59)
(AM 12:00 - PM 11:59)
The 12-hour display will appear.
The 12-hour display will appear.
(0:00 - 23:59)
The 24-hour display will appear.
6
To adjust the hour, press the [
S
/
T
]
button and then press the [ENTER] button.
0
Press the [
S
/
T
] button once to advance
the time by 1 hour. The time will be changed by
pressing the button repeatedly.
7
To adjust the minute, press the [
S
/
T
]
button and then press the [ENTER] button.
0
Press the [
S
/
T
] button once to advance
the time by 1 minute. Hold it down to advance
the time by 5 minutes interval.
To confirm the time display
1
Press the [CLOCK/TIMER] button.
The time is displayed for 5 seconds.
Note
When power supply is restored after unit is plugged in
again or after a power failure, time indicator will flash.
Reset the clock again.
To readjust the clock
1
Perform step 1 at “Setting the clock (Remote
control only)”.
Step 5 (selecting 24-hour or 12-hour display) will
be skipped.
To change the 24-hour or 12-hour
display
1
Clear all the programmed contents.
Refer to the “Factory reset, clearing all memory”
2
Perform step 1 at “Clock Setting (Remote
Control Only)”.
Display Brightness Control
To dim the display brightness, press the [DIMMER/
NETWORK STANDBY] button on the remote control.
.
Dimmer 1
Dimmer 2
Dimmer Off
(Display is bright).
(Display gets dimmer).
(Display is dim).
12


