- 24 -
Sometimes you may notice a drop in picture
quality while watching your programme in
the quarter-screen. This is not a fault.
When the BACK button is pressed, the previ-
ous screen is returned to. When the TV/DTV
or MENU button is pressed, the menu dis-
appears.
When the
(information) button is
pressed, the help screen appears. When it
is pressed again, the previous screen is re-
turned to.
Here, you can preview any channel stored by
the receiver before viewing it full screen. The
complete list of channels is displayed in
pages of 11 channels at a time, with their
channel list number and a favourite channel
icon if appropriate.
Choosing a channel
The chosen channel is shown on the quar-
ter-screen.
1. Press the / buttons and choose
Select on the bar at the bottom of the screen.
2. Press the / buttons and choose a
channel, and then press the
OK
button.
The picture of the chosen channel is
shown on the quarter-screen.
Deleting a channel
1. Press the / buttons and choose
Delete on the bar at the bottom of the
screen.
2. Press the / buttons and choose
the channel to be deleted, and then press
the OK button.
The channel deletion confirmation win-
dow appears.
3. Choose Yes and press the
OK
button.
The chosen channel is deleted.
If you do not want to delete the chosen
channel, choose NO and press the
OK
button.
Perform Installation (see page 25) to
re-register a channel that you have de-
leted.
Editing a channel name
1. Press the / buttons and choose
Edit Name on the bar at the bottom of the
screen.
2. Press the / buttons and choose
the channel to be edited, and then press the
OK
button.
The EDIT window appears.
3. Press the / buttons and choose
a character, press the / buttons to
move the cursor and edit the name, and
then press the
OK
button.
The edited channel appears in the Edit
PR List.
Locking a channel
When there is a channel you do not want
your children to watch, you can lock the
channel.
1. Press the / buttons and choose
Lock on the bar at the bottom of the screen.
2. Press the / buttons and choose
the channel to be locked, and then press
the
OK
button.
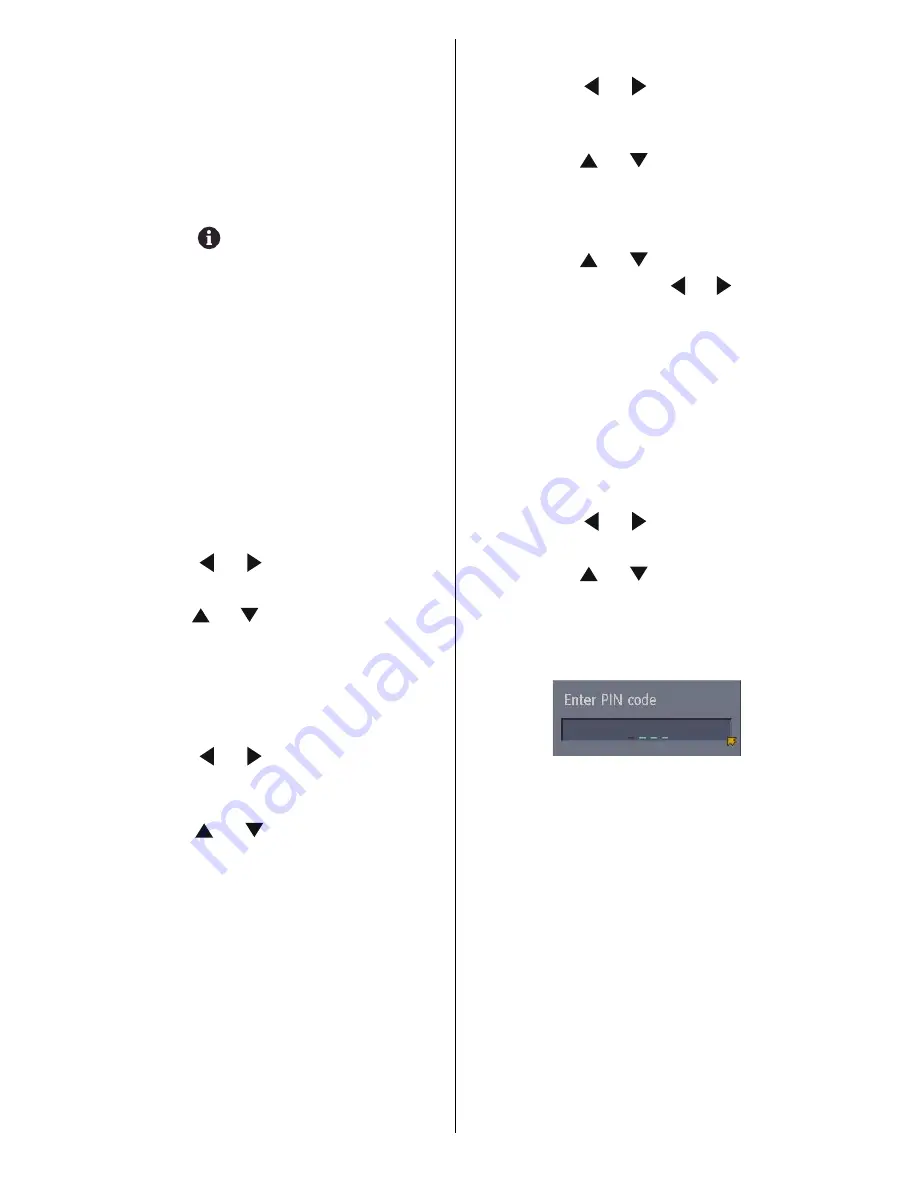
The Enter PIN code input window ap-
pears.
3. Press the number buttons to input to cor-
rect PIN code.
If you have not changed the PIN code in
the CONFIGURATION menus Enter PIN
Code (see page 23), input the PIN code
you chose.
The lock icon appears next to the channel
name in the Edit PR List.
When a locked channel is chosen, the En-
ter PIN code input window will appear. If
the correct PIN code is input, the picture
appears.
When you forget the PIN code for the
Lock, you can unlock locked channels by
performing Automatic Search (see IN-
STALLATION ).
ENG-20710W-17MB16P-1895UK-(LT-20DA6SK)-50076128.p65
18.10.2005, 08:39
24
Summary of Contents for LT-20DA6SK
Page 22: ...2 12 No YA354 No YA354 2 11 MAIN PWB ASS Y 3 12 VE 20228287 MAIN PWB CIRCUIT DIAGRAM 3 12 ...
Page 23: ... No YA354 2 13 2 14 No YA354 MAIN PWB ASS Y 4 12 VE 20228287 MAIN PWB CIRCUIT DIAGRAM 4 12 ...
Page 24: ...2 16 No YA354 No YA354 2 15 MAIN PWB ASS Y 5 12 VE 20228287 MAIN PWB CIRCUIT DIAGRAM 5 12 ...
Page 25: ... No YA354 2 17 2 18 No YA354 MAIN PWB ASS Y 6 12 VE 20228287 MAIN PWB CIRCUIT DIAGRAM 6 12 ...
Page 26: ...2 20 No YA354 No YA354 2 19 MAIN PWB ASS Y 7 12 VE 20228287 MAIN PWB CIRCUIT DIAGRAM 7 12 ...
Page 27: ... No YA354 2 21 2 22 No YA354 MAIN PWB ASS Y 8 12 VE 20228287 MAIN PWB CIRCUIT DIAGRAM 8 12 ...
Page 28: ...2 24 No YA354 No YA354 2 23 MAIN PWB ASS Y 9 12 VE 20228287 MAIN PWB CIRCUIT DIAGRAM 9 12 ...
Page 29: ... No YA354 2 25 2 26 No YA354 MAIN PWB ASS Y 10 12 VE 20228287 MAIN PWB CIRCUIT DIAGRAM 10 12 ...
Page 30: ...2 28 No YA354 No YA354 2 27 MAIN PWB ASS Y 11 12 VE 20228287 MAIN PWB CIRCUIT DIAGRAM 11 12 ...
Page 31: ... No YA354 2 29 2 30 No YA354 MAIN PWB ASS Y 12 12 VE 20228287 MAIN PWB CIRCUIT DIAGRAM 12 12 ...
Page 33: ... No YA354 2 33 2 34 No YA354 TOP PATTERN DIAGRAMS MAIN PWB PATTERN SOLDER SIDE ...
Page 34: ...2 36 No YA354 No YA354 2 35 TOP MAIN PWB PATTERN PARTS SIDE ...
Page 83: ... 2005 Victor Company of Japan Limited 0205MKH VT VT 50076128 ...


