


10
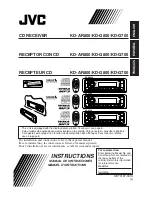
ENGLISH
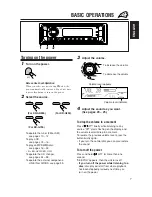
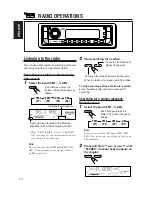
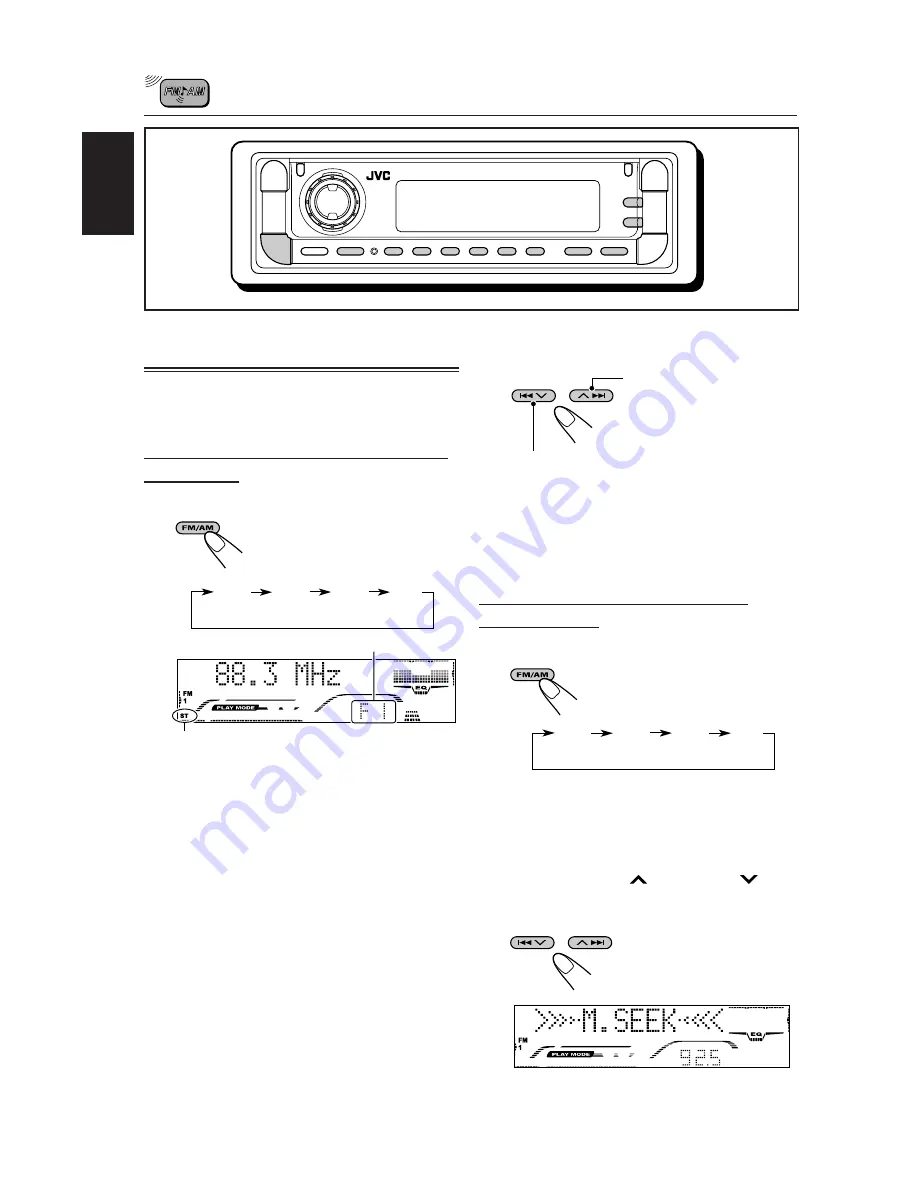
RADIO OPERATIONS
Listening to the radio
You can use either automatic searching or manual
searching to tune in to a particular station.
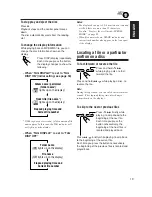
Searching for a station automatically:
Auto search
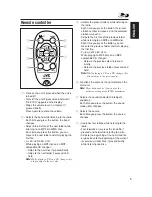
1
Select the band (FM1 – 3, AM).
Each time you press the
button, the band changes as
follows:
*
When “CLOCK DISP” is set to “CLK DISP
ON” (see page 28), the current indication will
soon change to the clock time.
Note:
This receiver has three FM bands (FM1, FM2,
FM3). You can use any one of them to listen to
an FM broadcast.
Selected band appears*.
Lights up when receiving an FM stereo
broadcast with sufficient signal strength.
2
Start searching for a station.
When a station is received, searching stops.
To stop searching before a station is received,
press the same button you have pressed for
searching.
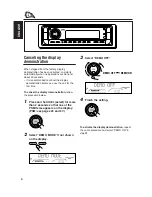
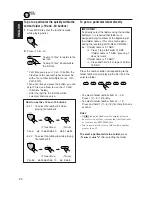
Searching for a station manually:
Manual search
1
Select the band (FM1 – 3, AM).
Each time you press the
button, the band changes as
follows:
Note:
This receiver has three FM bands (FM1, FM2,
FM3). You can use any one of them to listen to an
FM broadcast.
2
Press and hold
¢
or
4
until
“M.SEEK” (manual seek) appears on
the display.
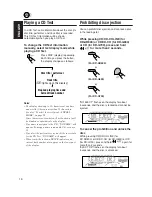
FM 1
(F1)
FM 2
(F2)
FM 3
(F3)
A M
(A1)
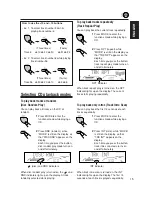
To search for stations of
higher frequencies
To search for stations of lower frequencies
FM 1
(F1)
FM 2
(F2)
FM 3
(F3)
A M
(A1)


