


— 9 —
D
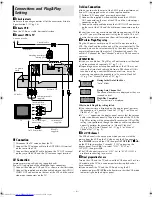
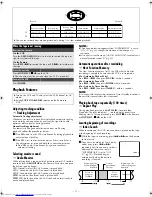
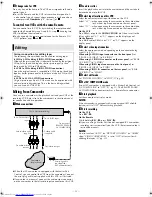
Connect Controller to VCR
Connect the Controller to the CABLE BOX Controller connector
on the rear panel.
E
Turn on cable box or DBS receiver
Select a channel other than channel 9 on your cable box, or
channels 100, 205 on your DBS receiver.
F
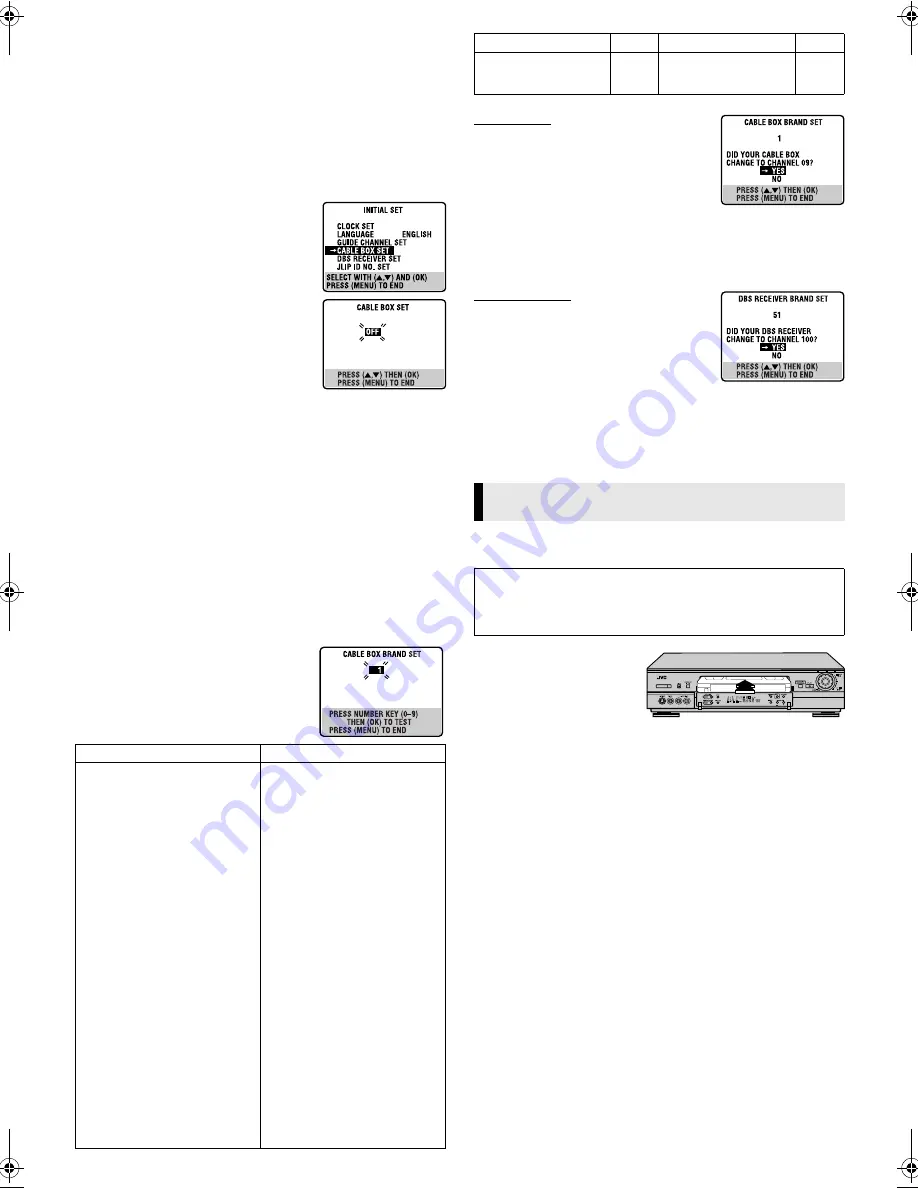
Access Main Menu screen, then Initial Set screen on VCR
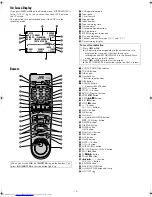
Press
MENU
on the Remote. Press
rt
to move the highlight bar
(arrow) to “INITIAL SET”, then press
OK
or
e
.
G
Access Cable Box Set screen or DBS
Receiver Set screen
Press
rt
to move the highlight bar
(arrow) to “CABLE BOX SET” or “DBS
RECEIVER SET”, then press
OK
or
e
.
H
Select output channel
Your selection depends on how the unit is
connected to your VCR.
●
If the unit is connected to your VCR’s
ANTENNA IN terminal on the rear
panel,
Press
rt
until the channel
number representing the cable box’s
output (CH2 – CH9) or DBS receiver’s output (CH3 or CH4)
appears on the screen.
●
If the unit is connected to your VCR’s AUDIO/VIDEO IN
connectors on the front panel,
press
rt
until “ON F-1
(FRONT)” appears on the screen.
●
If the unit is connected to your VCR’s AUDIO/VIDEO IN
connectors on the rear panel,
press
rt
until “ON L-1 (REAR)”
appears on the screen.
●
If you do not use any unit,
press
rt
until “OFF” appears on
the screen.
I
Access Brand Set screen
Press
OK
or
e
.
●
If the Clock Set screen appears, perform “Manual Clock Set”
(
墌
pg. 7). If you press
MENU
after the clock has been set, the
Brand Set screen appears.
J
Enter brand code and perform test
Press the appropriate
Number keys
on the
Remote to enter the brand code from the
following list, then press
OK
or
e
.
For cable box
●
If the cable box’s channel changes to 9,
setting is complete. Press
OK
.
●
If the cable box’s channel does not
change to 9;
A
Press
rt
to move the highlight bar
(arrow) to “NO”, then press
OK
or
e
.
B
Repeat step
0
0
0
0
until the cable box’s channel changes to 9 by
entering another code.
C
If the channel does not change after going through all the code
numbers listed for your model of cable box, then try all the
other numbers.
For DBS receiver
●
If the DBS receiver’s channel changes to
the channel listed below for your brand,
setting is complete. Press
OK
or
e
.
●
If the DBS receiver’s channel does not
change as shown above;
A
Press
rt
to move the highlight bar (arrow) to “NO”, then
press
OK
or
e
.
B
Repeat step
0
0
0
0
.
Basic Playback
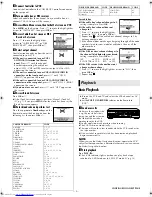
A
Load a cassette
Make sure the window side
is up, the rear label side is
facing you and the arrow on
the front of the cassette is
pointing towards the VCR.
●
Do not apply too much pressure when inserting.
●
The VCR turns on automatically.
●
The tape will run for a few seconds while the VCR searches for
the tape number.
●
If the cassette’s record safety tab has been removed, playback
begins automatically.
NOTE:
When you use the Video Navigation function, operate the VCR
only after the tape number is detected; otherwise, you cannot use
the Video Navigation function.
B
Start playback
Press
PLAY
(
4
).
●
The S-VHS indicator lights up when you play back a tape
recorded in S-VHS mode or in S-VHS ET mode (
墌
pg. 13).
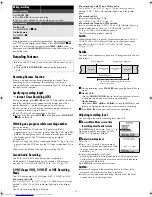
CABLE BOX BRAND
CODE
ARCHER
CABLETENNA
CABLEVIEW
CITIZEN
CURTIS
DIAMOND
GC BRAND
GEMINI
GENERAL INSTRUMENTS
HAMLIN
JASCO
JERROLD
NOVAVISION
OAK
PANASONIC
PULSER
RCA
REGAL
REMBRANDT
SAMSUNG
SCIENTIFIC ATLANTA
SIGMA
SL MARX
SPRUCER
STARGATE
TELEVIEW
TOCOM
UNIKA
UNIVERSAL
VIDEOWAY
ZENITH
1, 5, 17
1, 17
15, 16, 17, 21, 25
15, 16, 17, 21, 25
2, 8
1, 17
15, 16, 17, 21, 25
15
1, 4, 6, 11, 12, 15, 28
10, 18, 23
15
1, 4, 6, 11, 12, 15, 28
2, 8
7, 20
13, 14
15, 16, 17, 21, 25
13, 14
10, 18, 23
1, 16, 17
5, 16, 24
2, 8
7, 20
5, 16, 17, 24, 25
13, 14
5, 15, 16, 17, 21, 24, 25
5, 16, 24
1, 4, 16
1, 17
16, 17, 25
3, 9, 22
3, 9, 22
DBS RECEIVER BRAND
CODE
DBS RECEIVER BRAND
CODE
JVC (DISH Network)
ECHOSTAR (DISH
Network)
51
51
SONY (DSS)
RCA (DSS)
41
40
JVC
ECHOSTAR
]
]
100
100
SONY
RCA
]
]
205
205
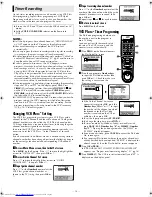
Playback
●
Turn on the VCR and TV, and select the VCR channel (or AV
mode).
●
Set the
VCR/TV/CABLE/DBS
selector on the Remote to
“VCR”.
REW
FF
CONTINUED ON NEXT PAGE
HR-S9911U-EN.fm Page 9 Monday, April 22, 2002 1:34 PM


