advanced features
48
Manual Channel Setup
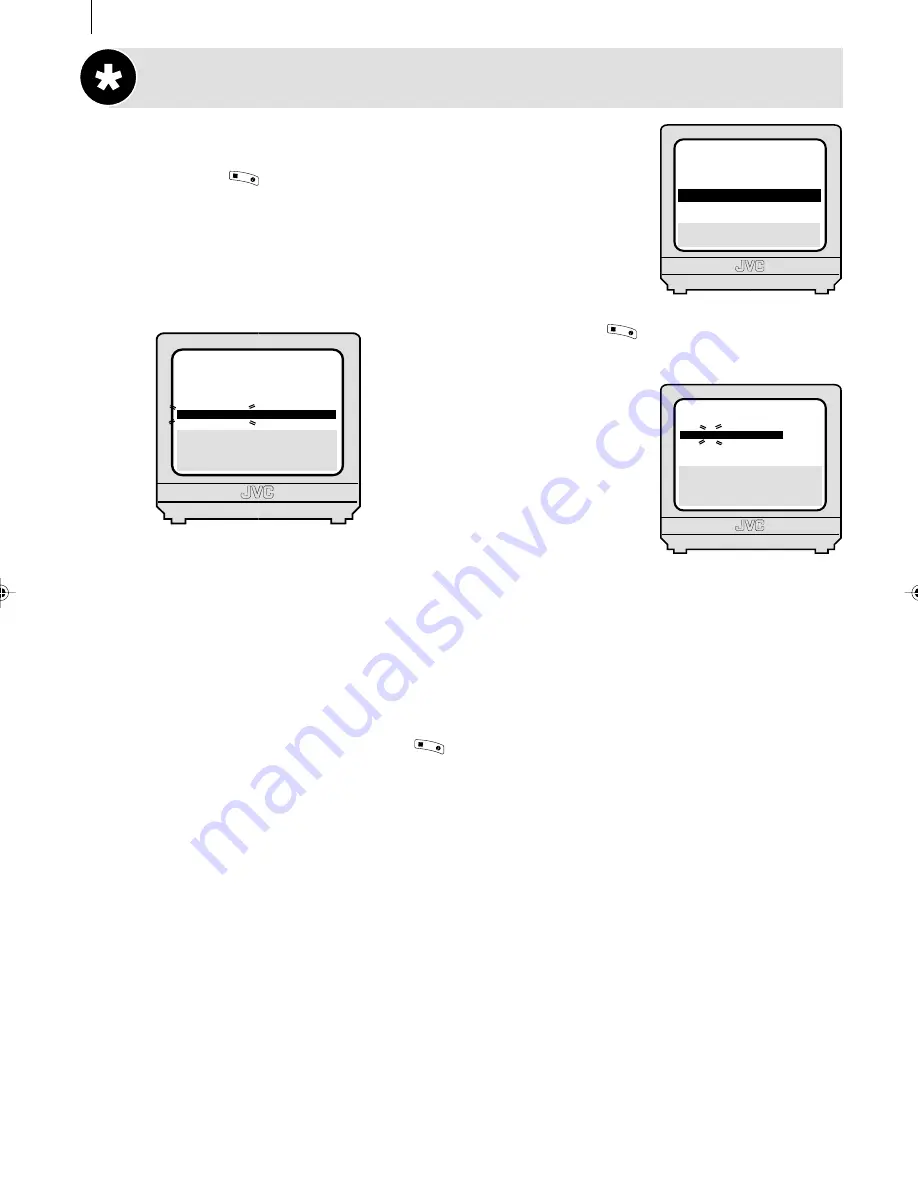
get to the confirmation screen
Press
m
. Move the
highlight bar to
MANUAL CH SET
using the
A
and
B
buttons
and press (or
E
).
select position
Use the
M
button on the Remote Control to move the highlight bar
to a vacant position then press .
In this example, we have chosen position 6.
select band
When the
MANUAL
CH SET
screen appears, press the
A
and
B
buttons to
change the band between CH
(regular) and CC (cable).
input channel number
Press
the
E
button and you will see
the channel number space flash-
ing. Use the number keys to enter the Channel Number that you want to store.
input channel id
Press the
E
button to move to the Channel ID space and use the
A
and
B
buttons to select the required ID from the stored list.
fine tuning
Press the
E
button repeatedly to move to the Fine Tuning ‘+/–’ and use the
A
and
B
buttons to fine-tune the channel. A ‘+’ or a ‘–’ symbol will appear during this
process.
save new channel details
Press
OK
3
/
to save the details you have just entered. The Confir-
mation Screen will appear again. Repeat the above procedure from
Select Position
onwards as
many times as required.
close confirmation screen
Press
m
.
OK
3
/
OK
3
/
[
1
]
a
k
[MENU]: EXIT
MAIN MENU
MODE SET
AUTO CH SET
MANUAL CH SET
INITIAL SET
F
PR
01
02
03
04
05
06
07
CH
26
33
23
30
37
[
10
]
a
k
: EDIT
a
[
x
]: DELETE
[MENU]: EXIT
ID
BBC1
BBC2
ITV
CH4
CH5
- - - -
- - - -
PR
08
09
10
11
12
13
14
CH
ID
- - - -
- - - -
- - - -
- - - -
- - - -
- - - -
- - - -
[
1
]: SELECT
[
0
]: CURSOR
g
k
: OK
[MENU]: EXIT
PR
06
CH
CH2
1
ID
- - -
-
FINE
+/–
HR-S6955EK-EN/p47-52
3/13/02, 05:09 PM
48
Summary of Contents for HR-S6955EK
Page 12: ...three step quick start 12 ...
Page 28: ...basic features 28 ...


