6
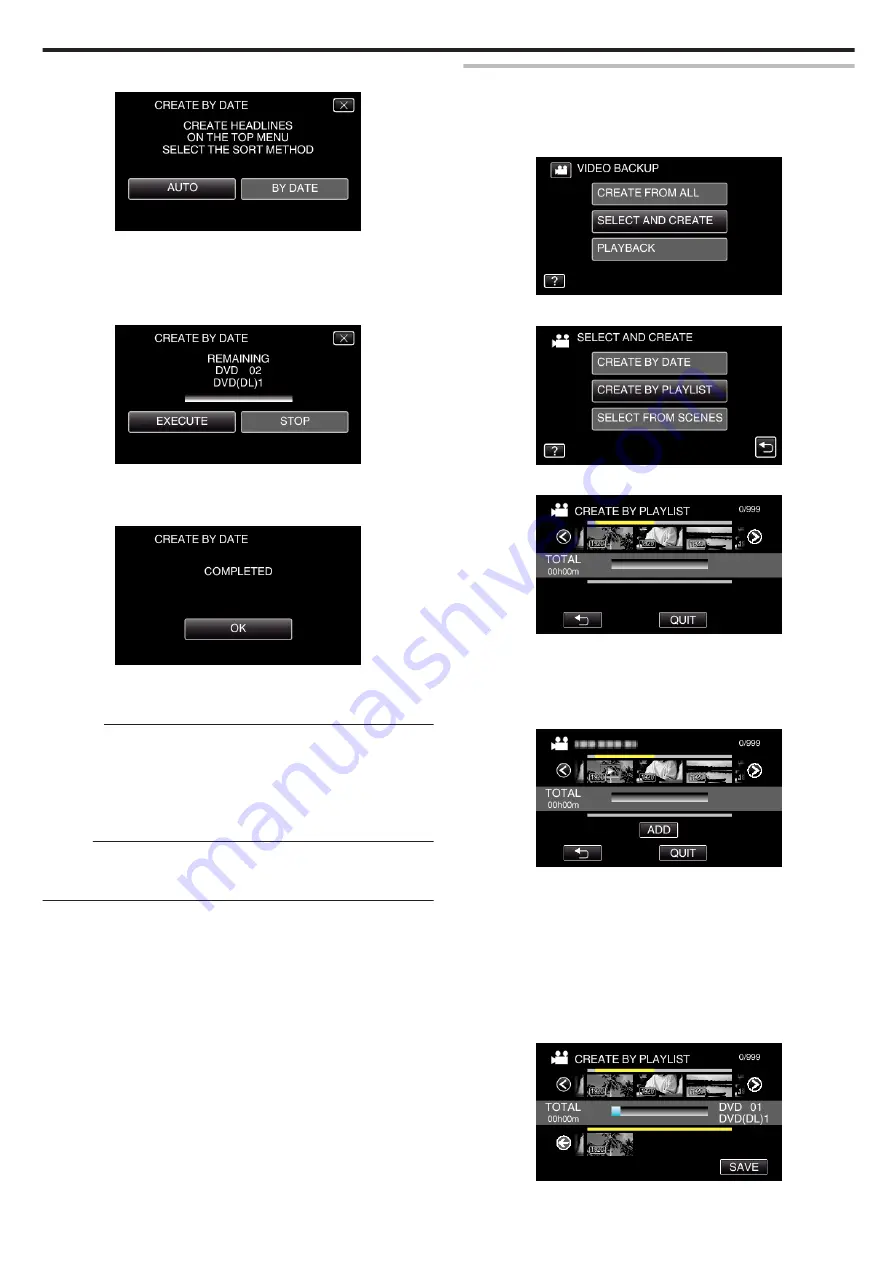
Tap “AUTO” or “BY DATE”. (
A
mode only)
.
0
When “AUTO” is selected, videos with similar recording dates are
displayed in groups.
0
When “BY DATE” is selected, videos are displayed according to
recording dates.
7
Tap “EXECUTE”.
.
0
When “INSERT THE NEXT DISC TO CREATE OR PRESS STOP TO
EXIT” appears, change the disc.
8
Tap “OK” when “COMPLETED” is displayed.
.
9
Press and hold the
M
button for 2 seconds or more to turn off this unit
and disconnect the USB cable.
Caution :
0
Do not turn off the power or remove the USB cable until copying is
complete.
0
Files that are not on the index screen during playback cannot be copied.
Special files cannot be copied either.
0
All DVDs will be finalized automatically.
Files cannot be added to the DVD-R/DVD-RW later.
Memo :
0
To check the created disc, refer to ““Playing Back with a DVD Writer”
“Playing Back with a DVD Writer” (
Copying Selected Playlists
Arrange and copy the created playlists in the order you like.
1
Select video mode.
2
Tap “SELECT AND CREATE”.
.
3
Tap “CREATE BY PLAYLIST”.
.
4
Tap on the playlist to copy to disc.
.
0
d
appears on the selected playlist (upper row).
Tap
J
to deselect.
0
Tap on the selected playlist again to check the content of the playlist.
After checking, tap
J
.
5
Tap “ADD” to insert a playlist.
.
0
Repeat steps 4-5 and arrange the playlists.
0
To change the position of a playlist (lower row), select the insertion
point with
E
/
F
after step 4 and tap “ADD”.
0
d
appears when the inserted playlist is selected.
Tap
J
to deselect.
0
Tap on the selected playlist again to check the content of the playlist.
After checking, tap
J
.
0
To delete of a video in the playlist (lower row), tap the video, then tap
“CANCEL”.
6
After arranging, tap “SAVE”.
.
Copying
139
Summary of Contents for GZ-VX715
Page 1: ...CAMCORDER LYT2463 034A Detailed User Guide GZ VX715 ...
Page 209: ......


