


Playing Back/Deleting Files on this Unit
Select and play back the recorded videos from an index screen (thumbnail display).
*Only for GZ-HM50: The contents of the media selected in “REC MEDIA SETTING”
(P.9) are displayed on the index screen.
.
2011
Turn up the
volume
Turn down the
volume
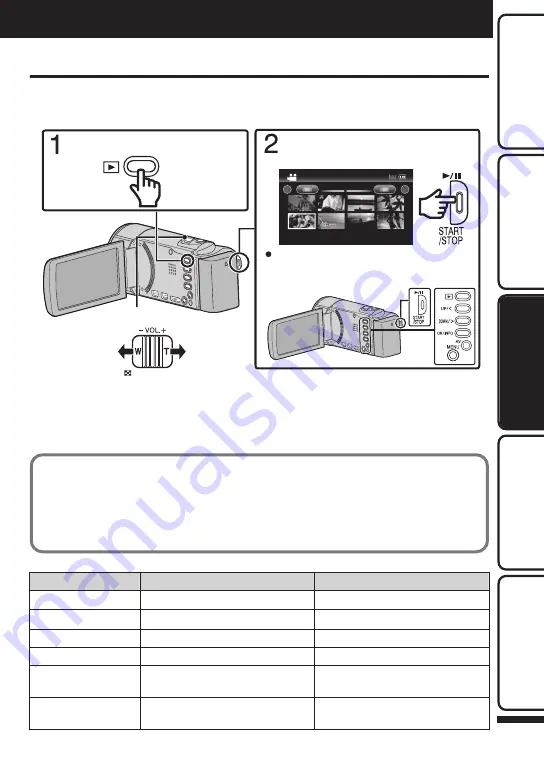
Volume adjustment
To select/move cursor towards
up/left or down/right, press the
button UP/< or DOWN/>.
Select the desired video and press
[
d
/
e
].
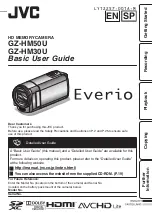
Select the playback mode.
0
Press
L
again to return to the recording mode.
0
Videos recorded in high definition and standard definition are displayed on the index
screen separately. Set “VIDEO QUALITY” in the recording menu to “LS” or “LE” to view
the videos recorded in high definition, or to “SSW”, “SS”, “SEW”, or “SE” to view the
videos recorded in standard definition, before selecting the playback mode. (P.7)
o
To delete selected files from
the index screen
A
Press MENU, select “DELETE” and
press OK.
B
Select “FILE SELECT” and press OK.
C
Press UP/< or DOWN/> to select files
and press OK.
D
Press MENU, select “DELETE” and
press OK to confirm deletion.
E
After deleting is complete, press OK.
o
Usable operation buttons/levers during playback
During video playback
During video pause
d
/
e
Pause
Playback
Zoom
u
-
Stop (returns to thumbnail display)
Zoom T / Vol.+
Increases volume level
-
Zoom W / Vol.-
Decreases volume level
-
UP/<
Reverse search
Frame-by-frame playback in reverse
direction
DOWN/>
Forward search
Frame-by-frame playback in forward
direction
Playback
For more information, refer to the Detailed User Guide
http://manual.jvc.co.jp/index.html/
13
Getting Started
Recording
Playback
Copying
Further
Information


