Useful Settings for Recording
0
Videos can be found easily during playback by categorizing them when
recording.
“Registering Files to Events” (
0
When “QUICK RESTART” is set to “ON”, this unit turns on immediately if
you open the LCD monitor within 5 minutes after the power is turned off
by closing the monitor.
0
When “AUTO POWER OFF” is set to “ON”, this unit turns itself off
automatically to conserve power when it is not operated for 5 minutes.
(only when using the battery pack)
0
When “FACE PRIORITY AE/AF” is set to “ON” (default setting), this unit
detects faces and automatically adjusts its brightness and focus to record
the faces more clearly.
Caution :
0
Do not expose the lens to direct sunlight.
0
Do not use this unit in the rain, snow, or places with high humidity like the
bathroom.
0
Do not use this unit in places subject to excessive humidity or dust, as well
as places exposed to steam or smoke directly.
0
The access lamp lights up when video recording is in progress. Do not
remove the battery pack, AC adapter, or microSD card when the lamp is
lighted.
0
Make a backup of important recorded data.
It is recommended to copy your important recorded data to a DVD or other
recording media for storage. JVC will not be responsible for any lost data.
Memo :
0
Before recording an important scene, it is recommended to conduct a trial
recording.
0
Check the remaining recording time in the media before you start shooting.
If there is not enough space, move (copy) the data to a PC or disc.
0
Do not forget to make copies after recording!
0
Recording stops automatically as it cannot be performed for 12 or more
consecutive hours according to specifications.
(It may take some time to resume recording.)
0
For long recordings, the file is split into two or more files if the size exceeds
4 GB.
0
You can connect this unit to the AC adapter to record for long hours
indoors.
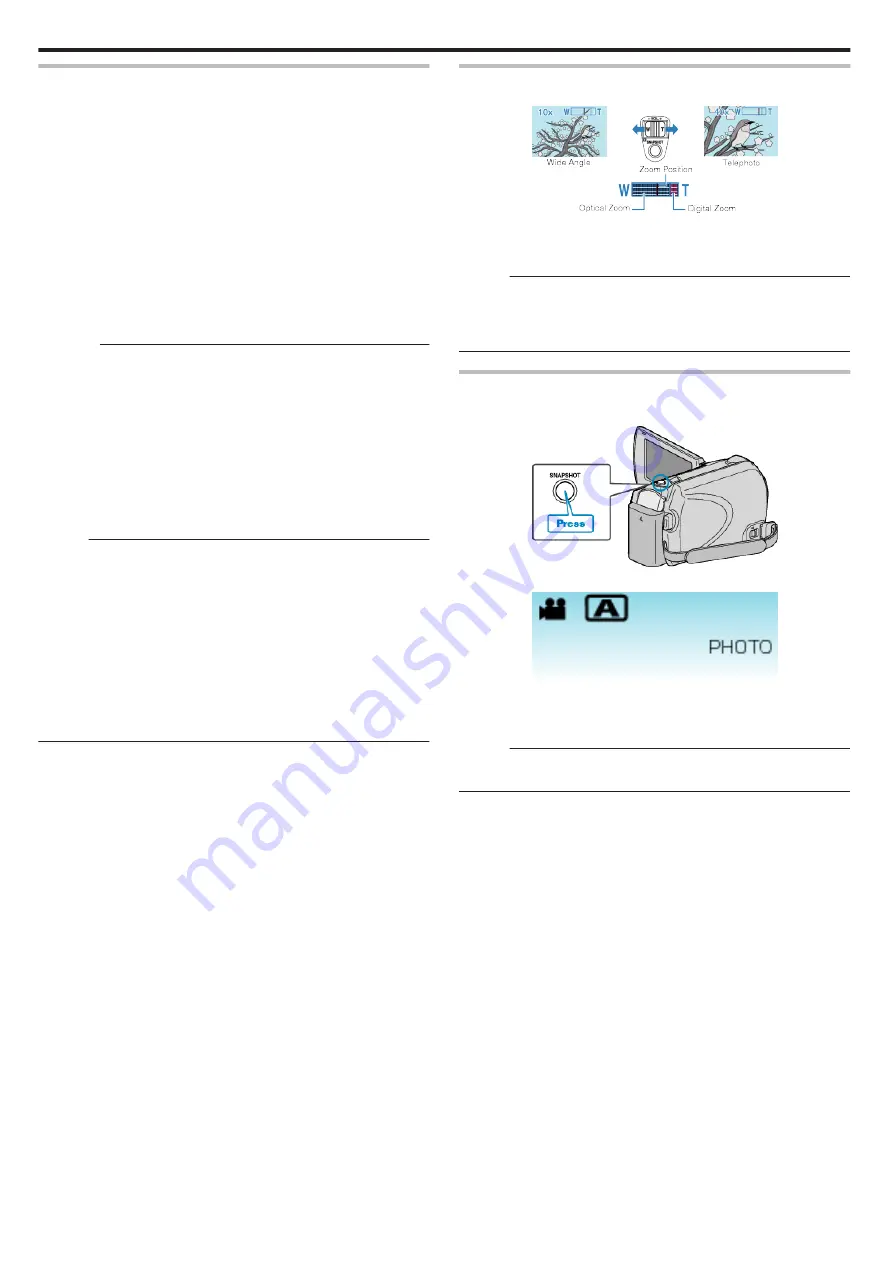
Zooming
The angle of view can be adjusted using zoom.
.
0
Use the W end (wide angle end) to shoot a wider field of view.
0
Use the T end (telephoto end) to magnify the subject for shooting.
Memo :
0
When digital zoom is used, the image becomes grainy as it is digitally
enlarged.
0
The zoom ratio range can be changed.
“Changing the Zoom Ratio Range” (
Capturing Still Images During Video Recording
Still images can be captured by pressing the SNAPSHOT button while in the
video mode (standby or recording).
.
0
"PHOTO" lights up on the screen when a still image is being captured.
.
0
The still images captured during video recording are saved to the
destination set in media settings.
Memo :
0
The picture quality varies with the “IMAGE QUALITY” setting.
“Changing Still Image Picture Quality” (
Recording
20
Summary of Contents for Everio GZ-HD520
Page 1: ...CAMCORDER LYT2305 019A Detailed User Guide GZ HD520 ...
Page 90: ... Menu Settings 90 ...
Page 123: ......


