


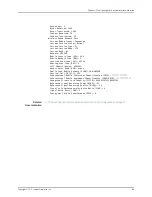


user@host> show interfaces terse
4.
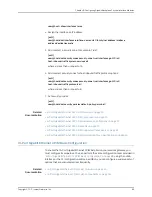
Assign the interface an IP address:
[edit]
user@host# set interfaces
interface-name
unit 0 family inet address
interface
address/destination prefix
5.
Add or select a security zone; for example, Trust:
[edit]
user@host# set security zones security-zone trust interfaces
ge-0/0/x.0
host-inbound-traffic system-services all
where x is less than or equal to 16
6.
Add or select security zones for host inbound traffic protocol options:
[edit]
user@host# set security zones security-zone trust interfaces
ge-0/0/x.0
host-inbound-traffic protocols all
where x is less than or equal to 8
7.
Set security policies:
[edit]
user@host# set security policies default-policy permit-all
Related
Documentation
8-Port Gigabit Ethernet SFP XPIM Overview on page 29
•
•
8-Port Gigabit Ethernet SFP XPIM Components on page 30
•
8-Port Gigabit Ethernet SFP XPIM Hardware Specifications on page 31
•
8-Port Gigabit Ethernet SFP XPIM LEDs on page 31
•
8-Port Gigabit Ethernet SFP XPIM Supported Transceivers on page 32
•
8-Port Gigabit Ethernet SFP XPIM Network Interface Specifications on page 34
16-Port Gigabit Ethernet XPIM Basic Configuration
To enable the 16-Port Gigabit Ethernet XPIM installed on your services gateway, you
must configure its properties. You can perform the same configuration tasks provided in
“8-Port Gigabit Ethernet SFP XPIM Basic Configuration” on page 88
using the J-Web
interface or the CLI configuration editor. In addition, you can configure a wider variety of
options that are encountered less frequently.
Related
Documentation
•
16-Port Gigabit Ethernet XPIM (PoE) Overview on page 35
•
16-Port Gigabit Ethernet XPIM (PoE) Components on page 36
89
Copyright © 2017, Juniper Networks, Inc.
Chapter 12: Configuring Gigabit-Backplane Physical Interface Modules