


CAUTION:
Use the same type of power supply in all slots. Do not mix power supply models in the
same chassis.
NOTE:
See the heat symbol
. Wear heat-resistant hand gloves while accessing the fan tray and power
supply.
Ensure that you have the following parts and tools available to install a JNP10K-PWR-AC power supply:
•
Electrostatic discharge (ESD) grounding strap
•
Phillips (+) screwdriver, number 1
•
Power cords appropriate for your geographical location.
•
Power cord retainer clips
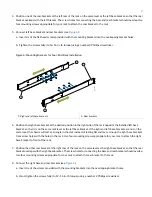
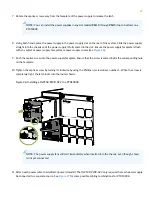
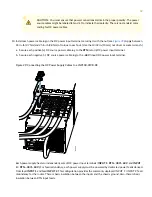
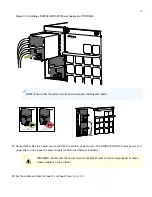
To install an AC power supply in a PTX10008:
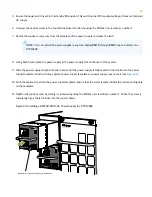
1. Attach the electrostatic discharge (ESD) grounding strap to your bare wrist, and connect the strap to the ESD point
on the chassis. There is an ESD point located next to the protective earthing terminal and below PSU 5 on the PTX10008
rear panel (see
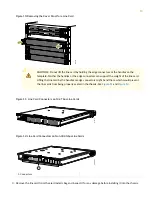
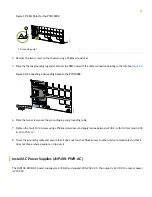
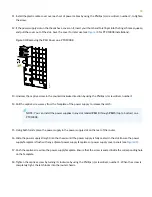
2. If the power supply slot has a cover panel on it, insert your thumb and forefinger into the finger holes, squeeze and
pull the cover out of the slot. Save the cover for later use. See
for removal on a PTX10008.
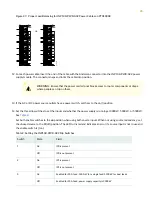
Figure 21: Removing the PSU Cover Panel on a PTX10008
g050587
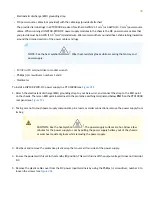
3. Taking care not to touch power supply connections, remove the power supply from its bag.
4. Peel back and remove the protective plastic wrap that covers all four sides of the power supply.
22