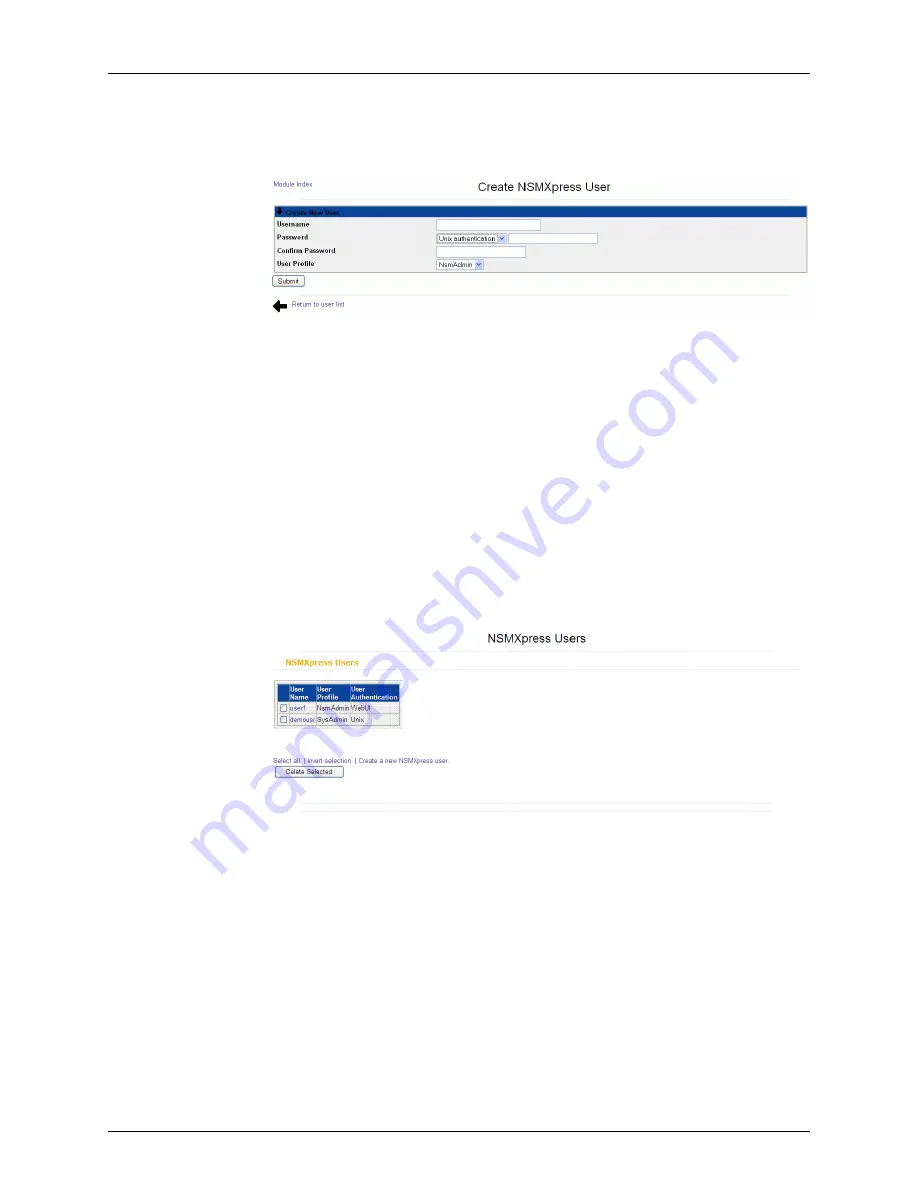
Figure 37: Create NSMXpress User Dialog Box
3.
Enter the user name in the local OS, in the
Username
text box.
4.
Select
Unix authentication
from the
Password
drop-down list. The Password and
Confirm Password text boxes will be disabled since the password will be fetched from
the local OS.
5.
From the
User Profile
drop-down list box, select the user profile you want to associate
with the local user in the WebUI.
6.
Click
Submit
. The NSMXpress Users dialog box appears with the new NSMXpress user
listed.
To create a WebUI user:
1.
Select
System Administration > User Management
. The NSMXpress Users dialog box
appears listing all NSMXpress users. See Figure 38 on page 36.
Figure 38: NSMXpress Users Dialog Box
2.
Click
Create a new NSMXpress User
. The Create NSMXpress user dialog box appears.
3.
Enter a user name in the
Username
text box.
4.
Select
Set to
from the password drop-down list and enter the password you want to
set in the password text box.
5.
Reenter the password in the
Confirm Password
text box.
Copyright © 2010, Juniper Networks, Inc.
36
NSMXpress Quick Start


