


X*AP RM
1
3
Control concept
The communication between the
X*AP RM
1
remote panel, devices, setup and operating tools, is based on
TCP/IP over Ethernet
. The
X*AP RM
1
speaks natively
EmBER plus
protocol.
The setup
GUI
utilizes web technology. The functionality of the web GUI is developed
for Mozilla Firefox > 10 and Google Chrome > 15.
The
X*AP
RM
1
knows little about the devices it is able to control but after connecting with a specific device it
downloads a description in XML format and builds up the dedicated menu structure.
Getting started – IP setup in general
The
X*AP RM
1
remote panel as well as the remote unit (e.g. D*AP4, D*AP8, and their derivates like the V*AP
or M*AP) must have unique IP addresses and the same network mask in order to "talk" to each other as well
as to other devices / PCs within a Local Area Network segment. If the
X*AP RM
1
sits in an other network
segment a suitable gateway address is mandatory. The
X*AP RM
1
remote panel
may (for now) control up to
4 units, one at a time.
The process of installing a
X*AP RM
1
into an
IP network
is as follows:
1. Ask the system service people for a unique IP addresses of the network,
the netmask and the gateway address.
2. Assign the
X*AP RM
1
remote panel an IP address, the netmask and, if necessary,
a gateway address.
4. Attach a device to the
X*AP RM
1
remote panel.
Important Note:
If you are not familiar with setting up devices for IP communication, we highly recommend
consulting your system service or IT department to assist you.
Getting started – IP setup of the
X*AP RM
1
remote panel
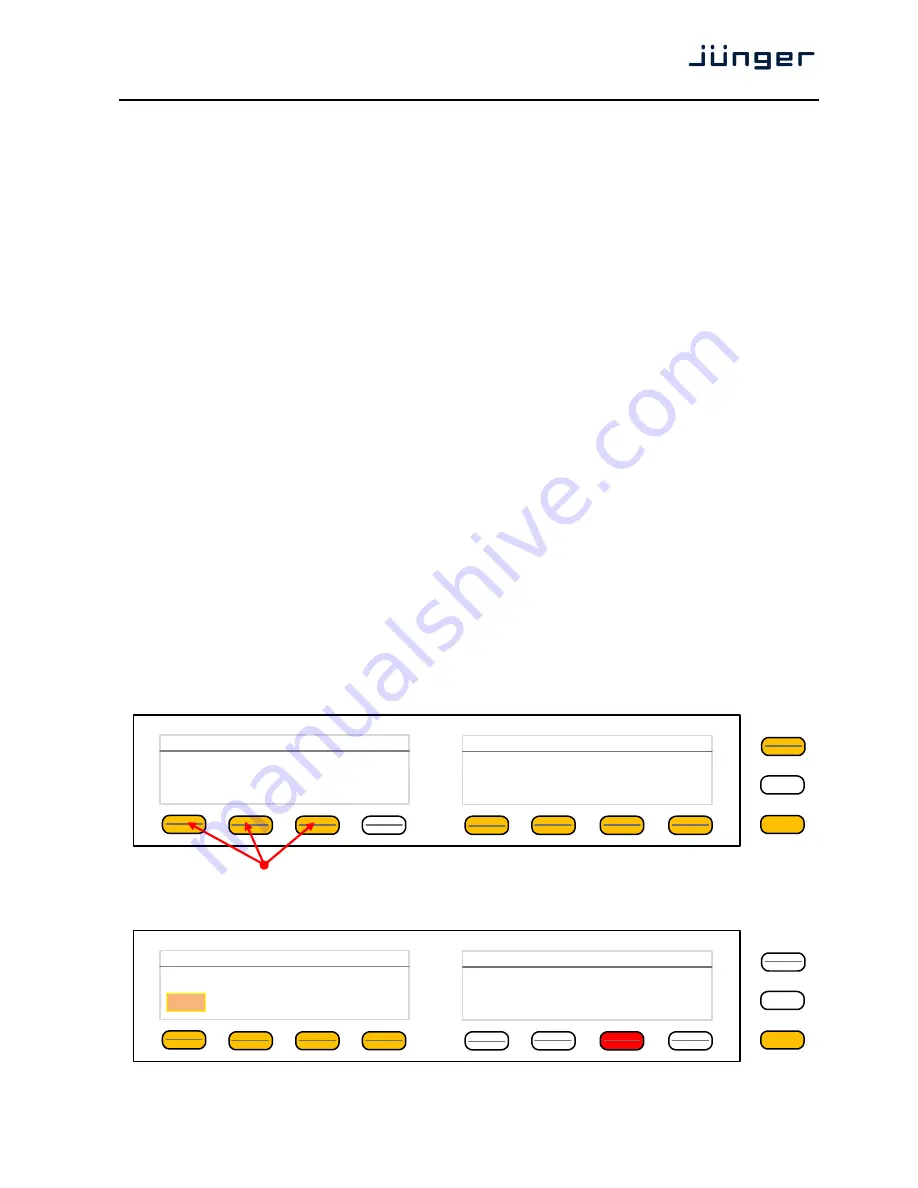
By pressing the
<MENU>
button from the main display, you will enter the
X*AP RM
1
"Remote Panel Menu"
page 1/3 to set up the IP configuration of the
X*AP RM
1
remote panel and to
attach up to four devices to this remote panel:
You may press the respective
<F-Keys>
and a separate window will appear for comfortable
set-up of the respective part of the IP configuration.
Here is an example for the IP address field (first F-Key):
MENU
ESC
Remote Panel Menu
IP Configuration
Address
10.110.56.7
Netmask
16
Gateway
10.110.100.1
Attach To Base Units (ON = Enables Remote Control)
Device 1
ON
Device 2
OFF
Device 3
OFF
Device 4
OFF
1/3
MENU
ESC
Remote Panel Menu :: IP Configuration
Address
. 110 . 56 . 78
SAVE
10


