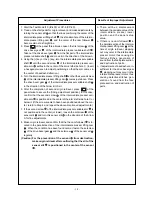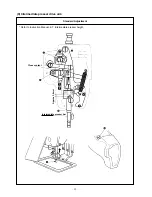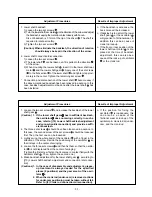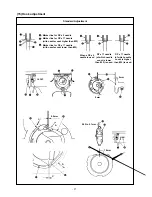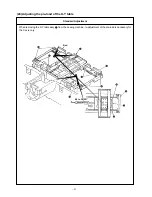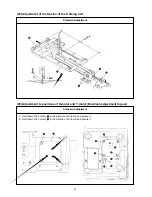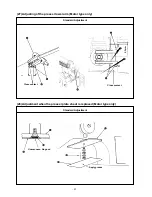
1. Start the test mode I07 (IP-400) or CP-6 (CP-20).
2. Tread on the pedal to perform origin retrieval for the thread trimmer
cam.
(Confirm that the origin is in the correct position. Then, proceed to
the procedures shown below. Refer to “(17) Thread trimmer and
presser origin sensor adjustment.”)
3. Press the + key
(IP-400) or
(CP-20). Make sure that the con-
tents
(IP-400) on the operation panel change from “ “ to “ “
or that the value
(CP-20) on the operation panel changes from
“11” to “01” after pressing the + key 6 to 8 times.
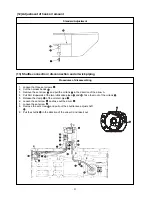
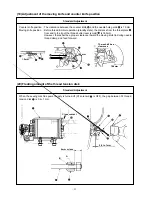
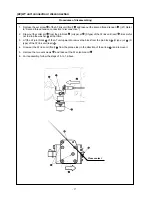
4. If the change occurs by pressing the + key other than 6-8 times, or
the change does not occur, loosen the set screw
and adjust the
sensor slit
finely in the arrow direction.
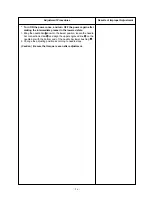
5. After the sensor slit
has been fixed, tread on the pedal and make
origin retrieval for the thread trimmer cam. Examine the sensor
changeover position in the steps 3. and 4. above.
6. Repeat the steps 2. ~ 5. above until the coincidence is secured.
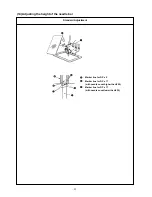
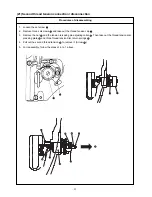
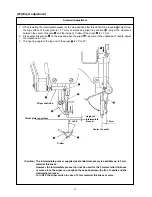
(Caution) During adjustments, check the clearances A, B, and C of
the sensor slit
and the sensor
. If the clearances
seem to be insufficient, use the set screws
and
to
correct the gradient. While taking this action, continue
to work on the steps above.
– 32 –
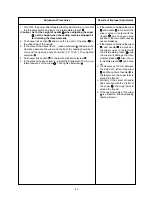
Adjustment Procedures
Results of Improper Adjustment
o If the thread trimmer sensor
changeover takes place outside
the range, the moving knife may
interfere with the needle. This will
be a cause of injury or the
breakage of parts.
o If the thread trimmer sensor
changeover does not take place,
Error 305 occurs and the sewing
machine fails to start operating.
o If the sensor slit
has no clear-
ance against the sensor
, this
can be a cause of destruction in
the sensor slit
or the sensor
.

