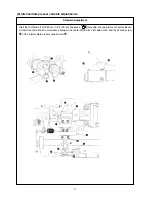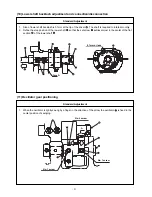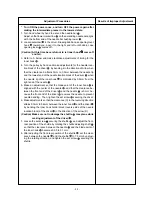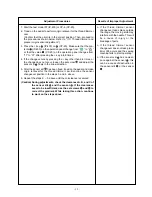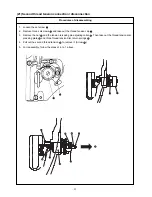
1. Loosen the set screw
and remove it.
2. When the adjusting screw
is tightened, the quantity of oil can be
regulated for the lubrication pipe left
.
3. After adjustments, tighten the set screw
to fix it.
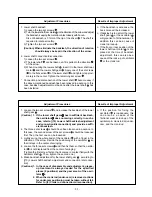
(Cautions) 1. In the state of standard shipping, the hook lubrica-
tion reducer
is positioned so that it is lightly tight-
ened and then return-loosened by 4 turns.
2. When reducing the oil amount, the screw should not
be tightened up fully. Tighten the hook lubrication
reducer
and then return it by two turns. In this
position, wait for half a day to see how it goes. Too
much reduction can be a cause of hook wear.
o If the amount of hook lubricant is
reduced too much, this can be a
cause of frictional wear of the
hook race plane or lock-up.
– 24 –
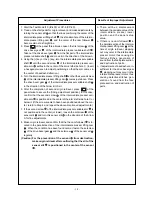
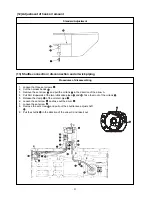
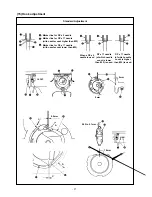
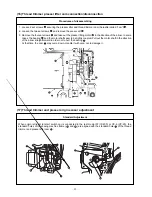
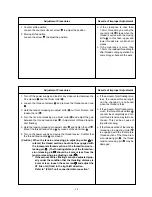
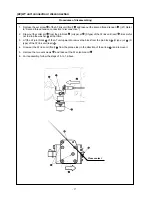
1. Pass the two lubrication pipes
and
and the oil drain pipe
through the frame, and mount the shuttle
.
2. Pass the lubrication pipe
along the upper side of the oil drain pipe
. Hold the lubrication pipe
with the
pipe holder
and fix it with the set screw
.
At that time, make sure not to let the lubrication pipe
and the oil drain pipe
come in contact with the
thread cutter connector rod and the lower shaft.
3. Fix the lubrication pipe
to the bed by means of the harness band
.
4. Fix the two lubrication pipes
and
with the cord clamps
and the set screws
.
At that time, make sure not to permit the lubrication pipes
and
to come in contact with the needle thread
clamp connector link.
5. Insert the two lubrication pipes
and
in the oil tank
and fix this oil tank
to the frame with the set
screws
.
6. Fix the needle thread clamp sensor cord and the oil drain pipe
with the cord clamp
.
At that time, pass the oil drain pipe through the head holes in two positions D and E.
7. Insert the oil drain pipe
in the oil reservoir
.
8. Fix the shuttle
and mount the driver
with the set screw
. Refer to [(15) Hook adjustment].
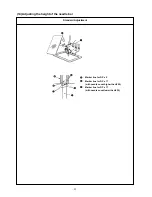
* Harness bands
: Part No. EA9500B0100
Adjustment Procedures
Results of Improper Adjustment
Procedures of assembling


