– 64 –
1
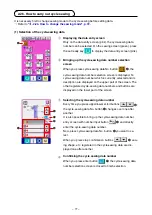
Displaying the data entry screen
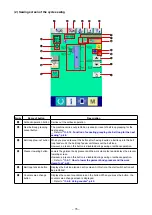
Only on the data entry screen (lght blue), the sewng shape
selecton s enabled. On the sewng screen (green), press the
set ready key
to the data entry screen (lght blue).
2
Bringing up the sewing shape selection screen
When you press sewng shape selecton button
A
, the
sewng shape selecton screen s dsplayed.
2-18. How to select the sewing shape (bartacking setting)
A
B
3
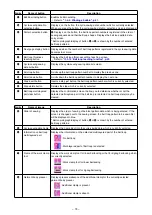
selecting the desired type of sewing shape
The followng two dfferent types of sewng shapes are aval-
able. If you want to change the standard pattern to the user
pattern or vce versa, press sewng shape type selecton but-
ton
B
.
Pctograph
Name
Max. number of patterns
Standard pattern
11
User pattern
200
4
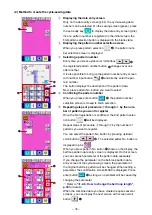
selecting the sewing shape
Press sewng shape button
C
whch corresponds to the one
you want.
5
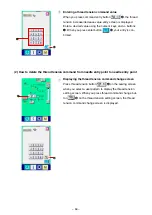
Confirming the sewing shape
Press enter button
D
to confirm the sewing shape you
have selected. Then, the data entry screen s dsplayed.
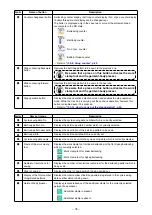
In the case you have selected the user pattern, the screen at
left s dsplayed. Pattern No. selecton button
E
appears on
the screen. Press the pattern No. button whch corresponds to
the one you want.
If you want to check the sewng shape you have selected,
press vewer button
F
.
Then, the vewer screen s ds-
played to show the sewng shape you have selected.
D
C
F
E
* Refer to
"
selecton of the lnear bartackng/zgzag bartackng of the
standard pattern.


