


Calling up a channel from one of your own
frequency groups
The channels from your own frequency groups are
called up via the menu item
Group/Channel
,
see chapter 6.2.2. Your own frequency groups are
marked with a
U
before the group number. If you
turn the knob PUSH
/
CONTROL clockwise, they
will appear after group 12; if you turn it counter-
clockwise, they will appear before group 1.
Deleting one of your own groups
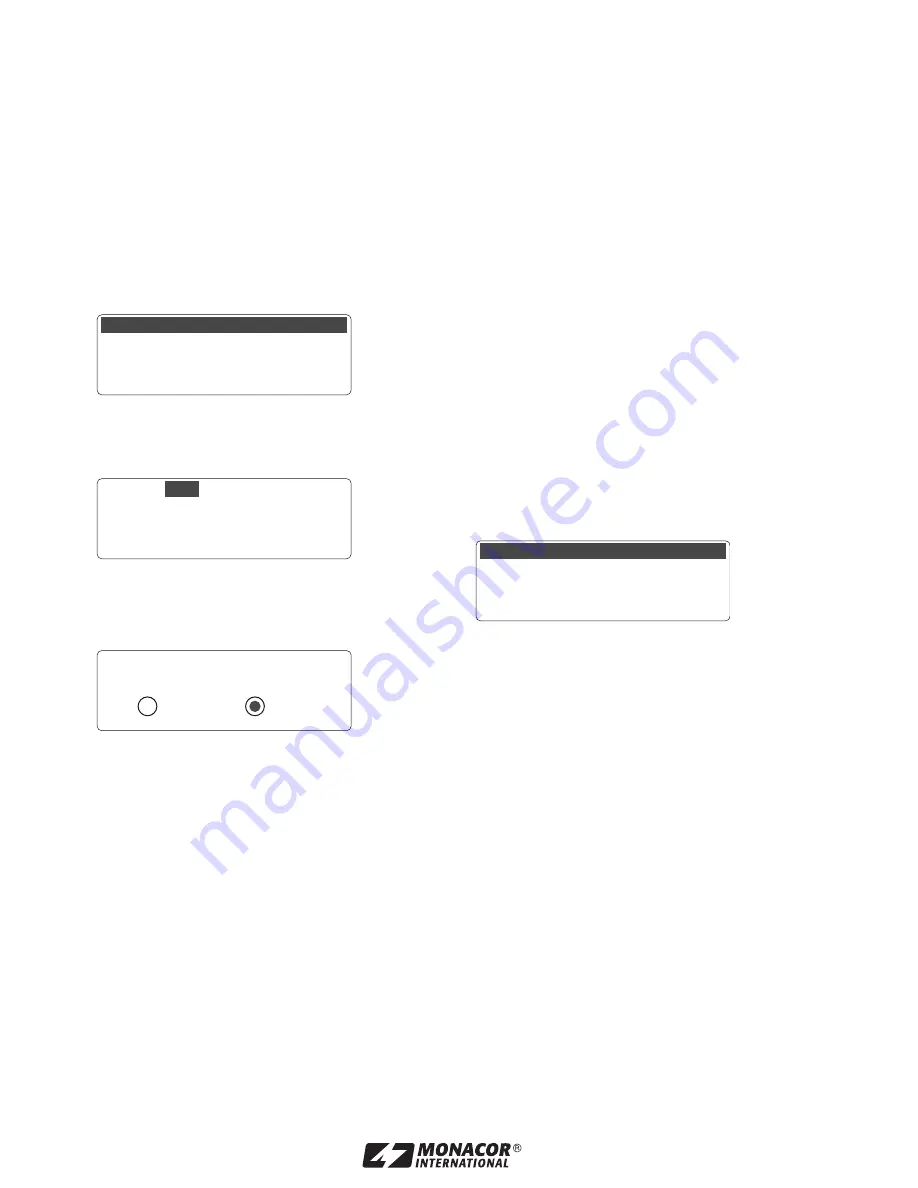
1) Call up the following menu via the menu item
User Group
of the main menu:
Fig. 16
2) Turn the knob PUSH / CONTROL to select the
second menu item
Clear Group
. Then press
the knob.
Fig. 17
3) Turn the knob to select the group to be deleted.
4) Press the knob. The following confirmation
prompt appears:
Fig. 18
5) To exit, press the knob or the button EXIT. To
delete the group, turn the knob so that
Yes
is
selected. Then press the knob.
6) To delete further groups, repeat steps 3 – 5; to
exit all menus, press the button EXIT three
times.
6.2.5 REMOSET
®
function
Setting the transmitter
to the same frequency
If the transmission frequency or the group and the
transmission channel have been set on the receiver,
simply press a button to activate the patented
REMOSET function which will synchronize the set-
tings of the transmitter and of the receiver. For the
REMOSET function, always make sure that:
1. no menu is called up on the receiver or on the
transmitter.
2. the transmitter is switched on and close to the
receiver (REMOSET transmission range: ap
-
prox. 10 m).
3. the REMOSET function is not locked on the
transmitter (
instruction manual of the trans-
mitter).
4. the transmitter and the receiver are set to the
same identification number.
5. the receiver and the transmitter are not locked.
6. the transmitter is not muted.
Identification number
To prevent mutual interference of individual pairs of
transmitter
/
receiver during REMOSET transmis-
sion, each pair must have a different identification
number (ID No.). If you only use one pair of trans-
mitter / receiver, there is no need to change the pre-
set ID No. 0. To change the ID No.:
1) Call up the setting for the ID No. via the menu
item
Device ID
of the main menu.
Fig. 19
2) Turn the knob PUSH
/
CONTROL to select a
number between 0 and 255.
3) Press the button SETUP to save the setting.
4) Press the button EXIT to exit the main menu.
5) Set the transmitter to the same ID No.
REMOSET
®
transmission
Press the button REMOSET (2). During REMOSET
transmission, the button keeps flashing rapidly. As
soon as the corresponding transmitter has been set
to the transmission frequency or to the group and
the transmission channel of the receiver, the button
lights permanently.
If the flashing slows down after approx. 15 sec-
onds, the automatic synchronization of the trans-
mitter has failed. To stop the flashing, press the but-
ton EXIT (8). For troubleshooting see steps 1 – 6 at
the beginning of this chapter. Check the settings on
the transmitter and correct them, if required. Then
press the button REMOSET again.
Setup Device ID
0 [0~255]
1. Custom Group
2. Clear Group
3. Return
Group:
U1
Rotary to select
Push "Enter" to clear
Push "Exit" to return
Group "U…" will be cleared
continue ?
Yes No
17
ENGLISH


