


www.joy
-
it.net
Pascalstr. 8 47506 Neukirchen
-
Vluyn
1. Installation
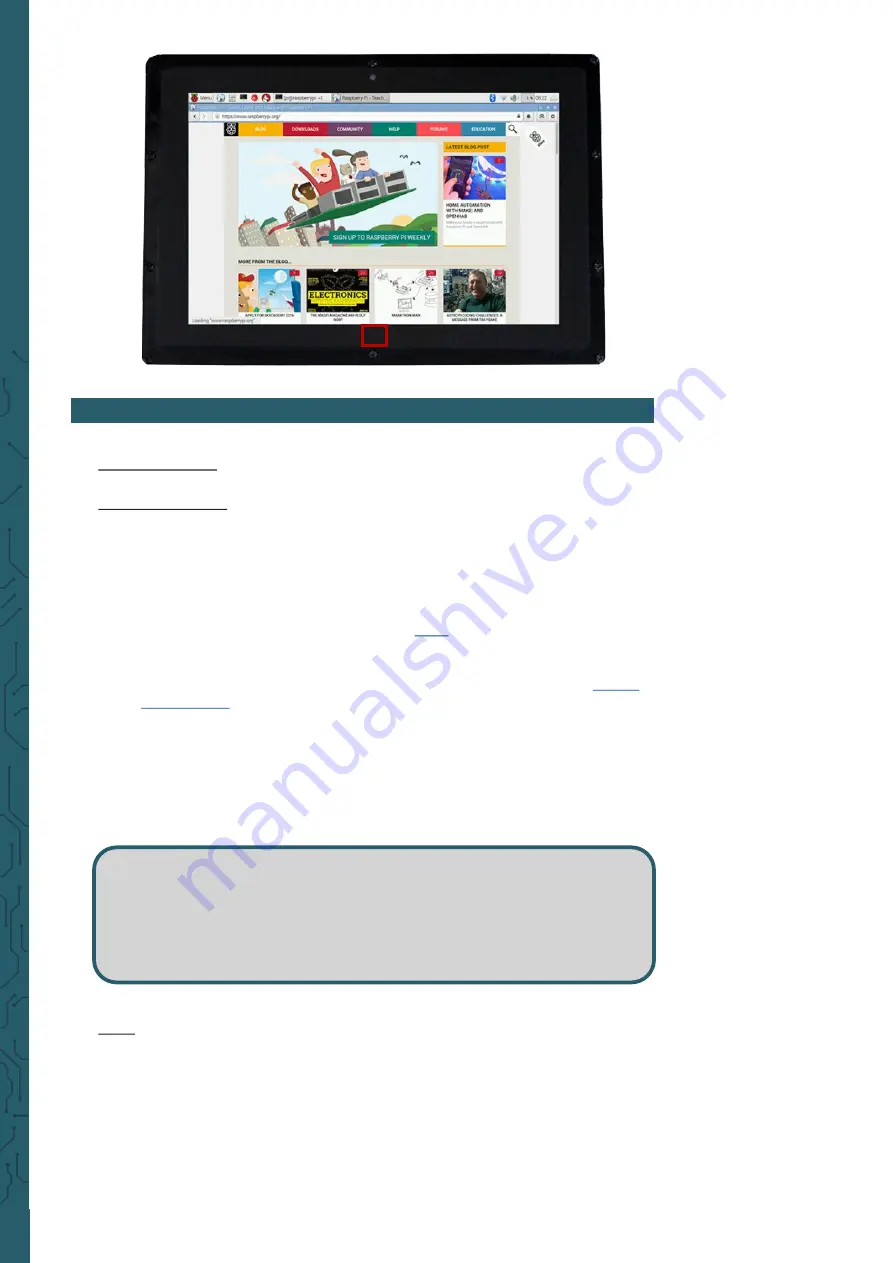
Basic installation
For the Windows operating systems on the PC, the resolution of the LCD
is automatically identified. Therefore, no further settings of this type can
be made. When working with the Raspberry Pi you should set the
resolution manually, otherwise, the LCD screen will not work. For more
detailed information please read the following section.
First, you should download a current operating system, namely Raspbian
or Ubuntu Mate, which you can download
1.
Download the image (.zip format) to your PC. After unzipping the
file, you will get a file in .img format.
2.
Connect a microSD card to your PC and open a program like
3.
Now select the downloaded image file and the SD card to be written
to. Then click on
Write to write to the microSD card.
4.
When the process is complete, open the
config.txt file in the root
directory of the microSD card and add the following lines at the end
of the file. Then save the modifications and remove the microSD
card.
4. USAGE WITH A RASPBERRY PI
max_usb_current=1
hdmi_group=2
hdmi_mode=1
hdmi_mode=87
hdmi_cvt 1280 800 60 6 0 0 0
Note
The memory size of your microSD card should be more than 4 GB. In this
operation, you will also need a microSD card reader, which must be
purchased separately.


