background image

501562-UIM-A-0909

4

Johnson Controls Unitary Products

4.

The vapor line must be insulated with a minimum of 1/2" foam rub-
ber insulation (Armaflex or equivalent). Liquid lines that will be
exposed to direct sunlight and/or high temperatures must also be
insulated.

5.

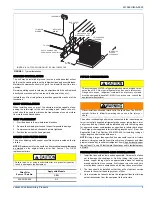
Tape and suspend the refrigerant lines as shown. DO NOT allow
tube metal-to-metal contact. See Figure 2.

6.

Use PVC piping as a conduit for all underground installations as
shown in Figure 3. Buried lines should be kept as short as possible
to minimize the build up of liquid refrigerant in the vapor line during
long periods of shutdown

7.

Pack fiberglass insulation and a sealing material such as perma-
gum around refrigerant lines where they penetrate a wall to reduce
vibration and to retain some flexibility.

8.

See application part number 036-61920-000 for additional piping
information.

PRECAUTIONS DURING BRAZING OF LINES

All outdoor unit and evaporator coil connections are copper-to-copper
and should be brazed with a phosphorous-copper alloy material such
as Silfos-5 or equivalent. DO NOT use soft solder. The outdoor units
have reusable service valves on both the liquid and vapor connections.
The refrigerant charge is retained within the outdoor unit during ship-
ping and installation. The reusable service valves are provided to evac-
uate and charge per this instruction.

Serious service problems can be avoided by taking adequate precau-
tions to ensure an internally clean and dry system.

PRECAUTIONS DURING BRAZING SERVICE VALVE

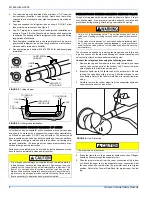
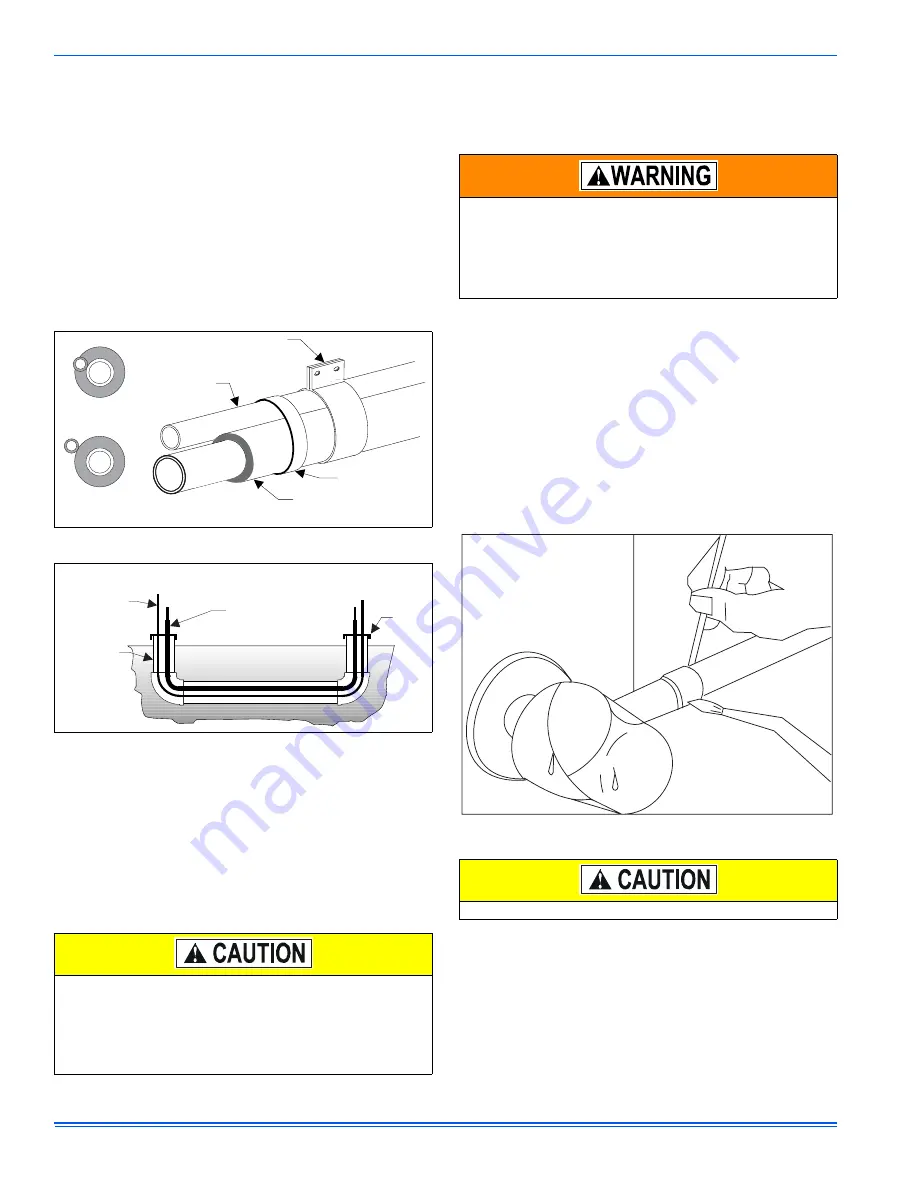
Wrap a wet rag around the service valve as shown in Figure 4 to pre-
vent heat damage. Also, protect all painted surfaces, insulation, and
plastic base during brazing. After brazing, cool joint with wet rag.

The valve can be opened by removing the plunger cap and fully insert-
ing a hex wrench into the stem and backing out counter-clockwise until
valve stem just touches the chamfered retaining wall.

Connect the refrigerant lines using the following procedure:

1.

Remove the cap and Schrader core from both the liquid and vapor
service valve service ports at the outdoor unit. Connect low pres-
sure nitrogen to the liquid line service port.

2.

Braze the liquid line to the liquid valve at the outdoor unit. Be sure
to wrap the valve body with a wet rag. Allow the nitrogen to con-
tinue flowing. Refer to the Tabular Data Sheet for proper liquid line
sizing.

3.

Carefully remove the rubber plugs from the evaporator liquid and
vapor connections at the indoor coil.

4.

Braze the liquid line to the evaporator liquid connection. Nitrogen
should be flowing through the evaporator coil.

5.

Slide the grommet away from the vapor connection at the indoor
coil. Braze the vapor line to the evaporator vapor connection. After
the connection has cooled, slide the grommet back into original
position. Refer to the Tabular Data Sheet for proper vapor line siz-
ing.

 FIGURE 2:  

Tubing Hanger

 FIGURE 3:  

Underground Installation

 Dry nitrogen should always be supplied through the tubing while it
is being brazed, because the temperature is high enough to cause
oxidation of the copper unless an inert atmosphere is provided. The
flow of dry nitrogen should continue until the joint has cooled.
Always use a pressure regulator and safety valve to insure that only
low pressure dry nitrogen is introduced into the tubing. Only a small
flow is necessary to displace air and prevent oxidation.

LIQUID
LINE

INCORRECT

CORRECT

TAPE

SHEET METAL
HANGER

INSULATED
VAPOR LINE

TO INDOOR

COIL

TO OUTDOOR

COIL

CAP

INSULATED
VAPOR LINE

LIQUID
LINE

PVC
CONDUIT

This is not a backseating valve. The service access port has a
valve core. Opening or closing valve does not close service access
port.
 If the valve stem is backed out past the chamfered retaining wall,
the O-ring can be damaged causing leakage or system pressure
could force the valve stem out of the valve body possibly causing
personal injury.

 FIGURE 4:  

Heat Protection

The evaporator is pressurized.

Summary of Contents for 18 SEER - AC8B

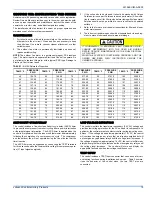
Page 1: ...expansion valve or an orifice liquid feed sized for the most common usage The orifice size and or refrigerant charge may need to be changed for some system combinations elevation differences or total line lengths See Tabular Data Sheet provided in unit literature packet for charge requirements Refer to Application Data covering General Piping Recommendations and Refrigerant Line Length Part Number...

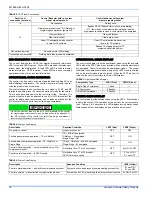
Page 2: ... both the indoor and outdoor unit Observe all limitations and clearance requirements The outdoor unit must have sufficient clearance for air entrance to the condenser coil for air discharge and for service access See Figure 1 NOTE For multiple unit installations units must be spaced a minimum of 18 inches apart coil face to coil face If the unit is to be installed on a hot sun exposed roof or a bl...

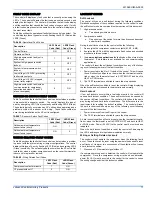
Page 3: ... 61920 000 for installing tubing of longer lengths and elevation differences NOTE Using a larger than specified line size could result in oil return problems Using too small a line will result in loss of capacity and other problems caused by insufficient refrigerant flow Slope horizontal vapor lines at least 1 every 20 feet toward the outdoor unit to facilitate proper oil return PRECAUTIONS DURING...

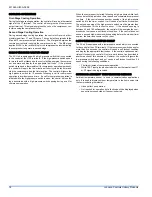
Page 4: ...em just touches the chamfered retaining wall Connect the refrigerant lines using the following procedure 1 Remove the cap and Schrader core from both the liquid and vapor service valve service ports at the outdoor unit Connect low pres sure nitrogen to the liquid line service port 2 Braze the liquid line to the liquid valve at the outdoor unit Be sure to wrap the valve body with a wet rag Allow th...

Page 5: ...hraeder fitting and an additional 1 3 turn to seal 7 Install the TXV bulb to the vapor line near the equalizer line using the bulb clamp s furnished with the TXV assembly Ensure the bulb is making maximum contact a Bulb should be installed on a horizontal run of the vapor line if possible The bulb should be installed on top of the line b If bulb installation is made on a vertical run the bulb shou...

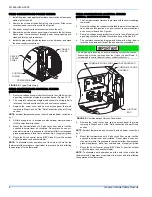
Page 6: ...n seal the hole in the wall at the thermostat with permagum or equivalent to prevent air drafts affecting the operation of in the thermostat FIELD CONNECTIONS CONTROL WIRING SERIAL COMMUNICATION 1 The Communications Harness is provided with the communicating thermostat 2 Route low voltage four conductor shielded thermostat communica tions harness into junction box and connect to communications por...

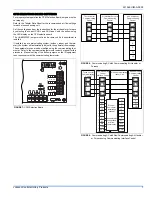
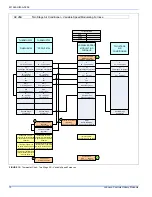
Page 7: ...thermostat owner s manual for this procedure Manual setting of the airflow jumpers on the ID equipment is not necessary with the communicating thermostat FIGURE 7 CFM Selection Board HEAT DELAY COOL ADJUST A B C D A B C D LED 2 FIGURE 8 Communicating AC with Communicating Air Handler or Furnace FIGURE 9 Communicating AC with Non Communicating Air Handler or Furnace using Communicating Interface Co...

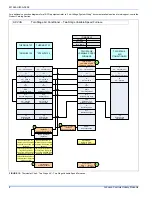
Page 8: ...mpressor Y2 Second Stage Compressor External Humidistat Optional Open on Humidity Rise 2 Connection of the C terminal 24 Volt common is optional when used with batteries Thermostat Installer Setup 0170 System Type must be set to 8 2 Heat 2 Cool Multistage Conventional Connection of the C terminal 24 volt common is optional when used with batteries Thermostat Installer Setup 1 System Type must be s...

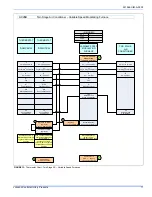
Page 9: ...DHUM jumper to YES if humidistat is to be used G L 8 9 V F L 8 9 V PV 8 9 ID MODELS TWO STAGE AIR CONDITIONER C 24 Volt Common R 24 Volt Hot Y1 First Stage Compressor Y2 Second Stage Compressor External Humidistat Optional Open on Humidity Rise 24VAC Humidifier Optional External Humidistat Optional Open on Humidity Rise 2 2 Part Number S1 2HU16700124 2 C 24 Volt Common R 24 Volt Hot Y First Stage ...

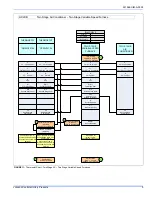
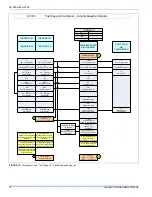
Page 10: ... Stage Compressor VARIABLE SPEED MODULATING FURNACE CONTROL G Fan VARIABLE SPEED MODULATING FURNACE Y Y2 Second or Full Stage Compressor HUM Dehumidification Open on Humidity Rise W Modulating Heat Part Numbers SAP Legacy 171334 031 09153 1 1 Move HUMIDISTAT jumper to YES if humidistat is to be used FL9C FC9C PC9 ID MODELS External Humidistat Optional Open on Humidity Rise 24VAC Humidifier Optiona...

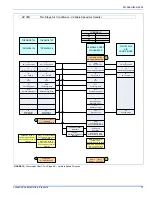
Page 11: ... 1 Move HUMIDISTAT jumper to YES if humidistat is to be used FL9C FC9C PC9 ID MODELS External Humidistat Optional Open on Humidity Rise 24VAC Humidifier Optional External Humidistat Optional Open on Humidity Rise 2 2 Part Number S1 2HU16700124 2 C 24 Volt Common R 24 Volt Hot Y First Stage Compressor Y2 Second Stage Compressor G Fan DN22C00124 THERMOSTAT W2 Second Stage Heat C 24 Volt Common R 24 ...

Page 12: ...with batteries Thermostat Installer Setup 1 System Type must be set to 6 2 Heat 2 Cool Multistage Conventional COM 24 Volt Common R 24 Volt Hot W1 First Stage Heat W2 Second Stage Heat Y1 Single Stage Compressor Y Y2 Second or Full Stage Compressor O Reversing Valve Energized in Cool X L Malfunction Light HUM Humidity Switch Open on Humidity Rise VARIABLE SPEED AIR HANDLER CONTROL G Fan VARIABLE S...

Page 13: ...t Common is optional when used with batteries COM 24 Volt Common R 24 Volt Hot W1 First Stage Heat W2 Second Stage Heat Y1 Single Stage Compressor Y Y2 Second or Full Stage Compressor O Reversing Valve Energized in Cool X L Malfunction Light HUM Humidity Switch Open on Humidity Rise VARIABLE SPEED AIR HANDLER CONTROL G Fan VARIABLE SPEED AIR HANDLER 1 AV ID MODELS SV MV EAC 24VAC out Electronic Ai...

Page 14: ... line charge using the tabular data sheet if line length is greater than 15 feet 4 Total system charge item 1 item 2 item 3 5 Permanently stamp the unit data plate with the total amount of refrigerant in the system Use the following subcooling charging method whenever additional refrigerant is required for the system charge A superheat charging method is not suitable for TXV equipped systems Measu...

Page 15: ... for three seconds while the thermostat is calling for compressor opera tion Y1 input signal energized LOW VOLTAGE DETECTION The control monitors the transformer secondary 24 VAC voltage and provides low voltage protection for the AC unit and its components In particular the control prevents contactor chatter during low voltage con ditions If the voltage drops below approximately 19 VAC the contro...

Page 16: ... present Control behavior with system master signals present 2 No response No response 2 Display compressor type TS Ultratech or single stage compressor Ignore LPS Bypass ASCD Reduce timer to zero immediately If Y1 thermostat or communication is present and the high pressure switch is closed contactors will be energized Clear soft lockout Clear soft lockout Clear hard lockout Clear hard lockout Re...

Page 17: ...to be reset when the thermostat is satis fied or when the thermostat is set to SYSTEM OFF and back to HEAT or COOL mode 2 The TEST terminals are shorted for more than two seconds When the soft lockout condition is reset the control will stop displaying the fault code and will respond to thermostat inputs normally Hard Lockout If four soft lockouts occur within a twelve hour period the control will...

Page 18: ...pening during a call for compressor operation When the compressor is started following a high pressure switch fault the control will start a six hour timer based on accumulated compressor run time If the control senses another opening of the high pressure switch before the timer expires it will cause a soft lockout condition The second opening of the high pressure switch must be greater than 160 m...

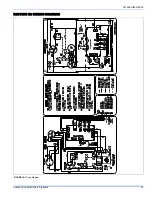
Page 19: ...501562 UIM A 0909 Johnson Controls Unitary Products 19 SECTION IX WIRING DIAGRAM FIGURE 16 Wiring Diagram ...

Page 20: ...nge without notice Published in U S A 501562 UIM A 0909 Copyright 2009 by Johnson Controls Inc All rights reserved Supersedes 347269 UIM A 0108 Johnson Controls Unitary Products 5005 York Drive Norman OK 73069 NOTES ...

Reviews: