Page 20
6.4 SPINNING THE WHEEL
NOTE:
Before spinning the wheel, make sure proper eye protection is worn by all personnel in the vicinity of the
balancer.
A.
Spin the wheel by lowering the wheel guard. If auto-spin is not activated press “Start” to begin balancer run.
When the balancing cycle is complete the wheel will stop automatically and the imbalance values will appear on
the screen.
B.
In the Standard or Profiling Mode, the machine first measures the amount of imbalance at a higher rpm, the
speed is then reduced and the profilers measure the rim distance, wheel diameter and rim width. Spokes are
counted during this action as well.
If the unit is operating in the Optima mode the unit will measure the above plus will measure the amount of rim radial
and lateral runout and wheel assembly radial runout. If the software has determined a clip-on weight can be used
on the right rim edge, then the right radial and lateral runout are measured.
After runout values along with the imbalance date are collected and stored, the BFH1000 then determines if an
“Optimization” procedure will benefit this assembly. Thresholds can be set in the Optima setup menu to determine
the “break” point.
6.5 SELECTING THE WEIGHT PLACEMENT
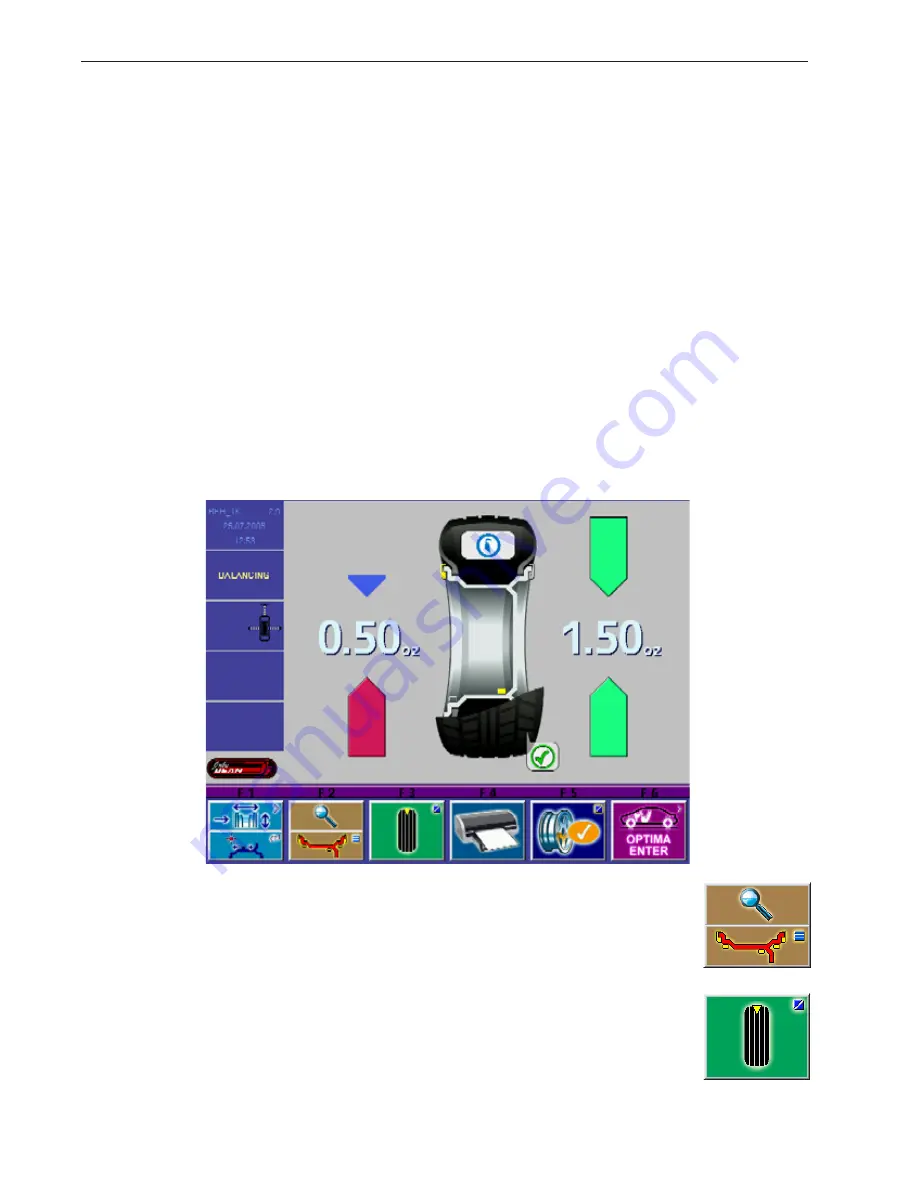
A. 2-Plane -
Choose the appropriate balancing mode for the wheel. To select the various 2-
plane weight placement modes press the Mode button (Lower part of F2) until the placement
graphic indicates desired corrective weight placement position. Press and hold the lower button
for 3 seconds goes directly to clip-clip without having to prompt through all the modes. Fig 21
B.
Select STATIC
mode. Use a single corrective weight placed in the center or inner edge of
rim. Select Static by pressing the “F3” key on the balancing screen. Pressing “F3” again will
toggle operation back to Dynamic 2-plane operation.
NOTE: If in the “clip-weight static mode”, the weight placement position will be at top
dead center. While in “stick-on mode”, weights will be placed at bottom center where the
laser indicates.
Figure 21
F2
Static
Summary of Contents for BFH 1000
Page 2: ...Blank page ...
Page 6: ......
Page 14: ...Page 8 Figure 5a Complete Function Menu listing ...
Page 44: ...NOTES ...
Page 45: ...NOTES ...


