


13
Maintenance
and safety
4
When carrying out any maintenance operations, the
following requirements must be met:
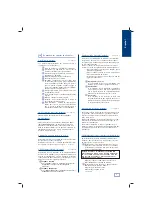
Replacing the belt
See figure 20
4.1
Never carry out any operation with the machine switched
on.
Unplug the machine.
The indications in this manual must be strictly adhered to.
Use original spare parts.
3
1
2
4
To check the tension of the belt or to replace it, proceed
as follows:
Switch off the machine using the main switch and unplug it.
Undo the four screws holding the machine’s rear
protection in place.
Undo the four screws (T) securing the motor.
Tighten or replace the belt (C).
To tighten the belt, push the motor towards the back
of the machine and tighten the four screws (T) securing
the motor.
To replace the belt, carry out the same operations as for
tightening but with a new belt.
3
1
2
4
5
6
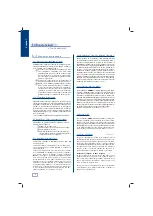
Replacing the light
See figure 21
4.2
To replace the lamp, proceed as follows:
Switch off the machine using the main switch.
Remove the fixing ring (A).
Remove the lamp and undo the wire.
Connect the new lamp to the wire, put it into its housing
and secure with the fixing ring.
3
1
2
4
Replacing fuses
4.3
If the machine does not start up when the switches are
turned on, check the fuses.
This can be done in the following way:
Switch off the machine using the main switch and unplug it.
Remove the fuseholder that can be found next to the
main switch.
Use a tester to check if a fuse has blown and if so,
replace with another fuse of the same type.
3
1
2
Safety recommendations
4.4
Do not try and start or handle the machine until all
safety matters, installation instructions, operators guides
and maintenance procedures have been fulfilled and
understood.
Always switch off the power supply before carrying out
any cleaning or maintenance operations.
Always keep the machine, as well as its surroundings
clean.
3
1
2
Accessories
5
To work properly, the machine has a series of
accessories.
Basic accessories
5.1
The machine comes with a series of accessories for use
and maintenance:
Two fuses, two Ø7X70 rods, two 3 and 2.5 allen keys,
two plates for the tips to butt up against, F-1 / F-13
milling cutter and P-1 tracer point.
List of accessories for cutting different
models of key
5.2
List of accessories:
Milling cutters and tracer points to use for cutting keys:
See figure 22
English