Grey Water Interface Unit 12L
Tel. +47 70 03 91 00
www.jetsgroup.com
Product No. GWT800PL
Doc. Rev.: 2 (2019-06-17)
7
9
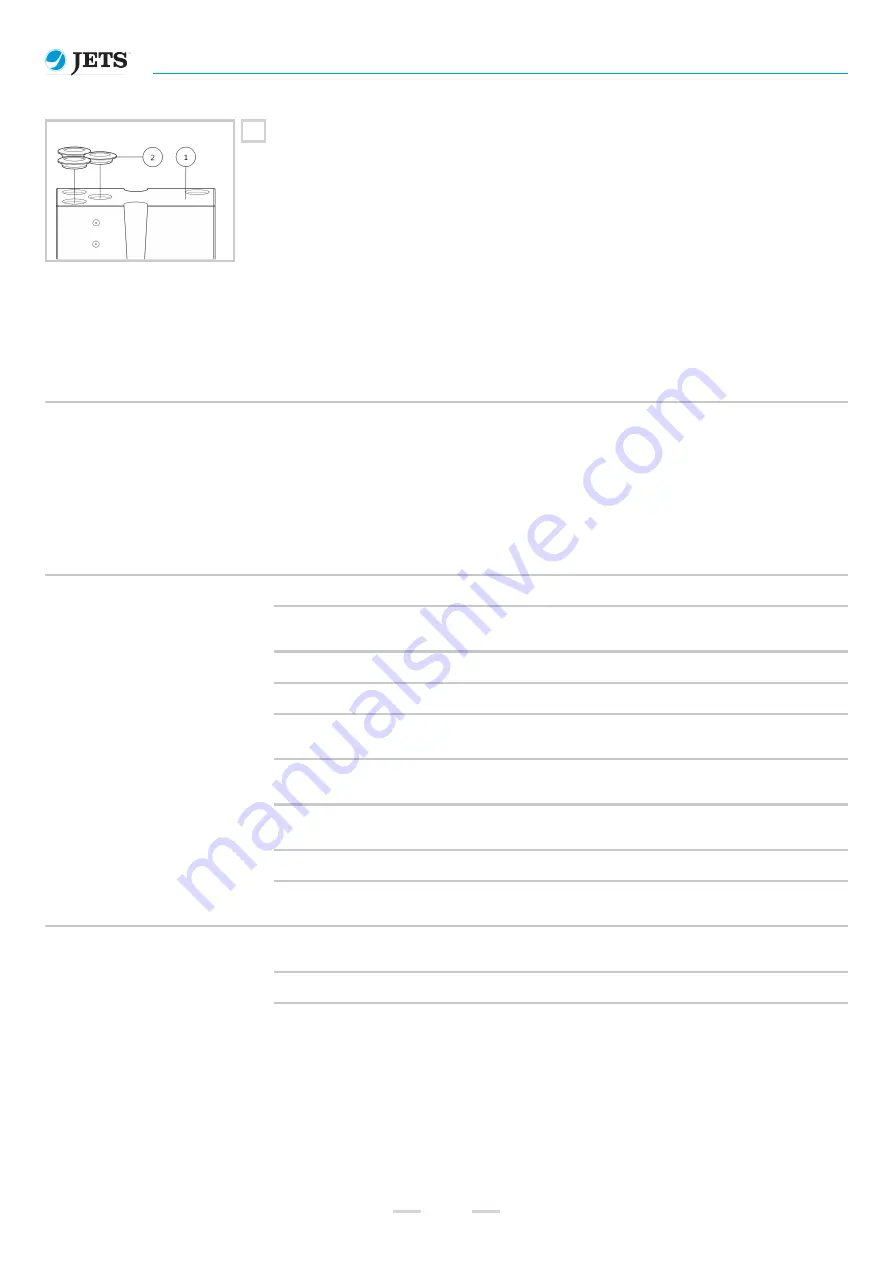
Remove the Tank/Pipe Seals
ℯ
from
the tank
℮
.
Service and Maintenance - Assembly Instructions
Assembly is to be performed in the reverse order of the disassembly procedure.
Scheduled Maintenance
Interval
Action
Note
As required.
Check for damage to equipment.
Replace or repair damaged equipment
and take measures to prevent future
damage to the system.
See maintenance routines as described in the technical
information for products where it is applicable, i.e. the
discharge valve.
Troubleshooting
Jets Vacuum AS provides the following troubleshooting information to assist in resolving issues that may arise with your installation. For more
detailed information or assistance, please contact Jets Vacuum AS.
Problem
Cause
Action
Tank content is not discharged.
No vacuum.
Check sufficient vacuum is being generated.
Discharge time is too short.
Increase the discharge time, up to a Maximum of 2
seconds, after the tank is empty.
Valve is blocked due to debris.
Remove the debris.
Defective non-return valve.
Clean or replace the non-return valve.
Leaks in the vacuum hose(s) on the
valve.
Replace the hose(s) or check that hose(s) are fitted
correctly.
The vacuum hose/s on the valve are
disconnected.
Reconnect the hose(s).
Reduced vacuum due to backflow in
the piping.
Check the pipe installation.
Malfunction of the level sensor.
Replace the level sensor if necessary.
Malfunction of the valve.
Refer to technical information for the valve. Replace the
valve if necessary.
Continuous discharge.
Valve is blocked due to debris.
Clean the valve and remove debris. Replace the valve, if
needed.
Malfunction of the level sensor.
Replace the level sensor if necessary.
Malfunction of the valve.
Refer to technical information for the valve. Replace the
valve if necessary.


