5
5. Assembly and start up
5.1 Assembly
If you notice transport damage while unpacking, notify your
supplier immediately. Do not operate the unit!
Remove all packing from the inside of the unit by removing the
outer filter and the inner filters.
Install the supplied AA batteries into the remote control unit.
Dispose of the packing in an environmentally friendly manner.
5.2 Installation
This unit will work best if it is located away from corners, and
heating/cooling vents.
This unit is specifically designed to circulate air and filter non-
metallic dust, which is generated throughout the work area.
The air cleaner is designed to operate in closed rooms in a
horizontal position.
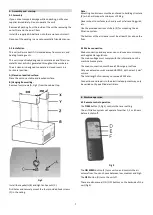
A) Placed on levelled surface:
Place the unit on a stable and levelled surface.
B) Hanging from ceiling:
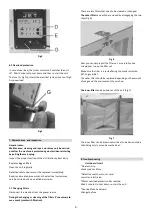
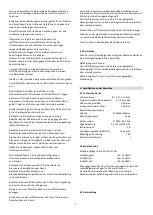
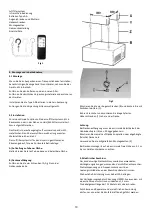
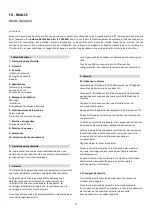
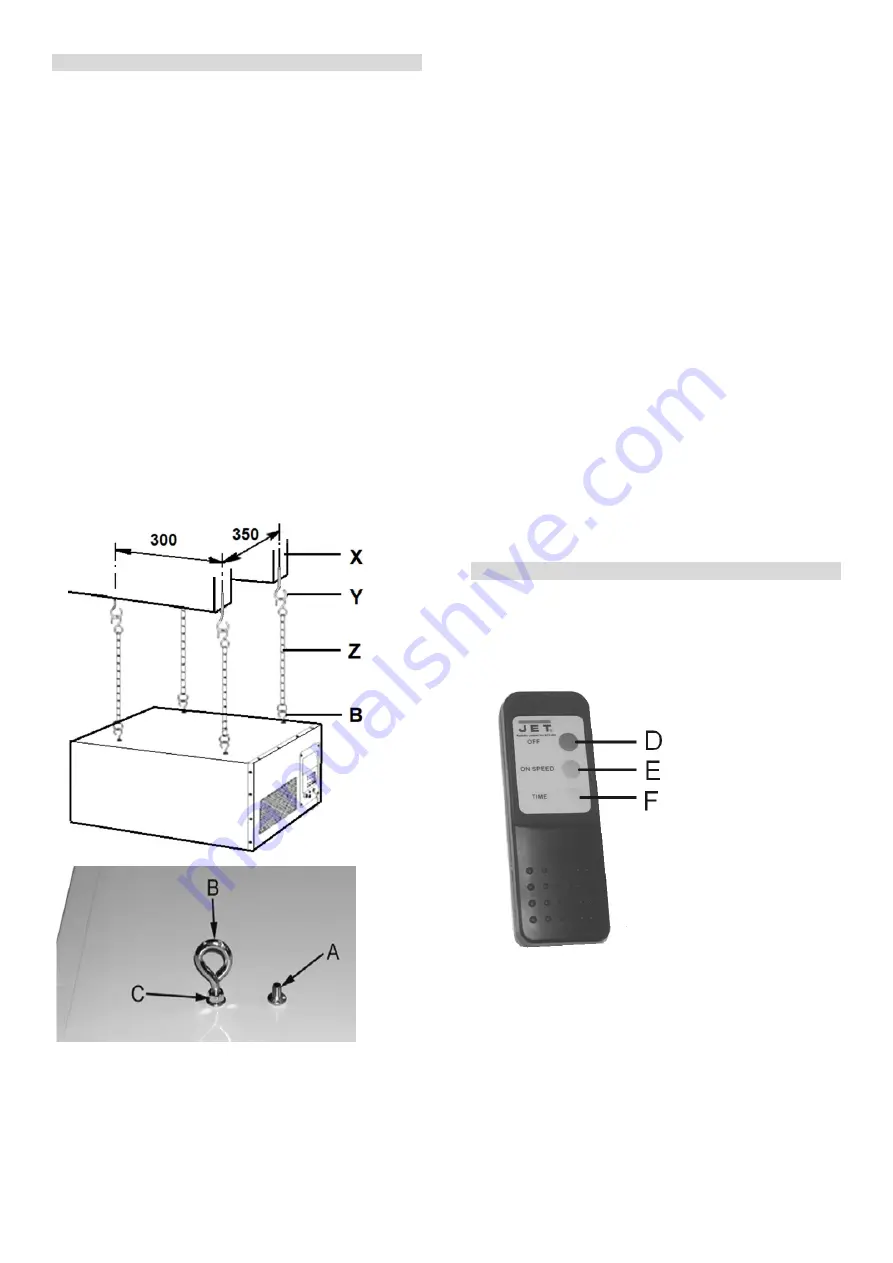
Remove four screws (A, Fig 2) from the cabinet top.
Fig 2
Install four eyebolts (B) and tighten hex nuts (C).
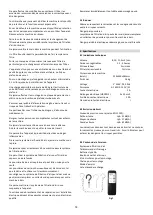
Drill holes and securely mount the four provided hook screws
(Y) in the ceiling.
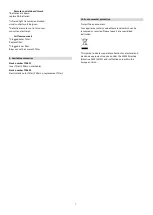
Note:
Mounting hook screws must be anchored to building structure
(X), which will support a minimum of 30 kg.
Never mount to surfaces such as dry wall or false ceiling grids,
etc.
Use the provided sections of chain (Z) for mounting the air
filtration system.
The bottom of the air cleaner must be at least 2,1m above the
floor.
5.3 Mains connection
Mains connection and any extension cords used must comply
with applicable regulations.
The mains voltage must comply with the information on the
machine licence plate.
The mains connection must have a 10 A surge-proof fuse.
Only use extension cords marked H05RN-F, with wires 1,5mm
2
or more.
The total length of cords may not exceed 25 Meter.
Connections and repairs to the electrical equipment may only
be carried out by qualified electricians.
6. Machine operation
6.1 Remote control operation
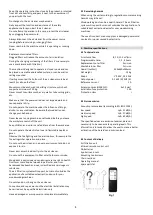
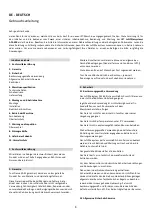
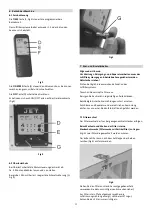
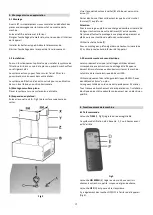
The
TIME
button (F, Fig 3) controls the timer setting.
The air filtration system will operate for either 1, 2 or 4 hours
before it shuts off.
Fig 3
The
ON
SPEED
button (E) turns unit on and controls the air
volume flow. You can choose between low, medium and high.
The
OFF
button (D) turns the unit off.
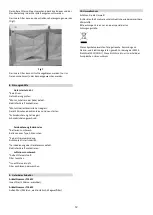
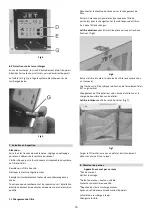
There are also manual ON / OFF buttons on the backside of the
unit (Fig 4).

