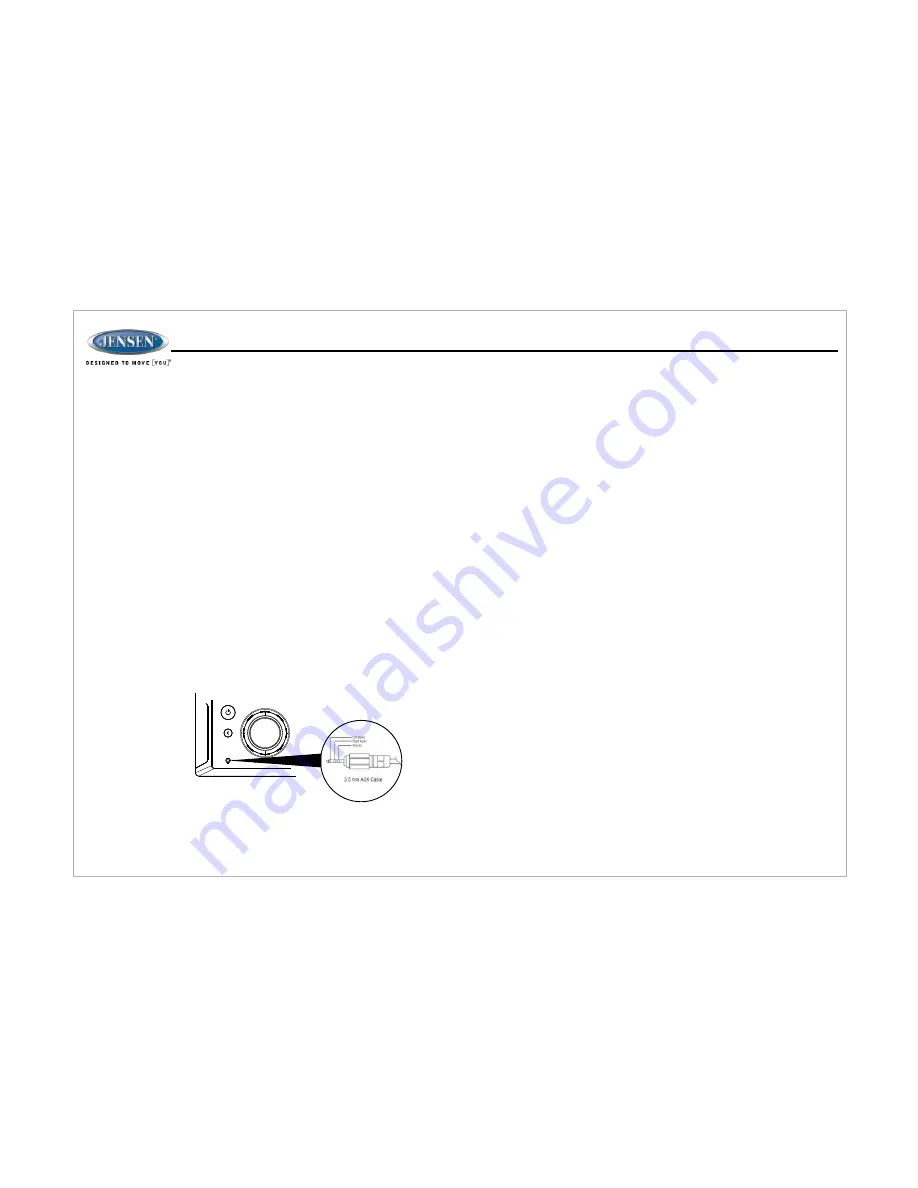
Auxiliary Input Function
Auxiliary Input Connector
Coaxial
Optical
HDMI IN
HDMI devices**
USB Interface Connector
When a portable audio device is connected to the unit, press the
AUX
button (21)
repeatedly until FRONT AUX / REAR AUX mode is selectable, then press
ENTER
(34) knob to enter the FRONT AUX / REAR AUX mode. To connect a portable
audio device, insert a standard 3.5mm (audio line output or headphone output
from your portable CD / MP3 or other media player) into the AUX connector (AUX
FRONT) (3) on the front of the unit or the AUX-IN RCA jack (AUX REAR) on the
left chassis of the unit.
For front panel audio input, an external audio source can be connected to the
front panel audio input with a 3.5mm audio cable adapter. Connect the device to
the
AUX
connector (3) on the front panel.
In addition to front panel auxiliary input source, the unit can also be connected
to the RCA audio input through the AUX-IN RCA jack on the left chassis of the
unit.
When a portable audio device is connected to the unit, press the
AUX
button
repeatedly until Optical mode is selectable, then press
ENTER
(34) to enter the
Optical mode. To connect a portable audio device, connect the optical cable output
from your portable CD / MP3 or other media player into the Optical Jack on the left of
the unit.
Refer to “Multi source mode” on page 11 for operating instructions.
When a portable audio device is connected to the unit, press the
AUX
button
repeatedly until HDMI IN mode is selectable, then press
ENTER
(34) to enter the
HDMI IN mode. To connect a portable device with HDMI output ports, connect the
HDMI cable from your portable device into the HDMI IN Interface (5) on the front left
of the JWM90A.
Refer to “Multi source mode” on page 10 for operating instructions.
Amazon Fire Stick streaming device:
http://www.amazon.com *
Roku HDMI streaming device:
http://www.roku.com/products/compare *
Notes:
* Web links can change over time; if the above links do not function go to your device
manufacturer's or smartphone service provider's web site for more information.
** These devices require connection to Wi-Fi or a hotspot in order to stream video
content from providers such as Netflix, Hulu, Crackle, etc..
Caution: Streaming video can consume large amounts of data when a smartphone is
used as a hotspot. Data rates may apply. See your mobile phone service provider for
details.
When a portable audio device is connected to the unit, press the
AUX
button
repeatedly until COAXIAL mode is selectable, then press
ENTER
(34) to enter
the COAXIAL mode. To connect a portable audio device, connect the coaxial
cable output from your portable CD / MP3 or other media player into the Coaxial
Jack on the left of the unit.
Refer to “Multi source mode” on page 11 for operating instructions.
You can connect a USB device directly to
USB
interface (11) on the front of the
JWM90A for playback of compatible files. Press the
USB
button (22) to switch to USB
mode from another source for available zone
8
JWM9
0A
AUX
1
Ÿ
BLUETOOTH DEVICE (Lock/Unlock, Disconnect/Connect, Delete): View,
lock and delete from a list of previously paired mobile phone device models.
Ÿ
BLUETOOTH (ON/OFF): Choose “Bluetooth On” or Bluetooth Off”.
Ÿ
BEEP (ON/OFF): Turn the audible beep On/Off (heard when
functions/buttons are selected).
Note: Beep tone off will not affect the audible tone of the alarm clock.
Ÿ
REGION (USA/EUROPE): Set frequency spacing for various regions.
Ÿ
PRESET VOL (1-40): Select an automatic turn on volume.
Ÿ
RCA out VARIED/FIXED: When VARIED is selected, the volume output of
RCA out is adjustable by rotating the volume encoder knob. When FIXED is
selected, the volume output of RCA out is fixed at maximum output.
Ÿ
RESET <ENTER>: Press the
ENTER
button to return the JWM90A to factory
default settings.


