56
ENU
CONNECTING THE CAMERA TO THE COMPUTER
CONNECTING THE CAMERA TO THE COMPUTER
Windows 98/98SE users
-
Do not connect
the camera to your computer
BEFORE
the camera
drivers and Microsoft DirectX 9 installation is completed.
1. Power the camera on.
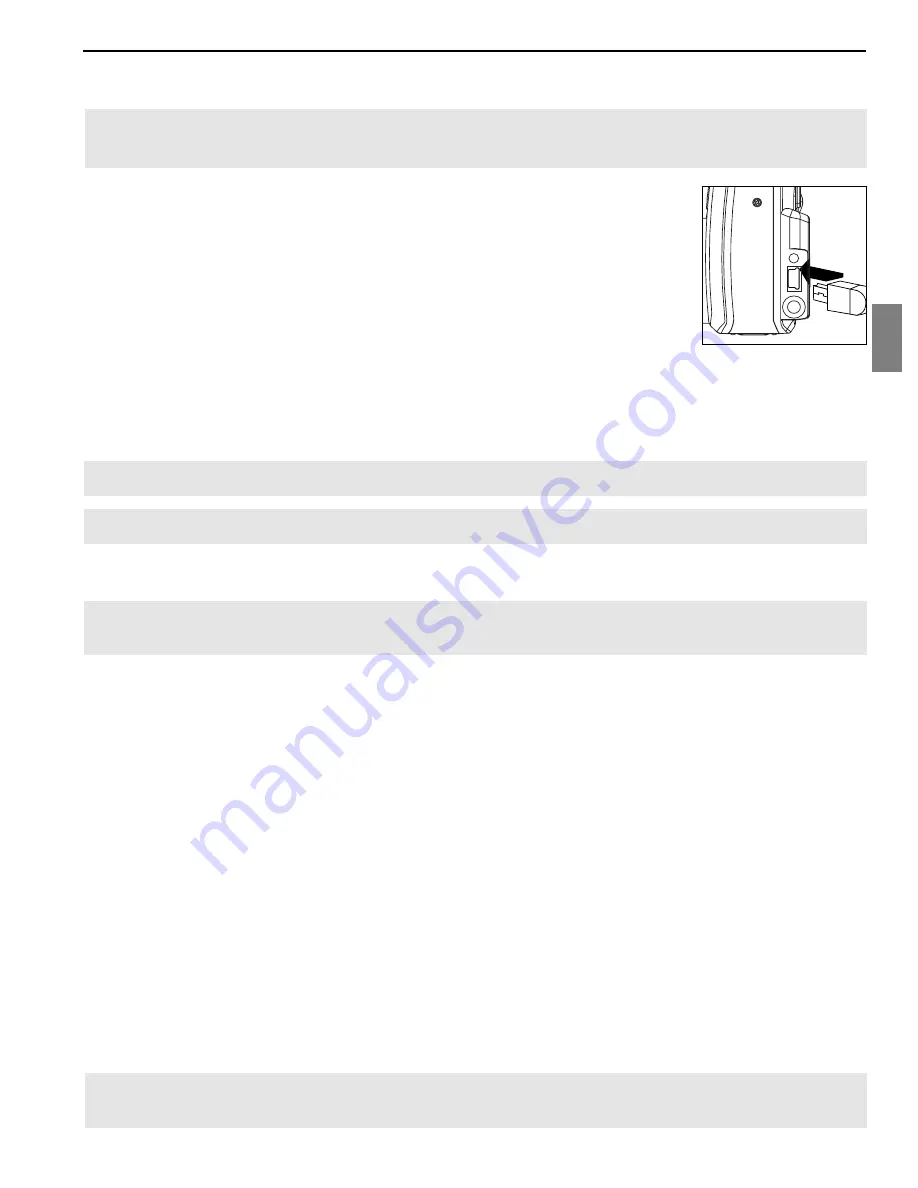
2. Connect the camera to the computer with the Mini-USB cable provided.
• Plug the larger end of the Mini-USB cable that is included with the camera into
your PC’s USB port. (Please refer to your computer’s documentation for more
information on the location of the USB port.)
• Plug the small end of the Mini-USB cable into the USB port located in the Cable
Connection panel on the side of the camera.
3. When the camera is connected to the computer for the first time, the camera
USB Mass Storage driver installation will begin. Please follow the on-screen instructions to complete the
installation.
DOWNLOADING PICTURES AND VIDEO CLIPS ONTO YOUR COMPUTER
Note:
Windows 98/98SE users must install the Camera Driver and DirectX 9 first. (Page 49)
Note:
Windows 2000 users must install DirectX 9 to view video clips on the computer. (Page 51)
Downloading files from the camera:
• Insert the memory card.
Caution:
Do not attempt to open the battery/memory door to insert or remove the memory and/or batteries
when the camera is connected to the computer.
FOR WINDOWS USERS
Downloading Pictures and Video Clips onto your computer:
1. Connect the camera to the computer.
2. Double-click on My Computer.
3. Double-click Removable Disk.
4. Double-click DCIM.
5. Double-click the folder that contains the desired images to view.
• The pictures (JPEG) and video clips (AVI) stored in the memory will be displayed.
6. Click and drag the files into a directory in your computer to save them.
• To select all files, click Edit > Select all.
FOR MACINTOSH USERS
1. Connect the camera to the computer.
• After a few moments, the external hard drive will appear on the desktop.
2. Double-click the “JD C 3.1z3” removable drive that is on your desktop.
3. Double-click DCIM.
4. Double-click the folder that contains the desired images to view.
• The stored pictures (JPEG) and video clips (AVI) stored in the memory will be displayed.
5. Drag and drop the image you want to save in the computer.
• To select all files, click Edit > Select all.
Note:
You may also transfer the stored pictures and video clips onto your computer by using a memory
card reader (sold separately.)


