


The Tall Bonnie Glo:
This kiln is a taller version of the Bonnie Glo instead of 6” it is 9” deep
which is a great width to depth ratio for slumping molds. It draws 15 amps and requires a 20 amp
circuit breaker and to be close as possible to the breaker box to receive the most power. It still
heats quickly when asked to and can hold much larger, taller molds.
All of the information for firing the Bonnie Glo applies to this kiln also.
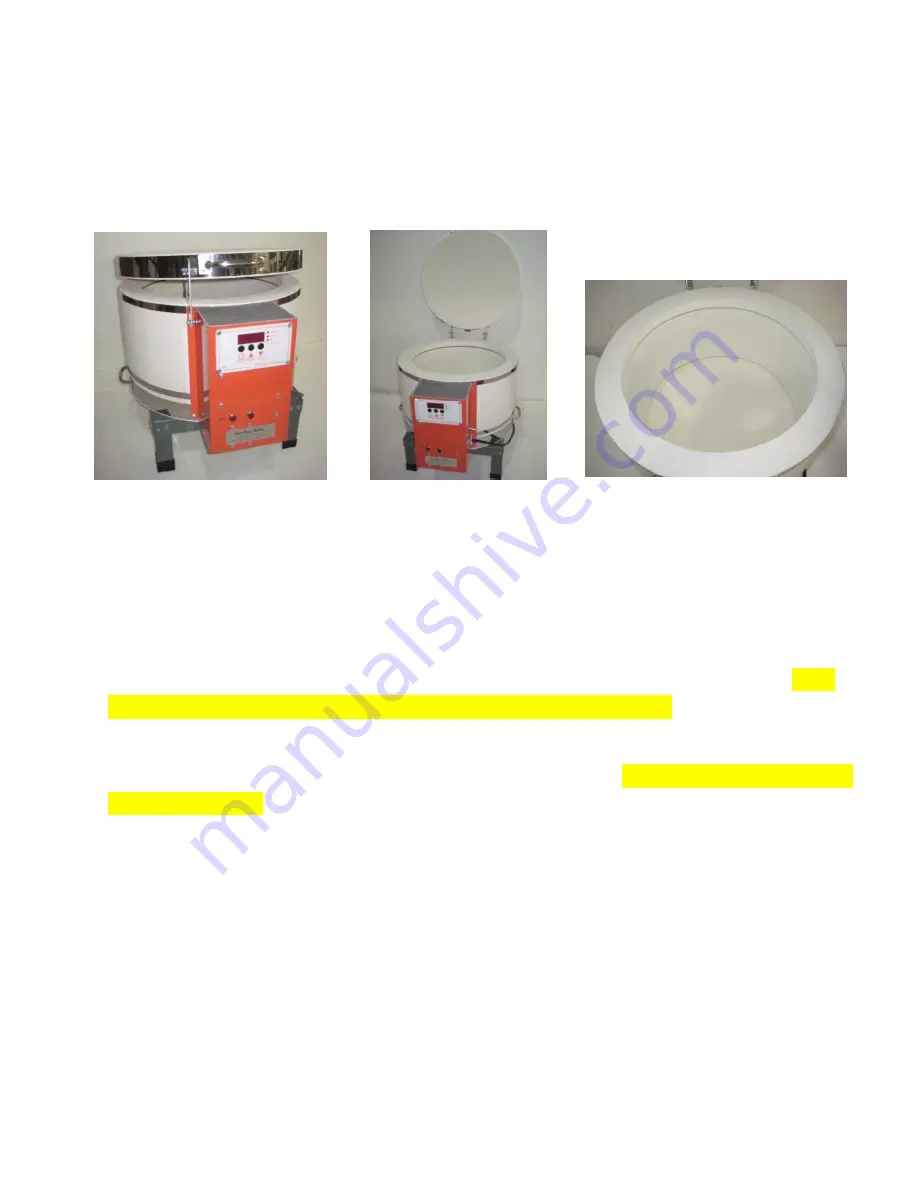
Tall Bonnie Glo with Lid Prop AF3P Tall Bonnie Glo 15” wide and 9” deep on the inside
Recapping the Set-up for the Bonnie-Glo, Bonnie-Glo Plus and Tall Bonnie Glo:
1)
Place the kiln and stand onto a Non-combustible surface.
2)
Set the kiln up at least 12 inches away from any walls or material that could catch fire.
Ensure that the kiln is centered on the stand. On the Plus or clamshell style model, make
sure the kiln is clamped to the stand before opening or using the kiln.
3)
Plug the kiln into a plug on a 20a circuit, and that nothing else is running on that circuit
while the kiln is. No Power strips or extension cords allowed. All kilns perform best closer
to the breaker box.
4)
Kiln wash the floor of the kiln. (directions are provided on the pack of kiln wash that came
with your kiln.)
5)
Turn the kiln on with the toggle switch and it should power up and show the mode the kiln
is in (ex. “SP” Mode = small piece glass mode) and then current temperature and IDLE.
6)
Directions for the controller are included in the 3 key manual and a quick start guide can be
found below. There are youtube videos and you can always call for help, Jen-Ken Kilns
wants you to be successful and if you need us, call.


