30
FUSED GLASS PROJECTS
Working with Tested Compatible Glasses
To ensure success when fusing glass, use glass that has been pre-tested by the manufacturer
How to prepare your glass project
Select glass that is “tested compatible” and has the same COE (Coefficient of
Expansion) for the entire project.
Glass projects should be comprised of two or more layers of glass from edge to edge
because at a full fuse, glass likes to be approximately ¼” (6mm) thick. The best designs
are constructed using a single piece of glass for the base piece, with a cut design as the
second layer. If you’d like you can add more detail to your design with frit, stringers, and
confetti. During assembly, take the time to make sure your glass pieces fit well together.
If necessary, use a glass grinder to aid with the fit. A helpful tip to reducing and
eliminating grinder marks from showing up in your fused pieces is to use an extra fine
grit grinder bit.
Oil from your glass cutter, as well as oil from your fingers while handling the pieces, is
left on the surface of the glass. Thoroughly clean your glass pieces with either a light
detergent, like Dawn dishwashing detergent, and water or with denatured alcohol. If you
did any heavy grinding, also use a soft bristled brush, like an old toothbrush, to scrub the
edges and remove any residual ground glass debris. After the glass had been cleaned
and dried well, only handle it by the edges when assembling your project.
To make transporting your project between your workspace and the kiln easier, you can
use water soluble glue. Use glue very sparingly on the backside of the glass. Allow the
glue to completely dry before you try to move your piece.
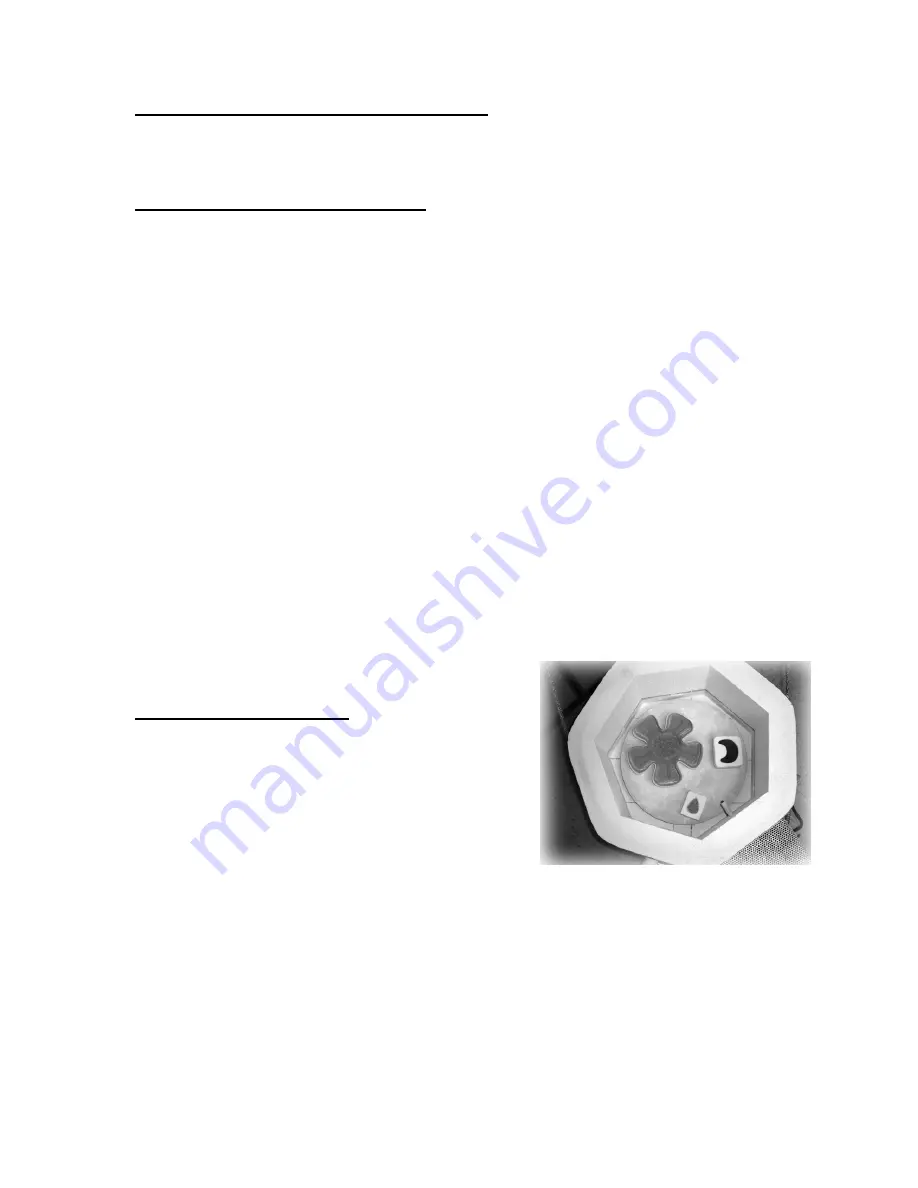
Before setting up your glass projects on the kiln shelf, first place the kiln shelf in the kiln.
If you are planning to fire more than one piece at a time, make sure to position your
glass projects no closer than ¾” to 1” to each other and also no closer to the edge than
¾”.
Firing your Glass Project
When you first start fusing, the entire process may
seem to be complicated, but it’s really simpler than it
may have originally sounded. Fusing is all about
controlled heating and cooling of glasses in a kiln.
As glass is being fired in a kiln it goes through many
physical changes based on the temperature zone
that it’s in.
Below 1000°F (538°C), glass is very rigid and is very susceptible to thermal shock, or
breaking, if heated or cooled too quickly. Visually, the glass appears to be very rigid and
it will look the same as if it were room temperature. Resist the temptation to open the
kiln and peek inside, because glass is very fragile at this point and large temperature
swings in the kiln will cause the glass to break.
Between 1000°F and 1250°F (538°C – 677°C), the glass is softening, becoming more
pliable, and starting to act more like a liquid and less like a solid. At the top end of this
temperature range, glass will slump if held for a period of time. Visually the top layer of
the glass will begin to soften and round over on the edges and the sides will start to
become wet and glossy looking, or fire polished. At this point, the layers of glass haven’t
begun to stick together yet.


