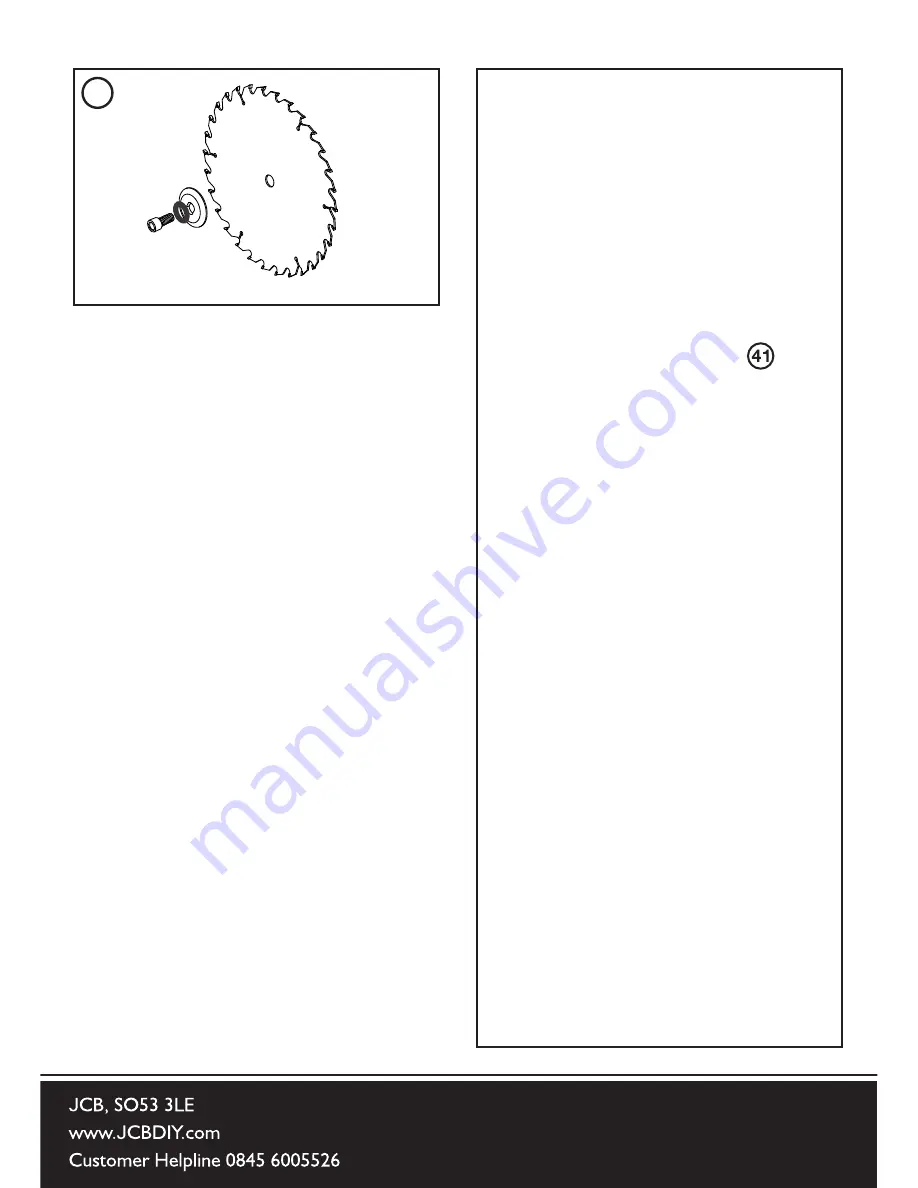
6. Install the new blade. Make sure
the rotation arrow on the blade
matches the rotation arrow on the
upper blade guard
NOTE: The blade teeth should always
point downwards at the front of the
saw.
7. Install the washer, outer blade
flange and arbor screw. (See )
8. Lock the arbor and tighten the
arbor screw using moderate force,
but do not overtighten.
9. Ensure the Hex Key is removed
and the arbor lock has released by
rotating the blade by hand.
10. Return the Auxiliary Guard to its
operational position.
11. Ensure that all blade guards
are correctly positioned and fully
functional.
12 Return the Hex Key to its
‘on-board’ storage position.
NOTE: Spacers and spindle rings
should not be used with this machine
and/or blade.
WARNING: Ensure that the blade
collars are clean and correctly
positioned on the arbor.
Lower the blade into the table and
check for any contact with the table
or table insert.
41


