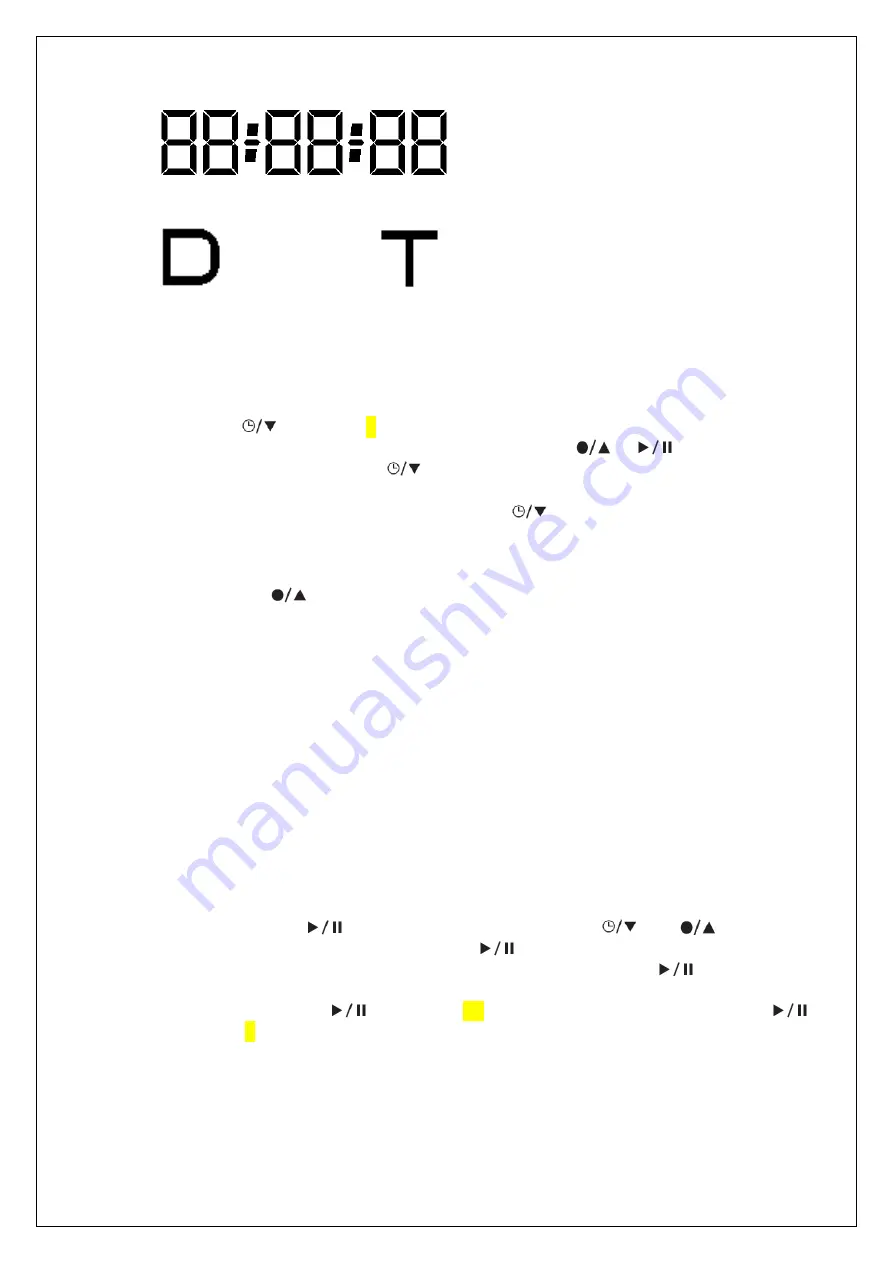
Time Display (for RTC time display, recording time display)
Date icon
Time icon
Caution: the sequence of the DATE display is YEAR: MONTH: DAY,
Time display sequence: HOUR: MINUTE: SECOND.
8. USING THE RECORDER
1. Date/Time Setting
Press and hold
Button for 3 seconds, enter into Date/Time Setting Mode. The
number indicated Year will flash and can be edited using
or
buttons.
Once the Year is adjusted, press
Button again to confirm and save the setting.
Then, enter into the Month, Day, Hour, Minute, Second setting in sequence. The setting
method is the same as Year setting, finally press
to finish all the adjustment.
2. Event Recording
For event recording, it can be triggered by:
a. Manual:
Press
to start recording. Press again to stop recording;
b. Automatic: Recording is triggered by the built-in G-sensor.
When there is a sharp acceleration/ deceleration, event recording function is
triggered. The event at
10
seconds before the trigger point and
20~60(adjustable)
seconds after the trigger point will be saved.
When recording is in process, the Red LED blinks. Once the recoding is stopped, Red
LED will stop flash and resume to standby mode.
NOTE:
G-Sensor data watermark, Time watermark are stamped on all recorded files.
Resolution of recorded file is 640 x 480 and 30 films per second.
3. File Playback
File Playback can be achieved by:
a. Reviewing on TV set via AV out Setting
Connecting the device to TV set via AV cable (provided), the device enters into live
display mode. Press
to get into playback mode, use
and
to choose
the event file you want to playback; press
to confirm. Press once again to play
the file. During playing, you can pause the playback by pressing
once; press
once again to resume.
In playing mode, press
and hold for 3 seconds to return to play list; press
and hold for 3 seconds again return to live display mode.
b. Review on PC
Press the SD card softly; SD card is to be ejected from SD Card Slot.
Insert the SD card into your card reader (not included); connect your card reader with
your PC; copy the recorded event files you intend to review into your PC hard disk
drive.
Summary of Contents for QV-3798
Page 1: ...Car Event Recorder QV 3798 INSTRUCTION MANUAL ...
Page 4: ......
Page 6: ...Side View A Side View B ...


