29
OPERATION
Before starting any welding or cutting activity ensure that you have suitable eye protection
and protective clothing.
Also take the necessary steps to protect any persons within the welding area.
Plasma cutting
Check that all connections have been made as required. Check the following before starting the machine.
•
Check if the machine is reliably grounded according to the relevant local standards.
•
Check that there are no bad contacts.
•
Check if the mains power cable is connected to the correct input voltage and rated supply.
•
Check if the plasma torch, connecting cables and gas hoses are in good condition and are not twisted.
Operation
1.
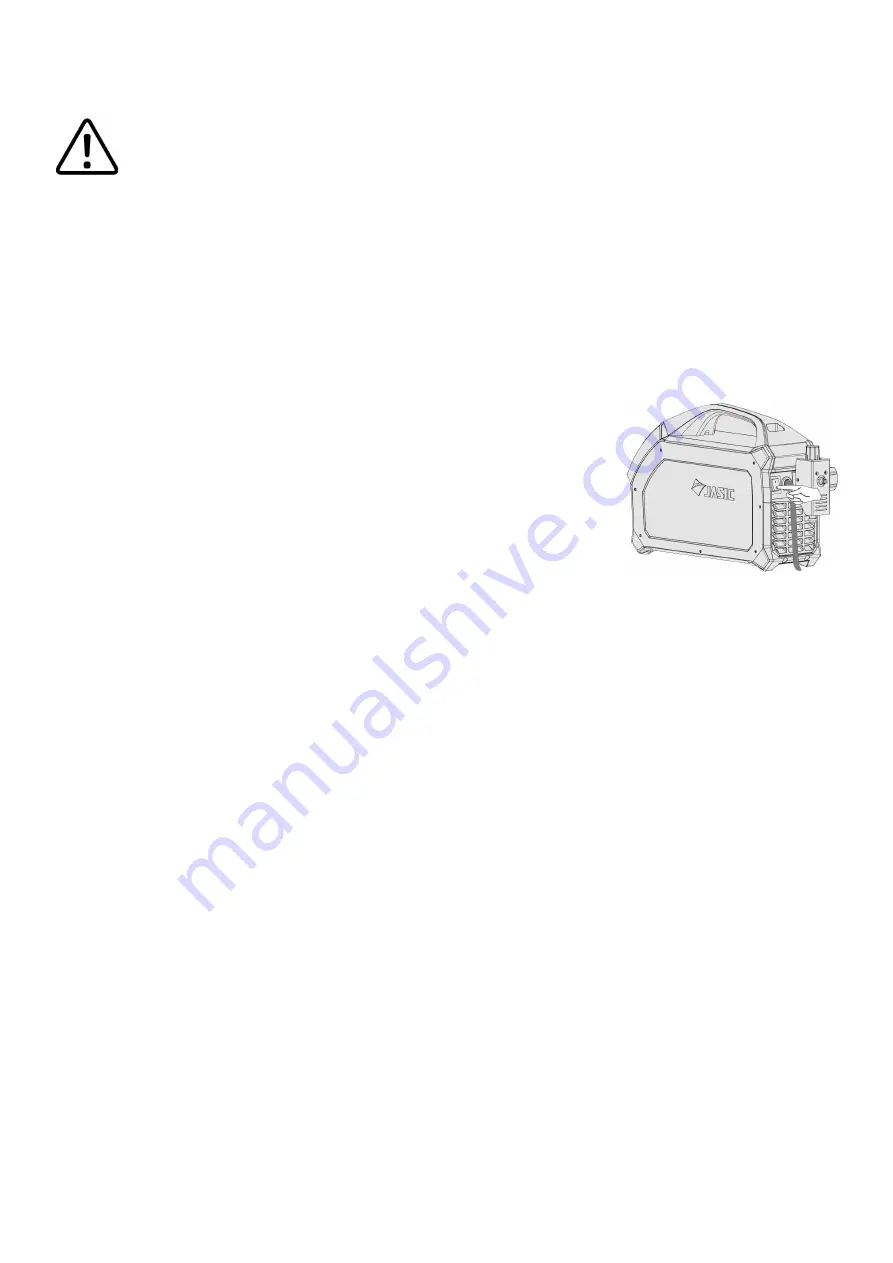
Turn on the power switch to the
‘
ON
’
position via the back panel of the
machine and the control panel will light up, the cooling fan will start to
rotate and the machine is ready to operate normally.
Please Note:
Some models are equipped with smart fan technology.
When the power supply is turned on for a period before welding or
cutting the fan will automatically stop running. It will run automatically
when cutting begins.
2.
Set the cutting current according to the thickness of the material you are cutting.
3.
Ensure that the cutting tip and consumables fitted matches the application and the cutting amperage
set on the machine control panel display.
4.
Select trigger mode required via the front control panel: 2T and 4T.
2T continuous cutting:
When the main arc is extinguished due to lack of base material, the
cutting machine automatically cuts off the output. You must release the torch trigger and
press it again to re
-
establish the pilot arc and keep cutting.
4T continuous cutting:
When the main arc is extinguished due to lack of base material, the
cutting machine automatically transfers to pilot arc output, and the pilot arc can be
re
-
established and cutting continued without releasing the torch trigger.
5.
Select
‘
mesh cutting
’
mode if the material or application requires.
Mesh cutting:
When the main arc is extinguished due to missing workpieces, the cutting machine
will automatically re
-
establish the pilot arc and maintains it for a certain period of time.
When the pilot arc contacts the workpiece and ignites the main arc, cutting can continue. In mesh
cutting mode, the machine will automatically be in 2T mode (4T is unavailable).
6.
Check the air pressure by placing the purge/run switch into purge to set the correct pressure.
7.
Press the air pressure switch again to put the machine into ready mode, when in air pressure check/
test mode the corresponding LED will light up.
8.
Depending on application and consumable setup, bring the copper nozzle of the plasma torch at a
distance of about 2mm between the copper nozzle (tip) of the torch and the work piece and then
press the torch trigger. For other modes of cutting/gouging, please see
‘
Modes of cutting
’
from page
30 and torch setup page 34.
9.
After the arc has ignited, cutting starts and you can now start moving the torch at a regular speed
along the material you are cutting.
Please note:
The electrode and nozzle will wear out quicker if the operator holds the trigger when in pilot
arc mode for too long prior to cutting. Always keep the time between piloting and cutting to a minimum.
Summary of Contents for EVO 2.0 EP-45
Page 1: ...1 ClearVision Optional TFT LCD screen included...
Page 44: ...44 UKCA Declaration of Conformity...
Page 45: ...45 EC DECLARATION OF CONFORMITY...
Page 50: ...50...


