18
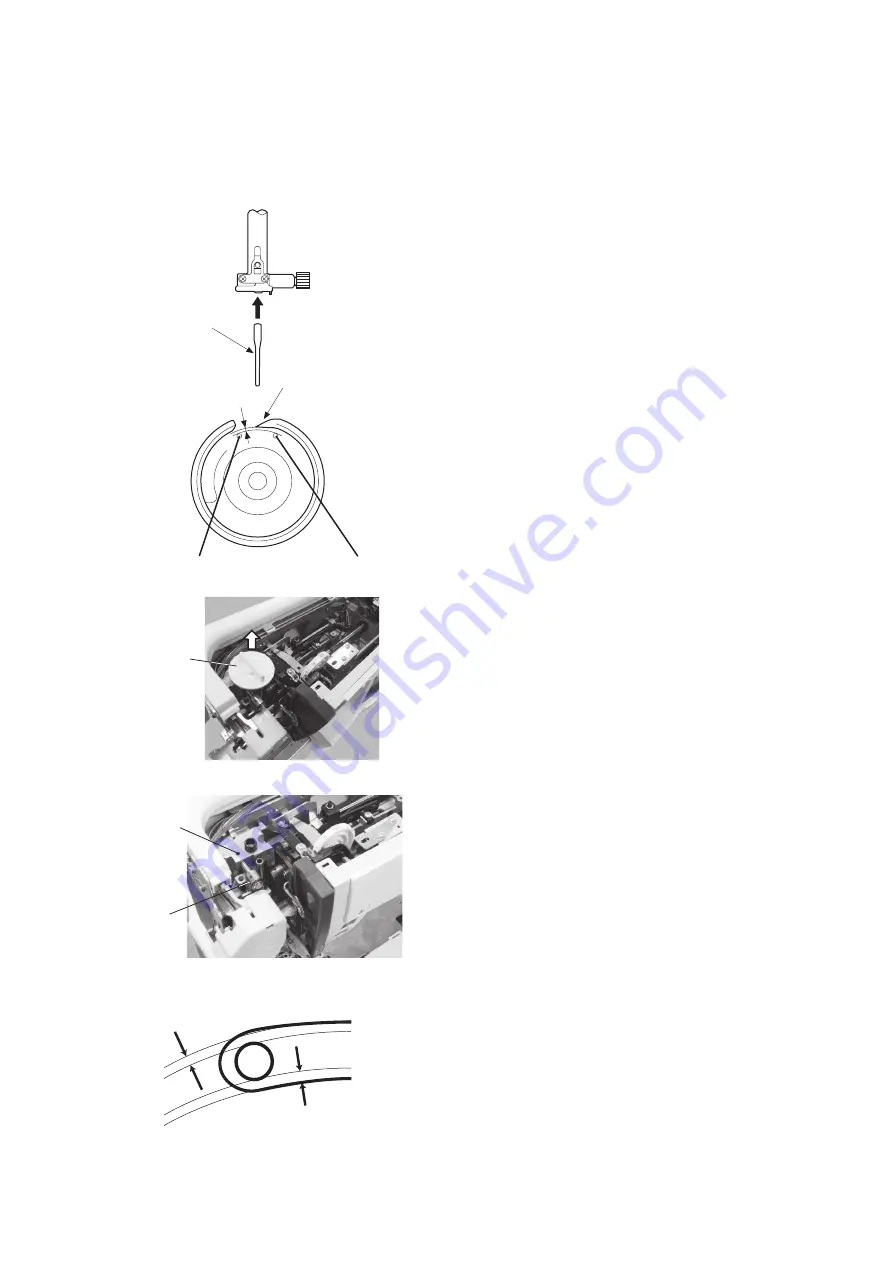
Test pin
Tip of hook
-0.10 to +0.05 mm
Left needle position Right needle position
Clearances A and B must be even
A
B
Mechanical adjustment
Clearance between needle and tip of the rotary hook (method 1)
The clearance between the needle and the point of hook should be -0.10 to +0.05 mm.
Needle bar
supporter
1. Remove the top cover (refer to page 2).
2. Remove the presser foot, the needle plate and the
bobbin holder.
3. Remove the presser foot pressure dial.
4. Attach the test pin.
5. Turn the power switch ON while pressing the Start/
Stop button and the Reverse stitch button. The LCD
shows the factory setting mode.
Press "Bobbin" key. The machine will set the zigzag
width at maximum.
6. Turn the handwheel toward you until the tip of the
hook comes behind the test pin.
7. Loosen the hexagonal socket screw (use an Allen
wrench of 2 mm width across flats) and move the
needle bar supporter in the direction of the red arrow
so the test pin just touch the tip of the hook. Tighten
the hexagonal socket screw.
8. Attach the bobbin holder and the needle plate.
Check the needle drop position.
The needle drops in the center of the needle plate
hole as shown.
If the clearances A and B are not even, adjust the needle
drop position first and then adjust the clearance between
the needle and the tip of the hook by the method (2) on
the next page.
Hexagonal
socket screw
Presser foot
pressure dial


