
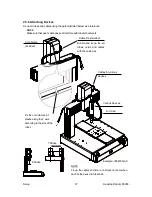

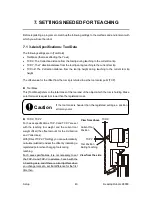
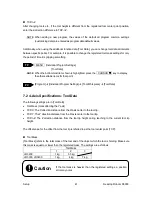
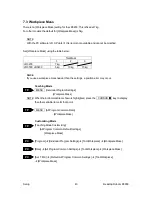
Setup
Desktop Robot JR3000
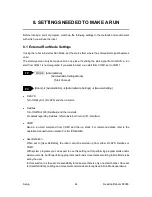
6. CLOCK SETTINGS
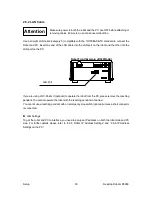
Before you first use the robot, set up the clock settings.
Once you set up clock settings, the robot can record the date and time of when errors occur.
You can set this with the teaching pendant or PC software (optional).
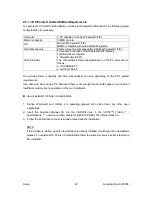
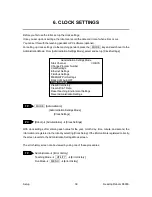
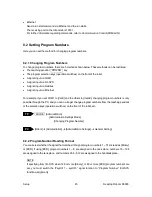
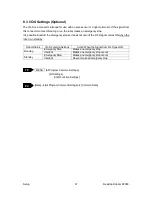
For setting up clock settings via the teaching pendant, press the MODE key and switch over to the
Administration Mode. From [Administration Settings Mode], select and set up [Clock Settings].
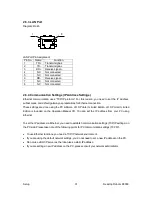
MODE [Administration]
[Administration Settings Mode]
[Clock Settings]
[Robot]
Æ
[Administration]
Æ
[Clock Settings]
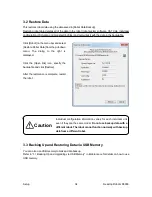
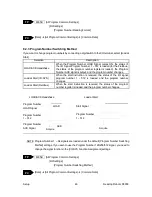
With clock settings, after entering each value for the year, month, day, time, minute, and second, the
information is registered to the robot by selecting [Clock Setup]. If the information is registered correctly,
the screen reverts to the Administration Settings Mode screen.
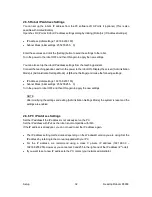
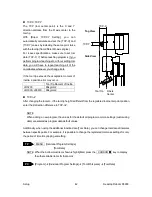
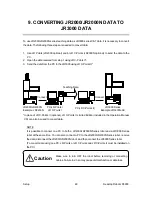
The error history screen can be viewed by using one of these procedures:
Administration
Æ
[Error History]
Teaching Mode
Æ
UTILITY
Æ
[Error History]
Run Mode
Æ
MENU
Æ
[Error History]
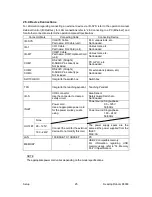
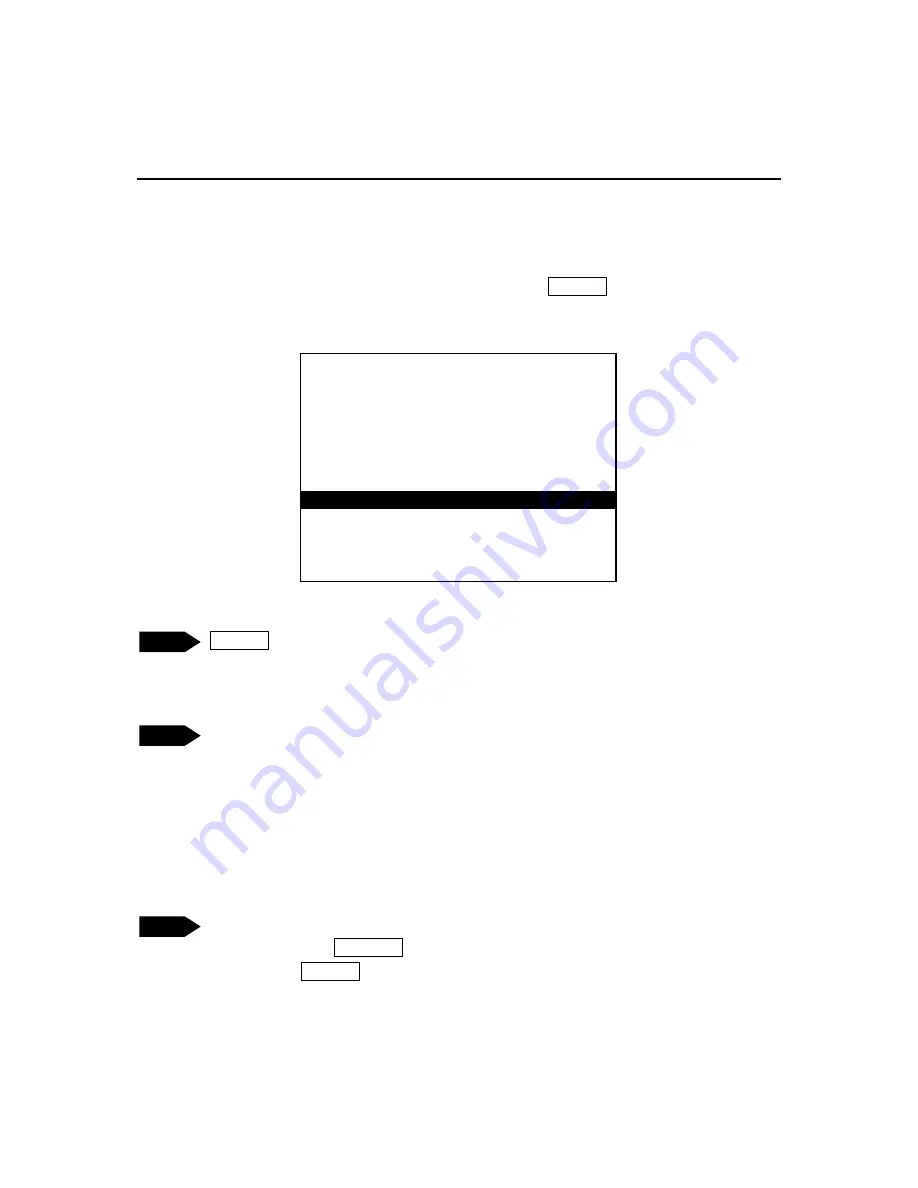
Administration Settings Mode
Start Channel
I/O-SYS
Change Program Number
COM Settings
Ethernet Settings
Fieldbus Settings
MEMORY Port Settings
Back Light Auto OFF
Clock Settings
Clear Error History
Clear All C&T Data
Reset Teaching Environment Settings
Reset Administration Settings
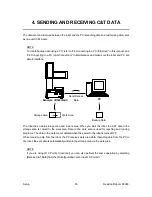
TP
PC
TP
39


